Best Practices for Sharpening High Carbon Steel Kitchen Knives
This introduction shows what you can expect: restoring a dull edge, refining performance, and keeping knives ready between full sessions. You’ll learn a repeatable method that works whether you cook daily or only sharpen a few times a year.
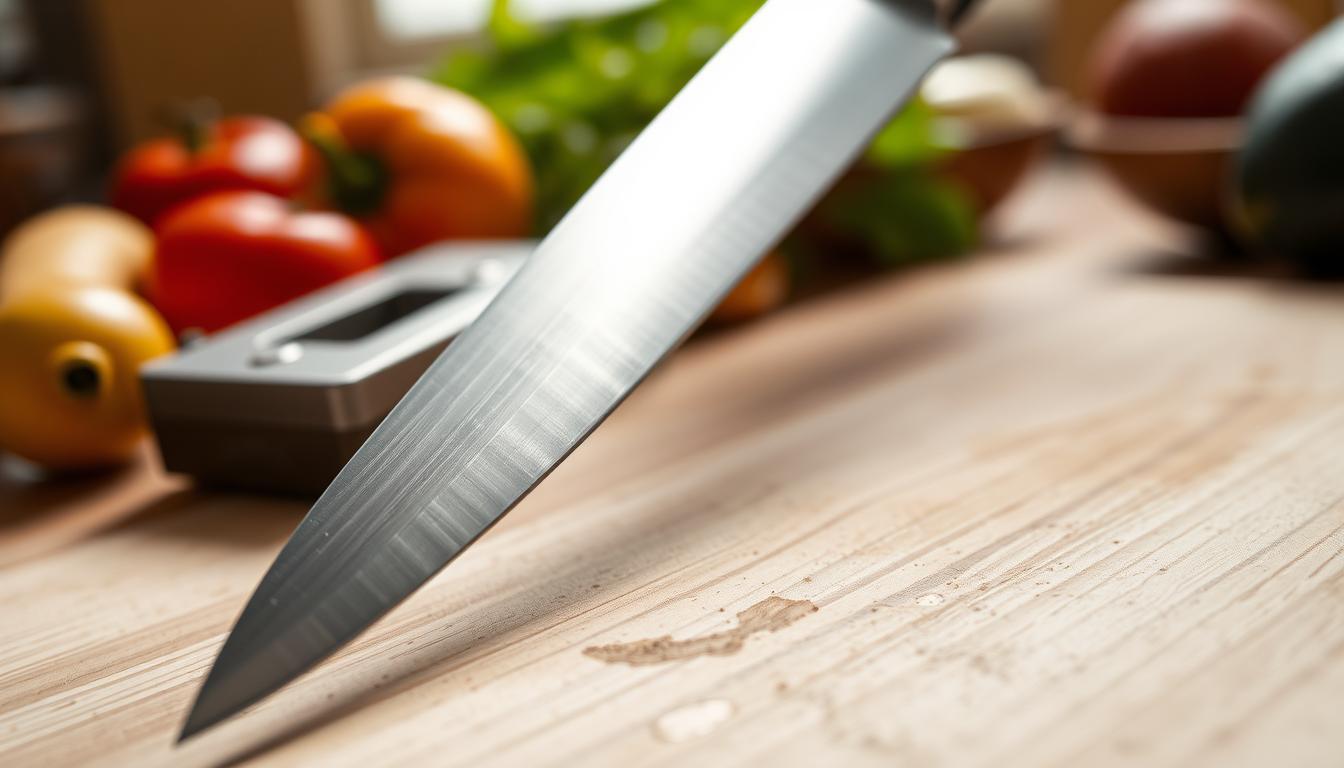
Carbon tools generally cut faster on stones and can take a very crisp edge. That makes carbon steel knives popular with cooks who want lasting performance. The tradeoff is reactivity: wipe, dry, and lightly oil blades to prevent rust and manage patina.
Know the difference between honing and sharpening. Honing realigns the edge for daily maintenance. When you need stones, the full process removes minimal metal to restore the true edge.
This guide previews the full method: pick the right tools, follow a grit progression, control the burr, and test cuts for consistent results. A dull knife forces extra pressure and risks slips — keeping edges sharp is both performance and safety work in your kitchen.
Why Carbon Steel Knives Sharpen Differently Than Stainless Steel
Knives made from plain carbon alloys behave differently on a stone than many stainless models. You’ll feel this when you work the bevel: some metals form a burr quickly and give clear feedback as you reach the apex of the edge.
Chromium changes the way metal reacts. Stainless steel resists rust because of chromium, but that layer can make cutting an edge feel slower compared with many carbon steel blades. In short, one trades corrosion resistance for faster response to the stone.
Edge retention matters in daily prep. When your edge holds, you use less force, slice cleaner, and avoid bruising herbs and produce. “Hold edge” is the balance between sharpness and durability, and carbon steel often takes a very fine edge that feels immediate on the board.
Extra kitchen care is simple: wipe the blade during service, dry it right after washing, and don’t leave it wet in the sink. Patina is a normal color change from reactivity and can help protect the metal, while rust is active corrosion you should prevent.

- Choose tools and stones that match the metal’s nature.
- Expect clearer burr feedback on many carbon steel edges.
- Pick a knife based on how much care time you realistically have.
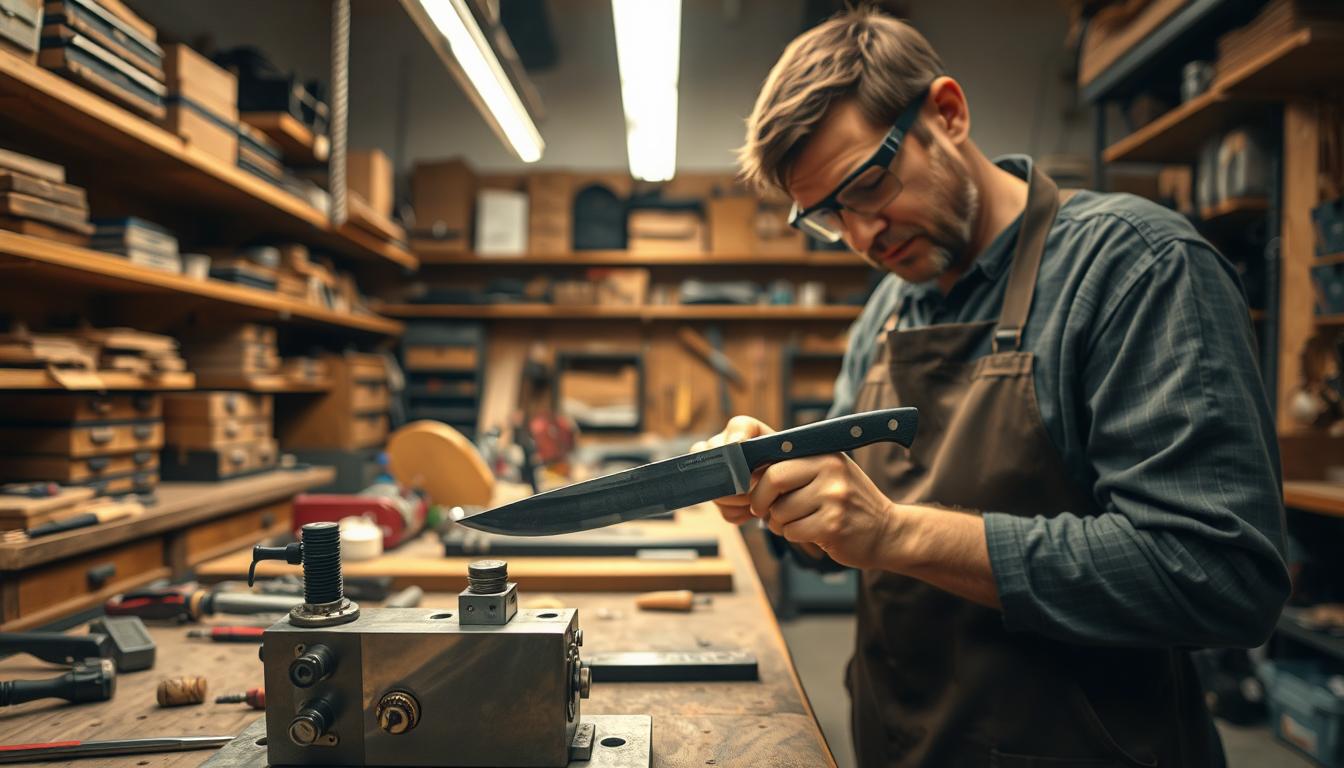
Sharpening high carbon steel: Tools, Stones, and Grit Choices That Get Consistent Results
Choosing the right stones and tools is the single best step to get repeatable edges on reactive kitchen blades.
Whetstones give you the control you need for angle and pressure so you remove only the metal required. That protects your knife and improves long-term cutting performance.
Grit selection maps to real problems. Use a coarse grit (~220) for chips, a medium 1,000 grit to set the edge, and 3,000–6,000+ to refine the finish. For repairs, consider Shapton 220 or Knifewear 220. For edge setting, Naniwa Professional 1000 works well.
Synthetic vs natural finishing stones: synthetics are consistent; Japanese naturals like Imanishi Arashiyama 6000 or Kitayama 8000 can add pleasant toothiness to a carbon steel blade.
Manage water so the surface stays lubricated but don’t flush away the slurry. That mud helps the finish develop faster.
- Honing rods (ceramic preferred) keep edges aligned between sessions.
- Stropping removes the final burr and boosts bite without removing much metal.
- Keep your stone flat with a truing tool; a dished stone ruins angle consistency.
- Avoid heavy use of electric sharpeners for reactive blades; they are fast but can remove too much material.

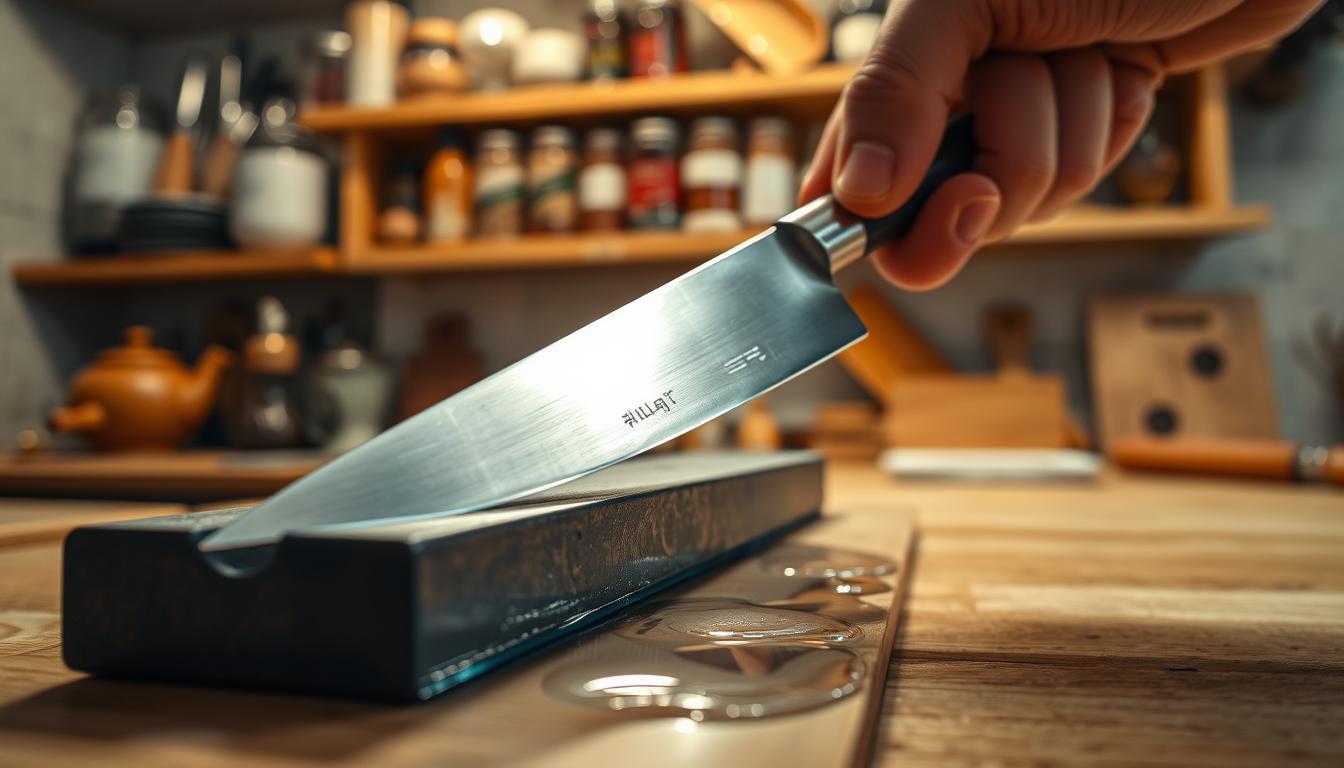
Step-by-Step Method to Sharpen Carbon Steel Kitchen Knives on a Whetstone
Start each session by securing your stone on a damp cloth and clearing a steady workspace to avoid slips. Have water, towels, and a non-slip pad ready so you won’t rush the process.
Set up safely
Stabilize the stone on a damp cloth and confirm whether it needs a 10–15 minute soak or is splash-and-go. Clear the counter and position lighting so you can see the bevel clearly.
Find and hold a consistent angle
Choose an angle around 15–17 degrees for most kitchen knives. Lock your wrist and use your other hand to guide the spine for steady, repeatable contact. Build muscle memory by counting strokes each side.
Strokes, sides, and the burr
Use smooth heel-to-tip strokes with even pressure. Do about 10–15 strokes per side as a starting point, then check for a burr along the edge. When you feel the burr, switch sides and repeat the repeat process until it’s uniform.
Progress through grits
Move from medium to finer grits without skipping steps. Reduce pressure as you refine the edge to avoid widening the bevel or causing micro-chips. Let slurry help the finish; don’t wash it away if it improves results.
Test and finish
Check sharpness by slicing paper and doing a tomato test: the blade should bite the skin without crushing. Rinse and dry the knife right away, then lightly oil to protect the blade and preserve your results every time.
- Safe setup on damp cloth
- Consistent 15–17° angle
- Even heel-to-tip strokes
- Burr check and repeat process
- Grit progression and finish tests
Conclusion
When you follow a measured progression on stones, your knives reward you with lasting cutting performance.
Use the simple loop: set the edge on a medium stone, refine through finer stones, manage the burr, then strop and test. This is the best way to get a clean, repeatable edge without removing more metal than needed.
Consistency beats intensity: keep a steady angle, use moderate pressure, and work each grit fully. For quick touch-ups, use a ceramic rod until the edge needs full work on stones.
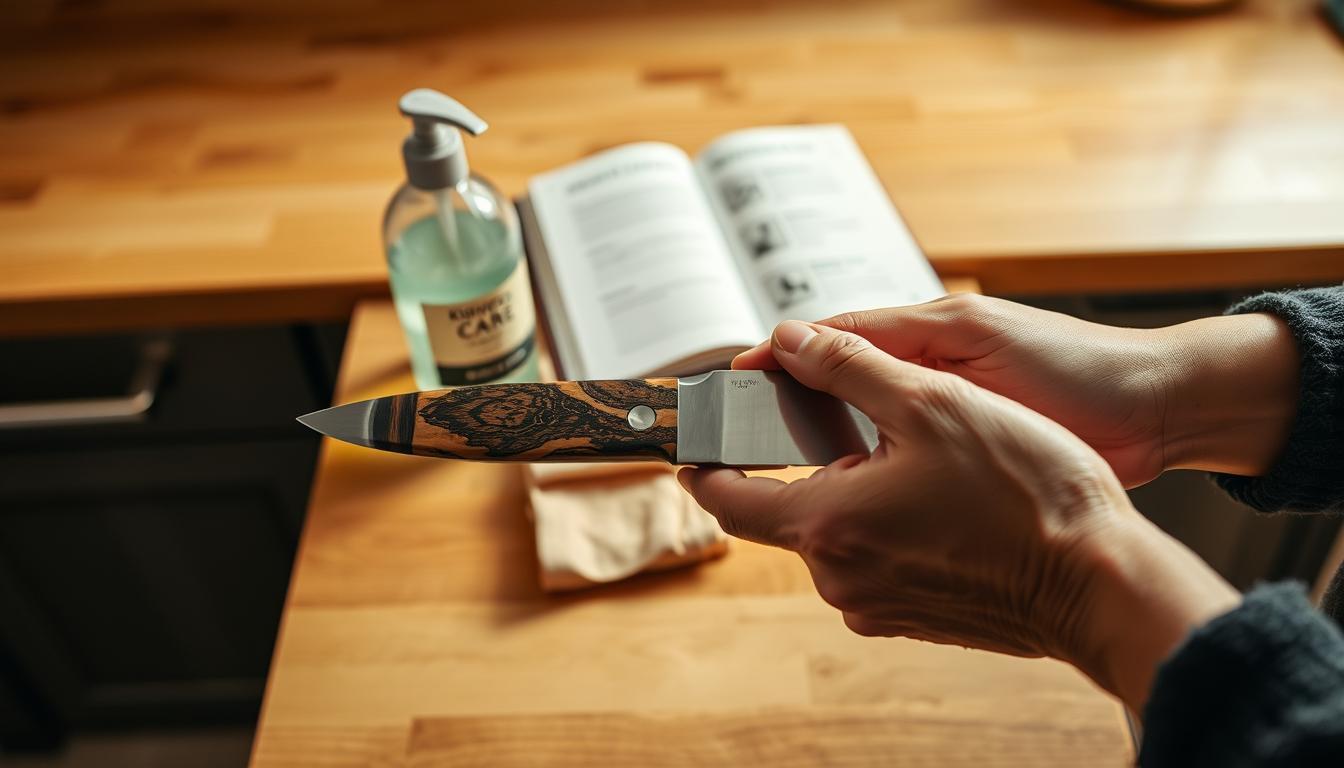
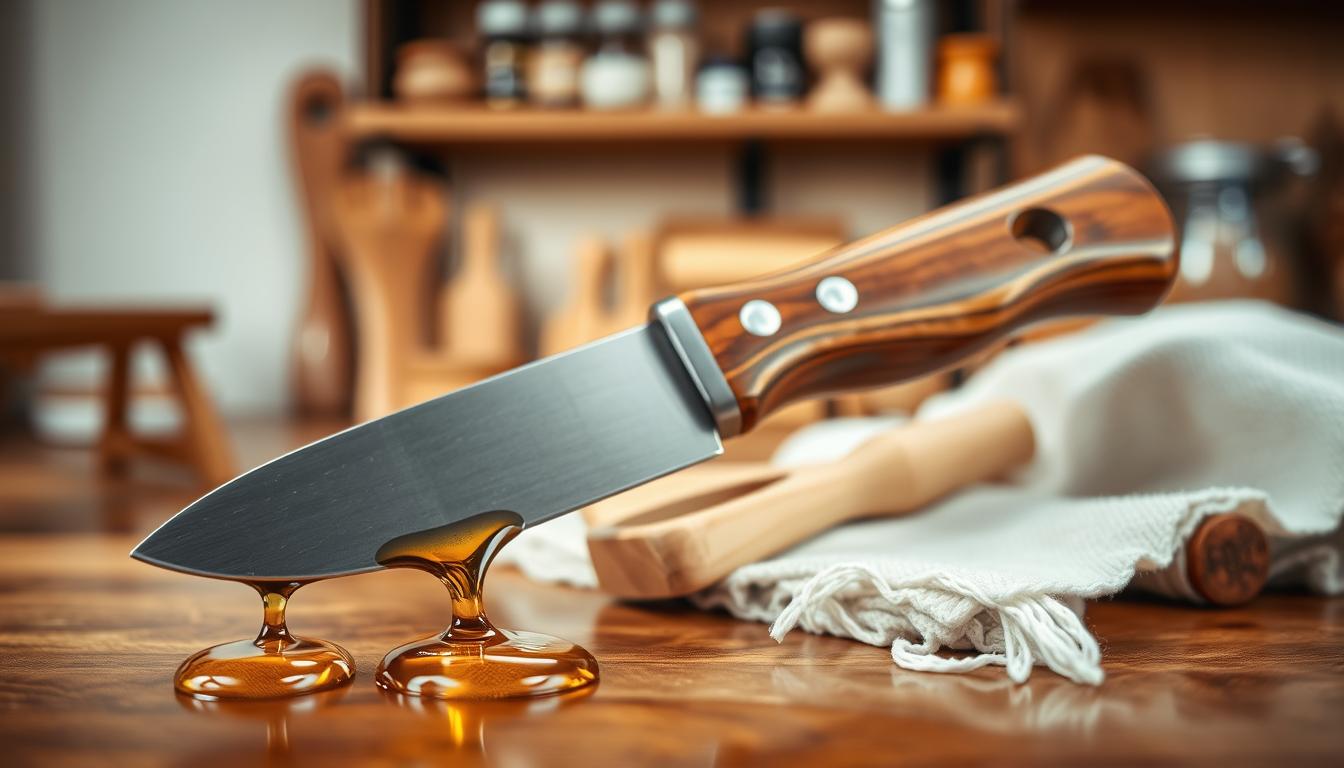
Wipe and dry your blade after use and apply a light coat of food-safe oil when you store knives in a dry spot. If you’re looking carbon steel options or browsing a steel knives sale, pick geometry and care needs that match your willingness to maintain the metal.
Use the lightest effective method so your tools last for years and feel like an extension of your hand.