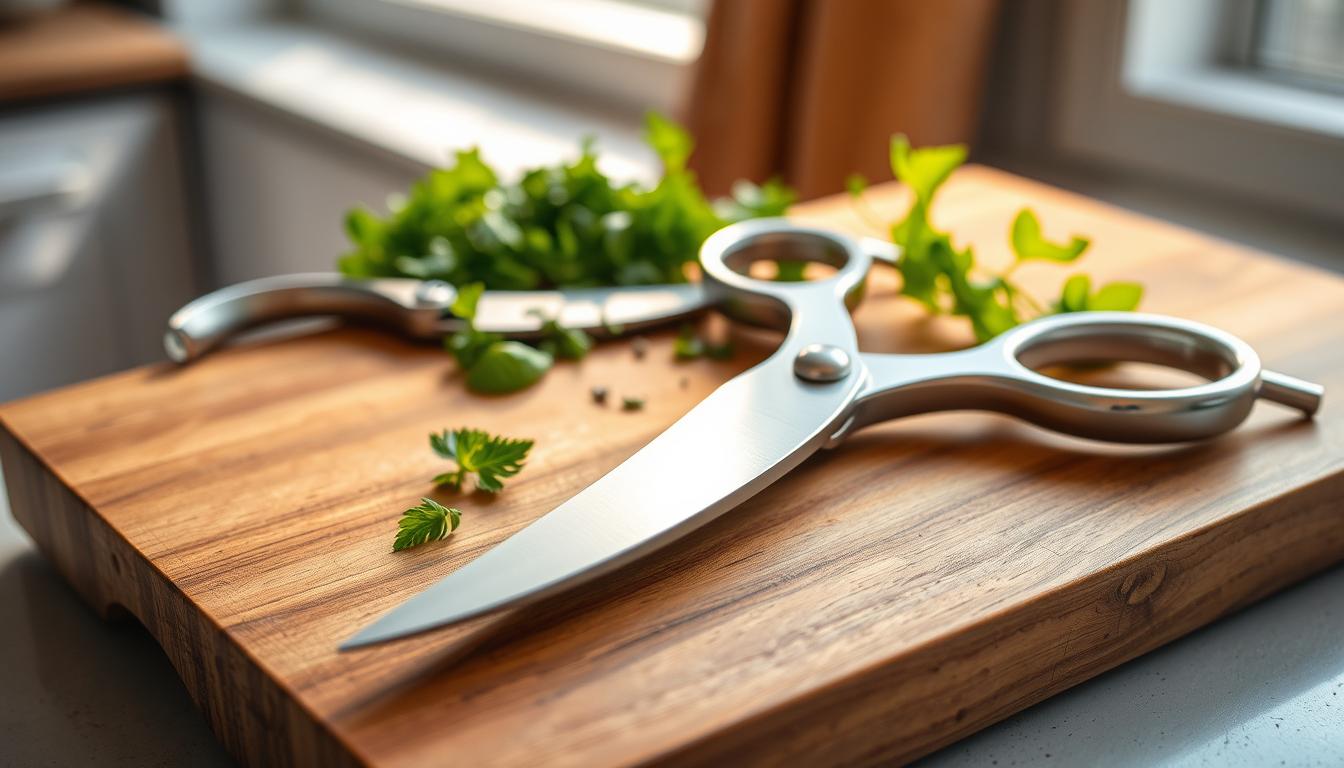
How to Feel and Remove the Burr During the Sharpening Process
The burr is a thin wire edge that shows you reached the true edge. It forms as a tiny strip of metal on the opposite side of the side you just worked. This raised wire is the most reliable checkpoint when you want a truly sharp result.
You will learn what the burr is, how to feel it safely, and how to remove it without losing your progress. The guide covers raising the wire, confirming it along the edge, switching sides, and then refining the cutting edge with lighter passes and deburring or stropping.
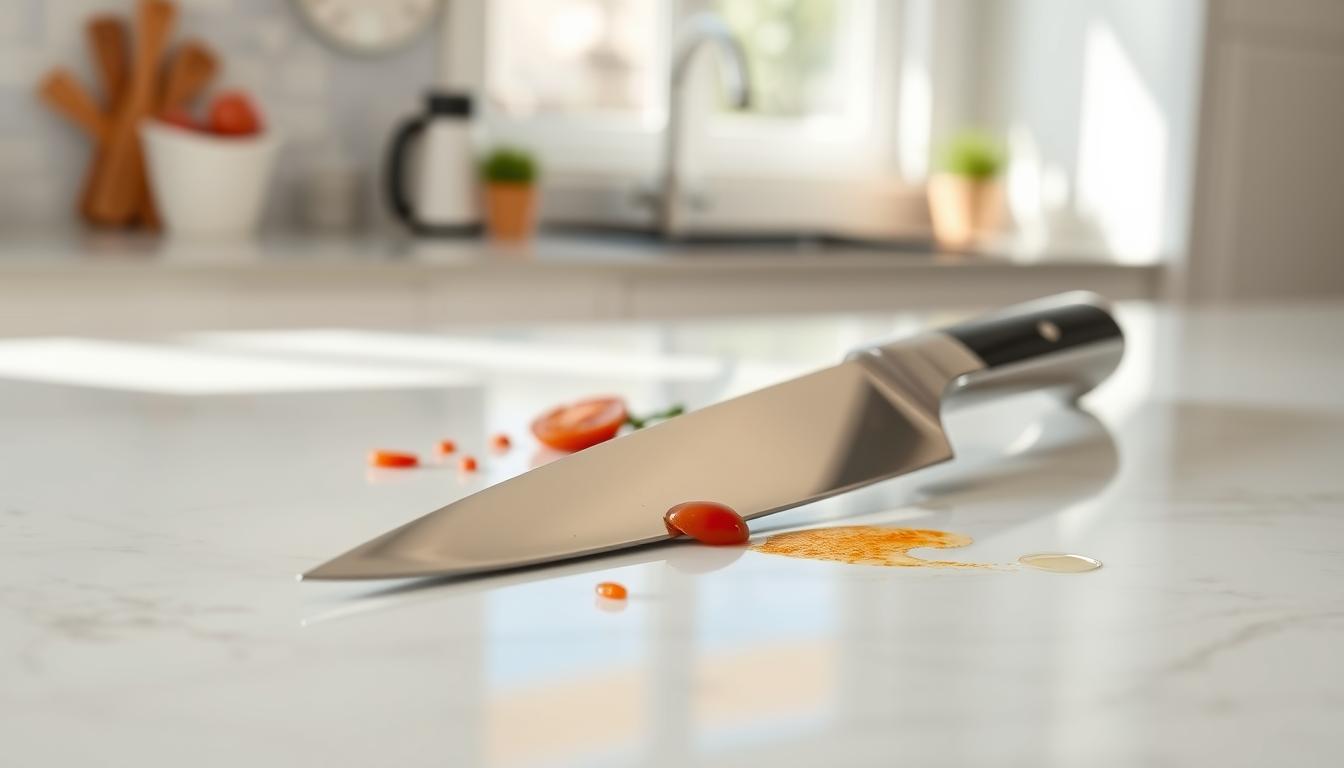
Safety matters even when the blade feels dull. Both blunt and sharp edges can cut, so you will use safer checks rather than risky along-edge finger tests.
This workflow applies at home for kitchen tools and everyday blades. Whether you use stones, plates, or other abrasives, the same steps help you find, confirm, and finish a clean, stable edge.
What a Burr Is and Why It Matters for a Knife Sharp Cutting Edge
A thin strip of folded metal at the edge is the most reliable signal that you’ve reached the true apex. This tiny wire is often hard to see without magnification, but you can feel it along the blade.
When you run abrasive strokes on one side, steel moves until that strip flips over and becomes detectable on the opposite side. The displaced material marks the meeting point of both bevel planes.

The presence of this wire shows the edge bevel has been abraded down to the apex. Removing that wire cleanly after it forms leaves a sharper, longer-lasting cutting edge.
- Common causes for no wire: wrong angle so the abrasive hits the shoulder instead of the apex.
- Contact issues: rocking, inconsistent pressure, or skipping the tip prevents a full, even formation.
- Angle guide: about 17° for most kitchen knives and 22–25° for outdoor blades; grit progression also matters.
Once you grasp how the wire forms and why it proves the apex, the next step is learning safe checks along every side of the edge.
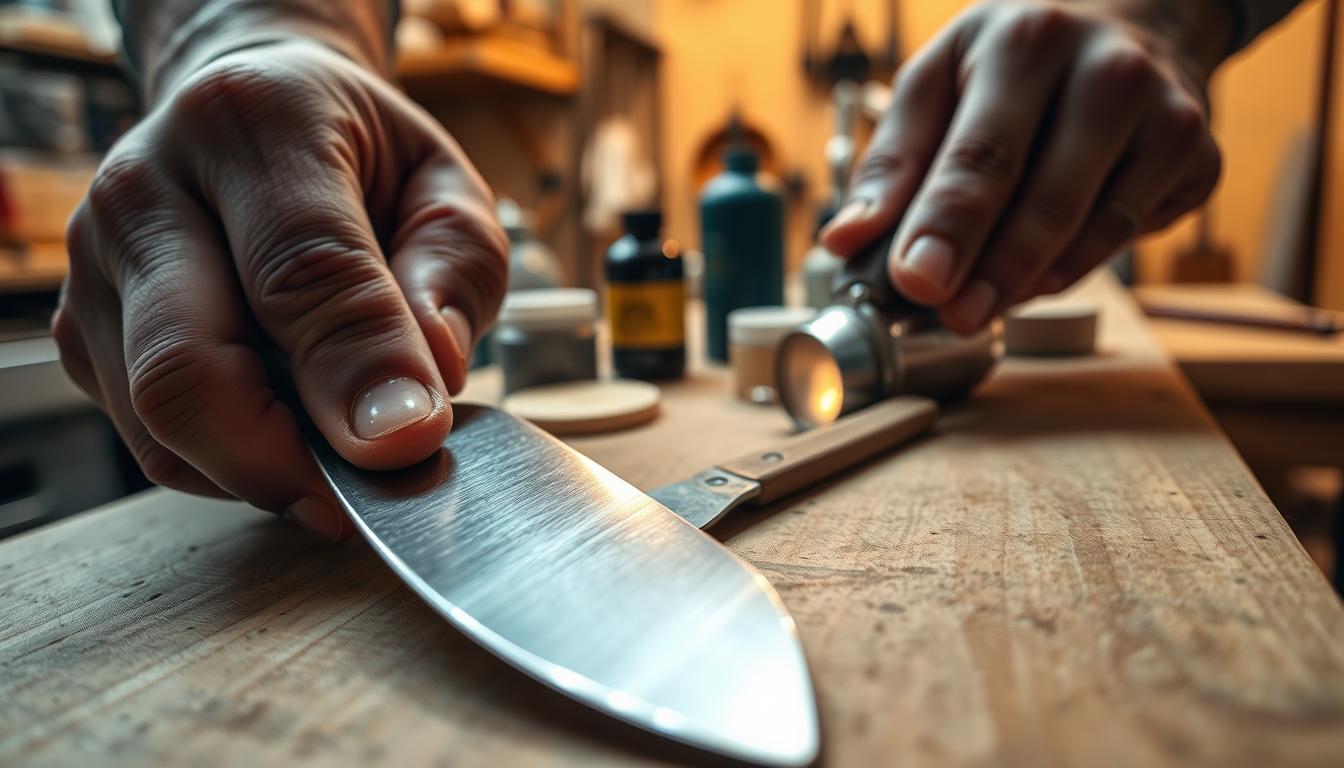
How to Feel a Burr on a Knife Safely (Without Cutting Yourself)
A careful, spine-to-edge fingertip sweep gives you reliable feedback about progress without risking a cut. Use this controlled check after a few sharpening passes to confirm raised metal at the apex before switching sides.

The safe finger test
Place your finger on the side opposite the one you worked. Move from the spine toward the edge and then lift slightly off the tip of the blade. Never slide along the edge line.
What to expect by touch
A true wire feels like a tiny catch or resistance under the finger. If it glides smooth with no snag, you likely did not yet form that raised metal.
Map the full blade
Check heel, belly, and tip separately. Inconsistent feel means uneven contact, angle drift, or skipped strokes. Fix those zones before you refine the other side.
- Optional: use a magnifying tool to confirm tiny folds.
- Do not: wipe along the edge, pinch the edge, or drag fingertips across it.
- Why it matters: safe checks save time and lead to a uniform final edge.
Burr on a Knife: How to Remove Burr and Refine the Edge During Sharpening
A repeatable counting system and grit progression will help you lift and then clear the wire for a lasting edge. Start by working one side until you feel a consistent wire along the full length. That continuous feel is your cue to switch sides so the bevels remain even.
Use a simple strokes per side routine to keep symmetry. Many pros follow Steve Baker’s method: five strokes per side, check for the wire, repeat until it runs heel to tip, then finish with five final strokes on the opposite side.
- Grit progression: move from coarse to medium (for example, 600 diamond) then to fine (ceramic) to refine the edge and minimize new wire formation.
- Alternation & pressure: alternate side-to-side strokes and reduce pressure as you refine. Heavy force can flip the wire back and forth instead of removing it.
- Micro burr removal: strop on leather with the edge trailing. No strop? A folded stack of newspaper works in a pinch.
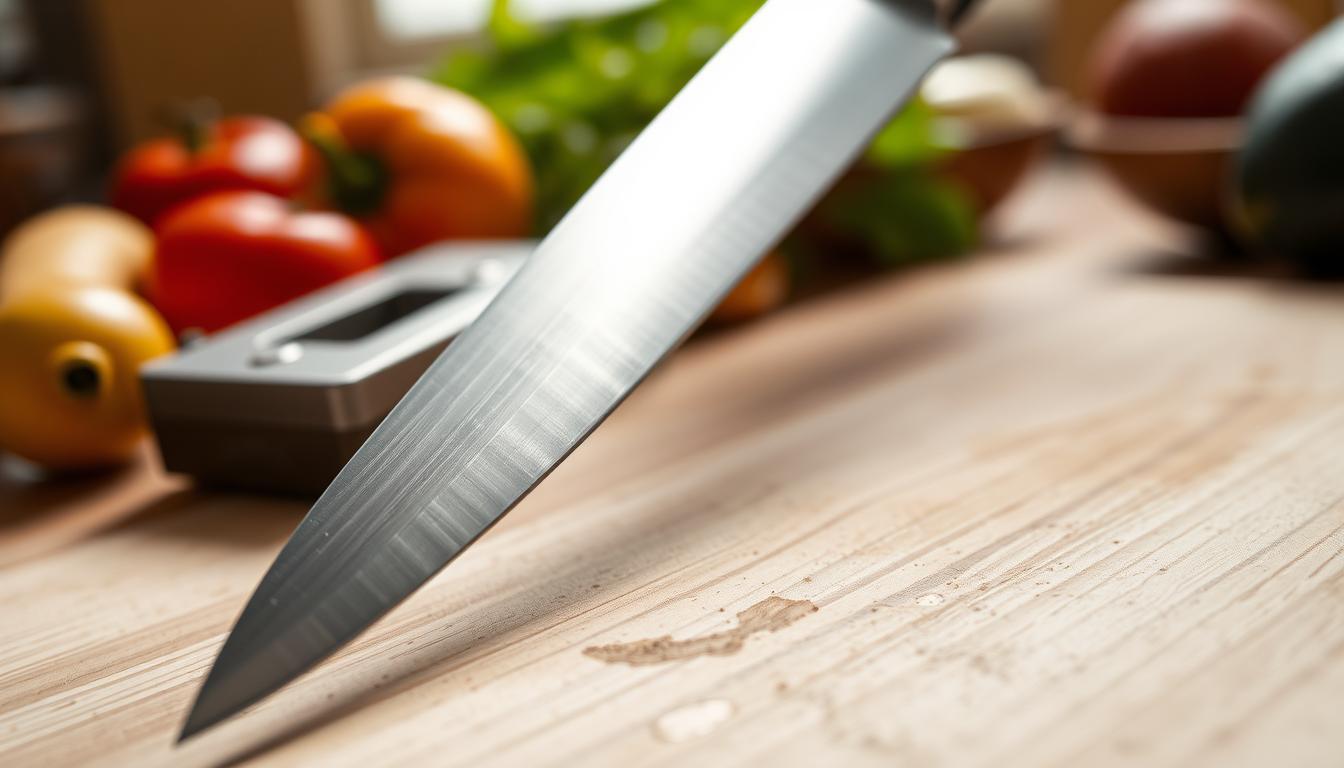
Quick checks save time. Do a controlled paper test at about 45 degrees: a smooth slice means your edge is clean. Tearing or snagging means more light passes or stropping are needed. When you get consistent slices, you have reached a reliable, knife sharp cutting finish.
Conclusion
Recognizing the tiny burr is the moment you move from guessing to precise finishing.
During the sharpening process, that raised wire on the opposite side proves you reached the edge bevel apex. Once you feel it, switch sides, keep passes balanced, and move to finer abrasives. Use lighter pressure as you refine to avoid flipping new wire back and forth.
If a micro burr persists, strop the edge with leather or a folded stack of newspaper and re-test. Verify results with a controlled cut rather than risky fingertip checks.
Quick troubleshooting: if an online guide won’t load and shows a page blocked extension or extension blocked message, try disabling extensions or whitelisting the site so you can follow video steps during the process.
Next time you sharpen, focus on consistent contact from heel to tip, patience through grit progression, and confirming a clean cutting edge before you finish.