What Is a Micro-Bevel and Should You Add One to Your Knife?
You want a clear answer about a small geometry tweak that affects edge life and performance. A micro bevel is an extra, very small bevel at the cutting edge. It helps preserve a thin primary geometry while giving the tip more durability.
Forums and experienced sharpeners like Jon Broida note this method trades a bit of maximum sharpness for better edge retention. In real use, that means fewer chips and longer time between full grinds.
In this article you will learn plain definitions, practical angles, the tools to use, and a step-by-step sharpening routine you can repeat. Expect faster touch-ups and a small boost in stability without a full regrind.
By the end you will know whether a micro bevel suits your cutting style, steel type, and need for long-lasting sharpness.
What a Micro-Bevel Is and Where It Sits on the Edge
Think of a tiny, deliberate facet that lives only at the tip of the edge. It is a very narrow extra bevel placed at the apex, created on purpose rather than from rounding or damage. This small change affects how the blade meets material without altering most of the main bevel.

Micro vs primary vs secondary
The primary bevel is the broad, main face grind. The secondary bevel is the final, steeper working face that reaches the apex. Adding a third, tiny bevel — the micro- bevel — gives you a controlled, narrow line right where cutting happens.
Why “micro” means width, not worth
Micro describes the very small width of that facet, not its importance. A small micro can dominate edge behavior, improving stability and reducing chipping while keeping the primary geometry thin behind the edge.
- Define: the tiny bevel sits at the apex and is deliberate.
- Compare: primary, secondary, and the extra bevel are named so you change the right surface.
- Result: you alter cutting geometry at the tip while leaving most of the blade unchanged.
What “per side” means
When someone quotes an angle per side, they mean each face receives that tilt. Changing that value slightly for the micro will change the edge locally without redoing the entire geometry. These definitions set up the performance tradeoffs you’ll see later: better stability, less chipping, and a different cutting feel.
Why Micro-Bevels Matter for Real-World Knife Performance
Stability at the apex matters more than raw razor sharpness for many kitchen tasks. A small, deliberate facet strengthens the most fragile line without forcing you to thicken the whole grind.

Stability at the apex without thickening the whole bevel
You get fewer micro-chips and less rolling. That means more consistent bite during normal cutting and fewer surprise failures in the field.
The reinforced tip keeps the edge from crumbling while the rest of the blade stays thin. This preserves slicing speed and lowers wedging when you cut soft and dense foods.
When “thin behind the edge” is the goal
Keeping low thickness behind the edge improves slicing efficiency. A tiny facet lets you keep aggressive low-angle geometry behind the tip while protecting the cutting edge itself.
- Fewer micro-chips during regular use
- More stable bite with thin grinds
- Better balance between sharpness and durability
- Best for hard steels and thin profiles
Micro-Bevel on Knives: Key Benefits You’ll Actually Notice
A slight angle change at the very edge often gives you more usable time between full grinds. That small step is practical: you keep a thin primary geometry while protecting the fragile apex.
Maintain extremely thin geometry without immediate failure. You can run lower angles behind the tip for fast slicing, then add a tiny facet to stop the edge from folding or chipping under real use.
Cut down chipping in super hard steels. Harder steels slice well but can chip at the apex. A narrow micro facet reinforces that line so the rest of the grind stays efficient.
- Increase stability in large-carbide steels—a tiny angle bump helps when low sharpening angles make the apex fragile.
- Improve retention—your edge stays effective longer, so touch-ups replace frequent full regrinds.
- Useful for board work, proteins, and fibrous produce where apex damage shows fast.
Be honest about tradeoffs: you may lose a bit of peak sharpness for better retention and less chipping. If you value durability during heavy cutting, this step often proves worth the small shape change.
The Tradeoffs: Sharpness, Cutting Feel, and What Changes (and What Doesn’t)
Small geometry changes at the very tip shift how an edge behaves under real use. You should expect a direct trade: better retention for a small drop in peak sharpness.
Why retention can improve while sharpness falls. A slightly larger apex resists chips and rolling. That stabilizes the edge and extends service life, but the very finest bite at the apex can be blunted.
Sharpness vs cutting ability
Cliff Stamp and other forum testers separate sharpness—how the apex contacts material—from cutting ability, which is how the whole geometry moves through a cut. You might lose measured sharpness yet cut just as well.
Why it can feel sharper
Reduced wedging and lower friction can make slices feel cleaner. The blade may seem more eager even if apex tests show less peak sharpness.
Push cutting vs slicing
Push cuts stress the apex and favor sturdier angles. Slicing depends on thin geometry and low friction. Choose the edge strategy by what you cut most and the material you face.
- Realistic outcome: more stable edge, slight loss of peak bite.
- Choose by use: prioritize retention for heavy work, thin edges for fine slicing.
Micro-Bevel vs Re-Sharpening to a More Obtuse Angle
Deciding between a quick edge tweak and a full regrind depends on the problem you see at the cutting line. A targeted micro step can save you time when the primary bevel is still straight and the apex only needs reinforcement.
When a full re-sharpen makes more sense
If the bevel is uneven, the edge is fatigued, or the thickness behind the edge is already high, a full re-sharpen to a new primary angle is the right move. That reset restores geometry and fixes alignment across the blade.
Why a micro fix is faster
A tiny micro facet requires minimal metal removal. You spend less time on stones and still get a stronger tip. This is ideal when you want fast, practical durability without redoing the whole bevel.
Angle choices and practical tradeoffs
- Raising the primary angle per side adds durability but increases thickness behind the edge and may hurt cutting performance.
- Adding a micro bevel keeps slicing ability while improving apex strength with less time lost.
- Match the method to your knife, skill, and the performance you expect.
Choosing the Right Sharpening Angle in Degrees Per Side
Picking the right degree per side decides how your edge balances sharpness and strength. Start by thinking in degrees per side so you avoid accidentally doubling or halving the total included angle.
Understanding what you change with each degree
When you alter an angle you change the included edge angle, the narrow width at the tip, and how stress concentrates during cutting.
This affects wear, chip risk, and how the blade feels while slicing.
Small angle bumps vs very steep micro facets
Typical small angle bumps move 3–5° per side (example: 15 dps to 20 dps). Japanese practice often uses much steeper micro- facets (30–40° per side) but keeps them extremely narrow.
Why very low angles can fail
Too-low angles make the apex weak. On hard steel or rough cutting that weakness shows as rolling or micro-chipping.
- Define degrees per side and stick to it for repeatable sharpening.
- Try a modest bump first and test how the edge wears with food prep.
- If you see rolling or chips, raise the angle and recheck.
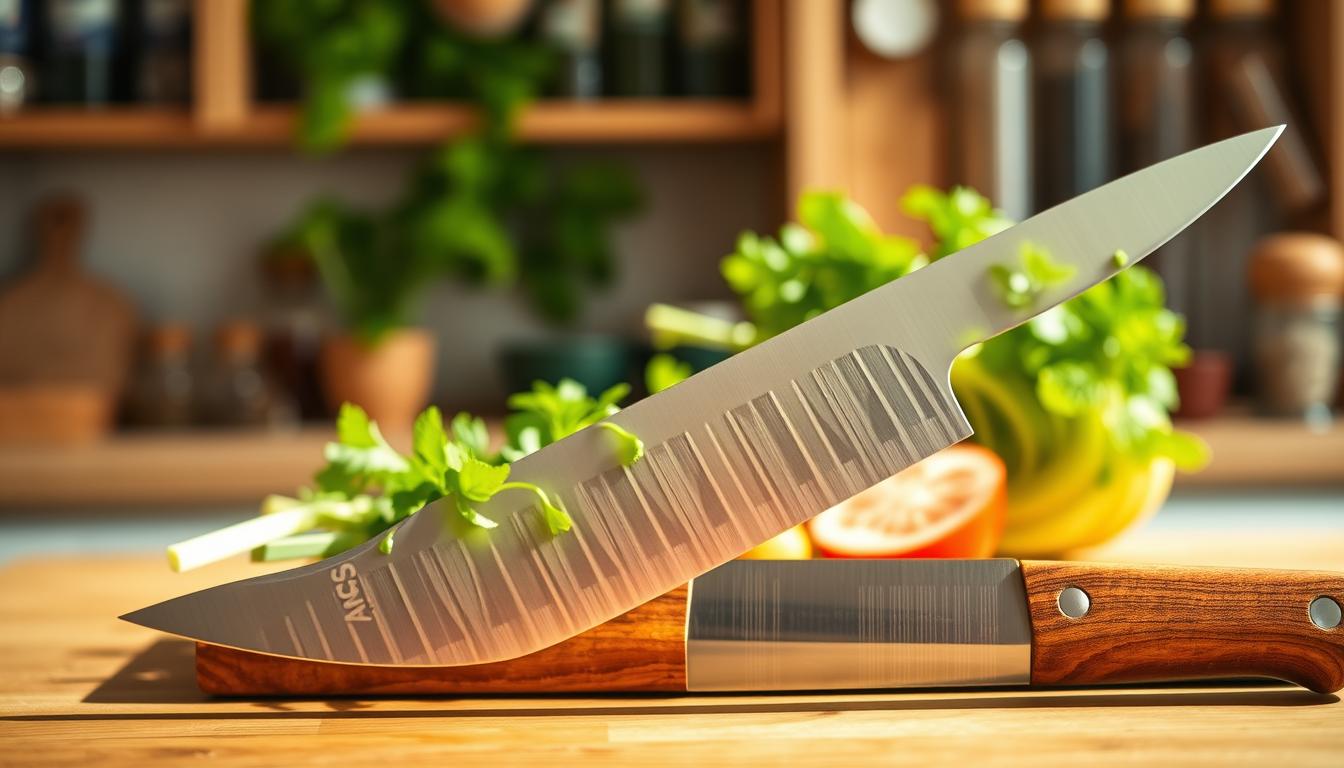
When You Should Add a Micro-Bevel to Kitchen Knives
Decide to add a tiny edge facet when your regular prep shows the blade failing under normal use. This choice is about real tasks in the kitchen, not lab numbers.
Thin, tall, full-flat ground blades that need a tougher apex
If your thin, tall, full-flat blade slices great but chips at the board, a narrow facet helps. It keeps the low-profile grind that gives fast slicing while protecting the very tip.
High-hardness steels that chip at aggressive angles
Harder steel can be brittle at low angles. A tiny facet stabilizes the edge without thickening the whole blade. That reduces chipping and extends time between touch-ups.
Building a durable “working edge”
Define a working edge as one that will stay sharp through prep, not just shave hair. Add the facet when you see repeated micro-chipping, quick loss of bite, or edges that feel fragile in use.
- When not to add: the blade is thick behind the edge and needs thinning instead.
- Match to your use: slice-focused cooks may skip it; heavy push-cut users benefit most.
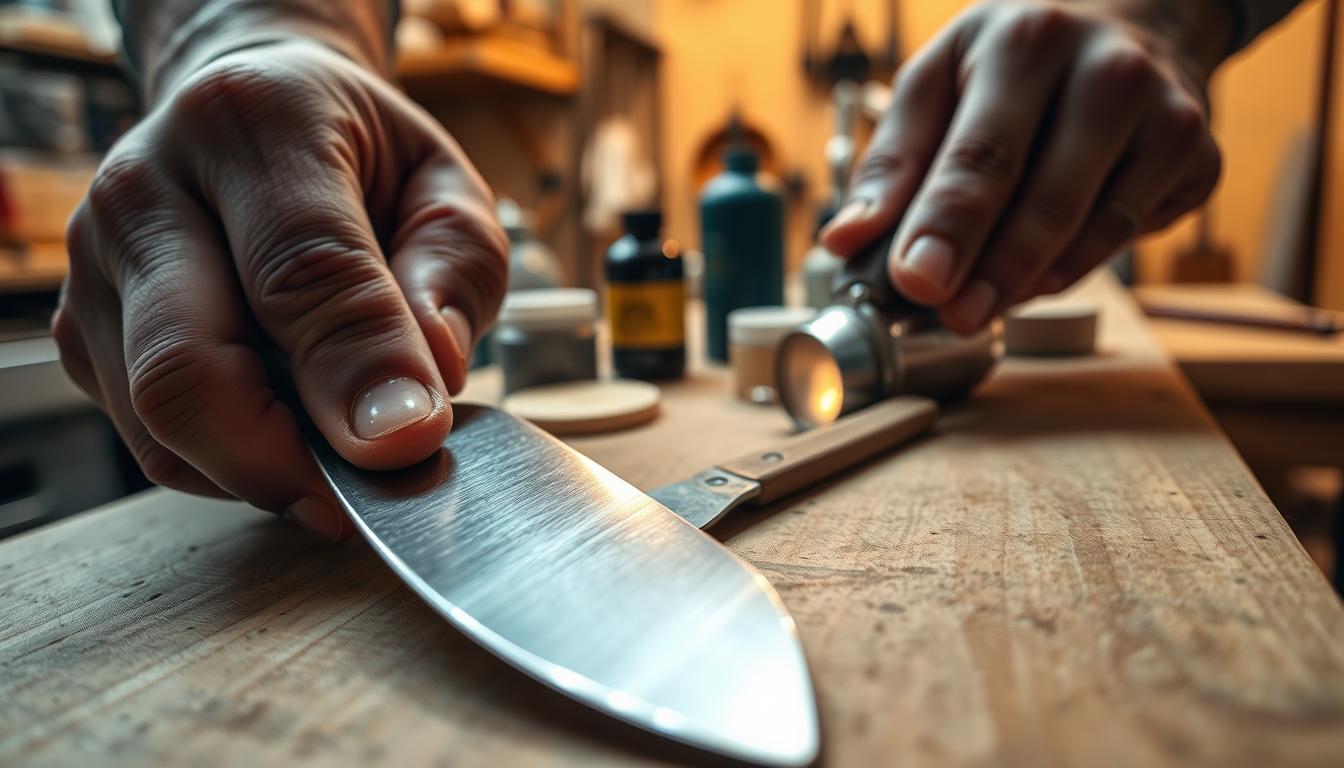
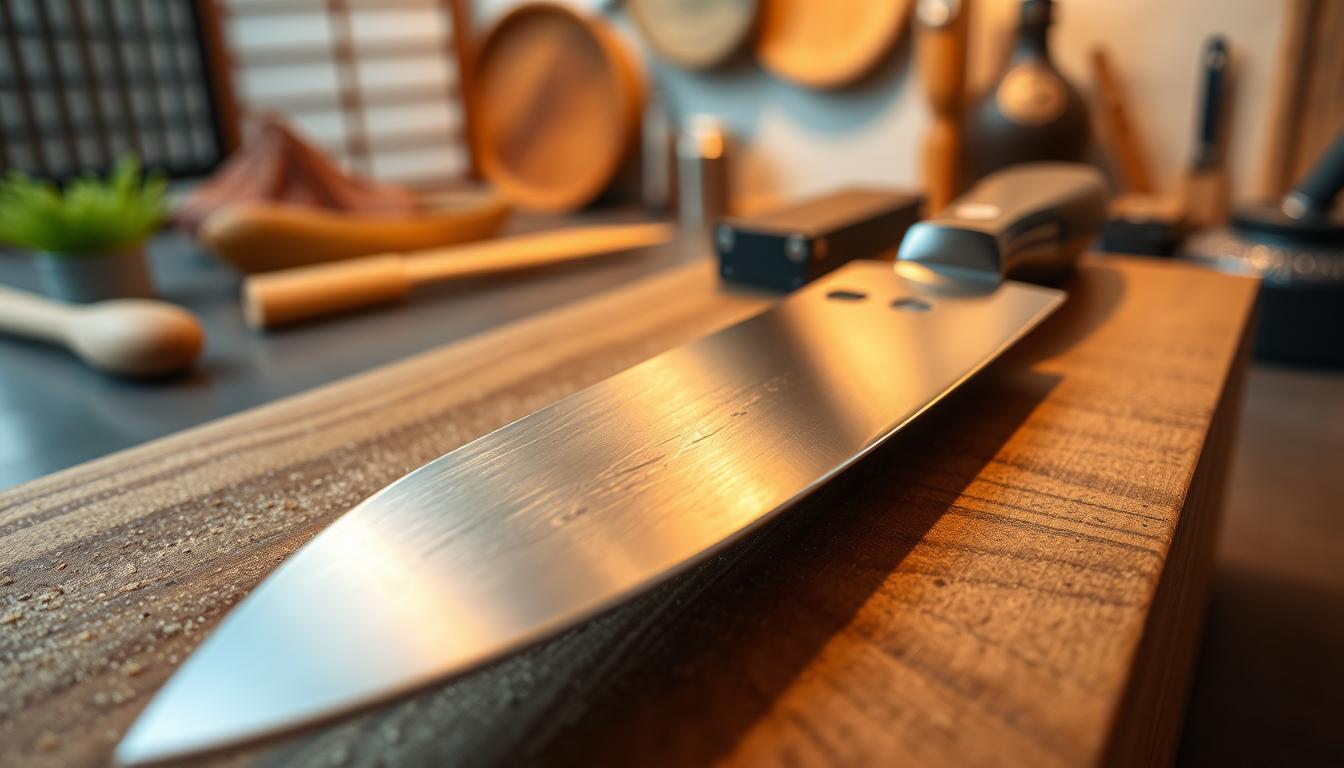
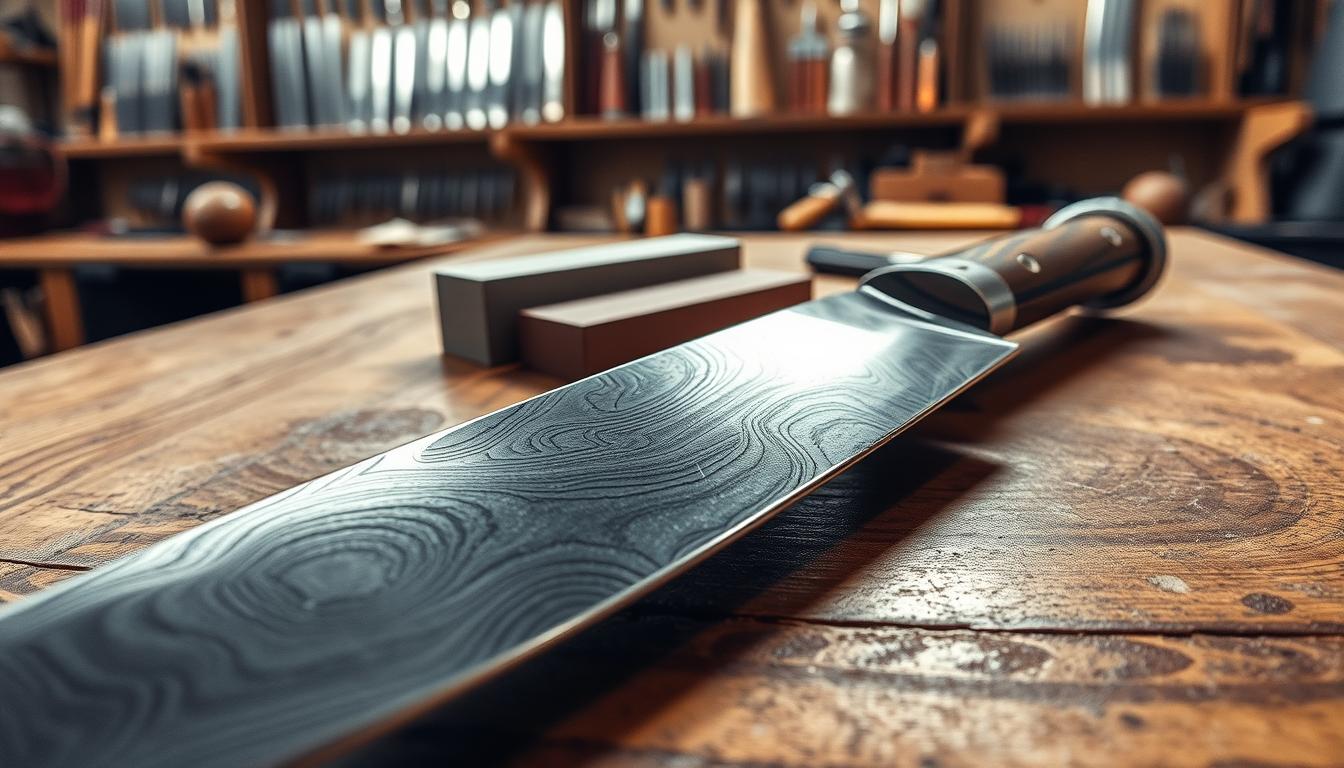
Tools and Materials You’ll Need for Micro-Bevel Sharpening
Your choice of stones and the way you press determine how tiny that final facet will sit. Gather a simple kit before you start so you can work cleanly and repeatably.
Stones and grit choices for creating a small, controlled bevel
Start with at least one medium-grit stone to set the base bevel and a finer finishing stone to place a narrow micro step. Higher grit stones reduce deep scratches and help keep the new facet very small.
Practical grit guide: use a medium (800–1000) to rebuild the geometry and a 3000–8000 finishing stone for the micro touch. The finer finish limits abrasion at the true edge and eases burr removal.
Guided systems versus freehand sharpening
Guided systems hold angle reliably, so your micro bevel is consistent along the blade. Freehand gives you feel, but it needs steady motion to avoid an uneven line.
Match the way you work to the blades you own. For long, thin edges, a guide helps keep the micro facet uniform without over-widening the apex.
Why light pressure matters at the micro-bevel stage
Use feather-light pressure for each finishing stroke. Heavy pressure will widen the micro facet, create a larger burr, and can leave a fatigued, weaker edge.
Stone choice, technique, and pressure together control how the burr forms and how easily you remove it. Aim for small, even strokes and check the edge often.
- Core tools: a medium stone to set the base and a finer stone to finish.
- Angle control: use a guided system for consistency or steady freehand for feel.
- Light pressure: short, gentle strokes to limit burr size and preserve the edge.
Once you can identify your baseline edge, you’ll be ready to intentionally bump the angle a few degrees and test the micro bevel in the next section.
How to Add a Micro-Bevel Step by Step
Start the micro step only after your main bevel is true and the apex feels continuous. You cannot fix a broken edge with a tiny tweak. Set the base geometry, confirm the edge bites, then move to the finishing facet. This keeps your sharpening work efficient and repeatable.
Set the base and confirm the apex
Make sure the primary bevel meets at the tip and the edge shows a continuous line. If the edge fails to apex, correct the bevel first with medium stones. Only then attempt the micro bevel.
Raise angle slightly; a few strokes per side
Increase your sharpening angle by a few degrees. Use just two to five light strokes per side. Keep pressure very light so the new facet stays narrow and controlled.
Keep it tiny and even; manage the burr
Work along the blade so the micro- bevel is uniform. Create as little burr as possible and remove it cleanly. A tidy burr removal gives a stable edge ready for real use.
- Repeatable workflow: whether guided or freehand with stones, focus on control not speed.
- Test: check cutting performance, look for consistent wear rather than a paper-only bite.
- Result: a balanced edge that trades minimal peak sharpness for longer service and less chipping.
How to Tell If You Did It Right
Check the edge visually and with simple cuts to confirm the finish matches your goal. Start with a close look, then move to short, practical tests that show real-world results.
Visual cues: a narrow, consistent line at the edge
Look for a slim, even line at the apex that runs the blade length. That narrow band means the new small bevel is uniform rather than a wide, new face.
Performance cues: less chipping and more stable cutting
Try produce skins and a few push cuts. If you see less chipping and the blade feels steadier, the change improved cutting performance.
Common signs you went too far and thickened the edge
A visibly wide bevel, increased wedging, or dull-feeling slices show you overshot. That extra thickness reduces sharpness and hurts cut feel.
- Keep it: narrow facet, stable performance, fewer chips.
- Reduce the bump: tiny improvement but noticeable wedging or loss of bite.
- Reset the base: uneven bevels or excessive extent of the new face mean rethin the primary geometry.
Maintenance and Touch-Ups: Keeping the Micro-Bevel Working
A few targeted passes can refresh a small edge facet and save you time at the stone. Regular, light maintenance keeps the working edge reliable and reduces how often you must regrind the whole blade.
Quick touch-ups with high-grit stones to stay sharp longer
Use a high-grit stone for short sessions to target the tiny bevel. Two to five gentle strokes per side often restore bite without removing much metal.
This saves time and steel: you refresh the micro facet instead of rebuilding the primary bevel.
When repeated touch-ups mean it’s time to rethin or reset geometry
Watch wear patterns. If the micro facet widens or the blade feels wedgy, repeated touch-ups are masking a bigger problem.
- Touch-ups work best when the blade is still thin behind the edge.
- Stop when cutting performance drops or the bevels visibly grow wider.
- At that point, rethin the geometry to restore slicing and long-term durability.
Set a maintenance rhythm based on use: frequent prep needs short, weekly touch-ups; light home use may need touch-ups monthly. Consistency keeps the edge stable and helps you stay sharp between full sharpening sessions.
Mistakes to Avoid When Using Micro-Bevels
A narrow final facet helps when done right, but a few common errors undo the gain fast.
Making the bevel too wide and killing cutting performance
Widening the micro-bevel turns the tip thicker and slows slices. If the blade still “tests sharp” but drags, you likely created a large face instead of a tiny edge. Correction: back off pressure and use just a few light strokes at a slightly higher angle.
Using too much pressure and creating chipping-prone fatigue
Heavy pressure widens the facet, forms a big burr, and fatigues the steel at the apex. That increases chipping risk. Correction: reduce pressure, make short strokes, and recheck the line after two passes.
Ignoring blade thickness behind the edge and blaming the steel
If the blade is thick behind the edge, a tiny facet won’t fix wedging. Don’t blame the steel in every case. Correction: thin the primary bevel first, then add a true micro facet for stability.
Confusing bevel naming and changing the wrong surface
- Know primary vs secondary before you grind.
- A wrong surface change wastes time and metal.
- Fix: mark the edge, test a small area, then correct the targeted face.
Practical tip: treat each error as a quick diagnostic case you can solve during the same page of work. Small fixes save metal and restore real-world performance.
Conclusion
A minimal extra facet — a micro bevel — reinforces the very tip so the edge resists chips with only a small rise in thickness.
You trade a touch of peak sharpness for much better retention and stability when the knife meets real work. Keep the angle conservative and use light pressure to keep the new band narrow.
If your edge chips or rolls at your preferred angle, adding a tiny micro step is often the fastest, cleanest fix you can use.
Remember: the geometry behind the edge still controls how the blade moves through material, so treat the facet as part of a full sharpening routine.
Follow the step-by-step and maintenance sections on this page to apply the method and repeat it confidently. This article leaves you ready to test and tune the approach for your knives.