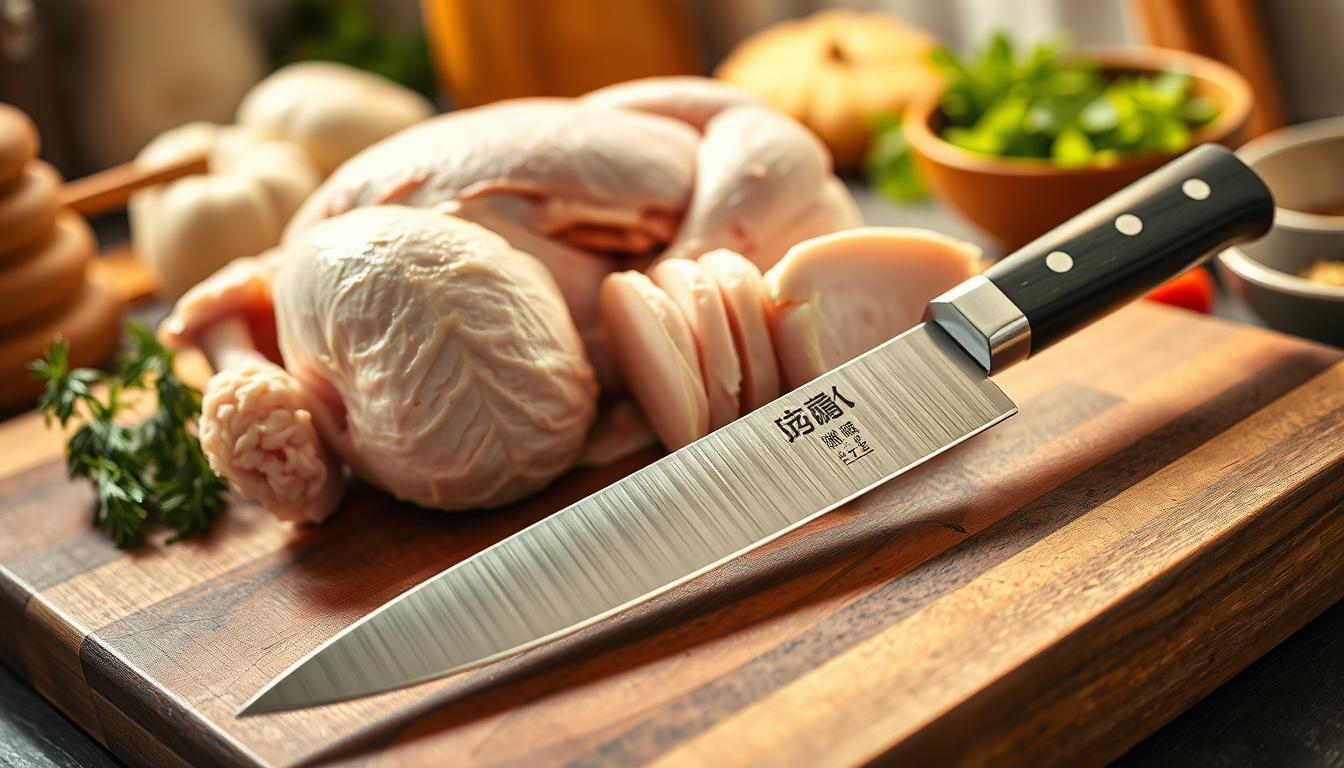
The Art of Sharpening Single Bevel Knives: Deba and Yanagiba
You’ll learn to preserve the existing geometry of these traditional blades rather than hunt for a new angle as you would on a Western double-edge knife. Work mainly on the front bevel — the kireha — and keep back-side passes light to protect the uraoshi flats and urasuki concavity.
This guide shows you a clear workflow: grind the front until a burr forms, flip to remove that burr without creating a second face, then progress through finer stones and finish with a small micro bevel (koba) for strength. Expect different goals for Deba and Yanagiba; Deba needs durability for heavier cuts, while Yanagiba demands low drag and a clean pull-slice.
Sharp here means a clean apex, minimal lingering burr, a straight shinogi line on the front, and a back that stays functionally concave. The most common ruin is treating both sides symmetrically — that wears cladding steel and harms edge performance permanently.
Single bevel knife geometry you need to understand before you sharpen
A clear view of blade geometry makes your work predictable. Know what each face does so you preserve function while you work.
Which side you sharpen and why the back matters: uraoshi and urasuki
The back has two key features: the urasuki concave hollow and the uraoshi thin rim. Keep the uraoshi narrow—about 2 mm or less—so you do not erase the concavity. Do not flatten the whole back; that destroys the design and shortens knife life.
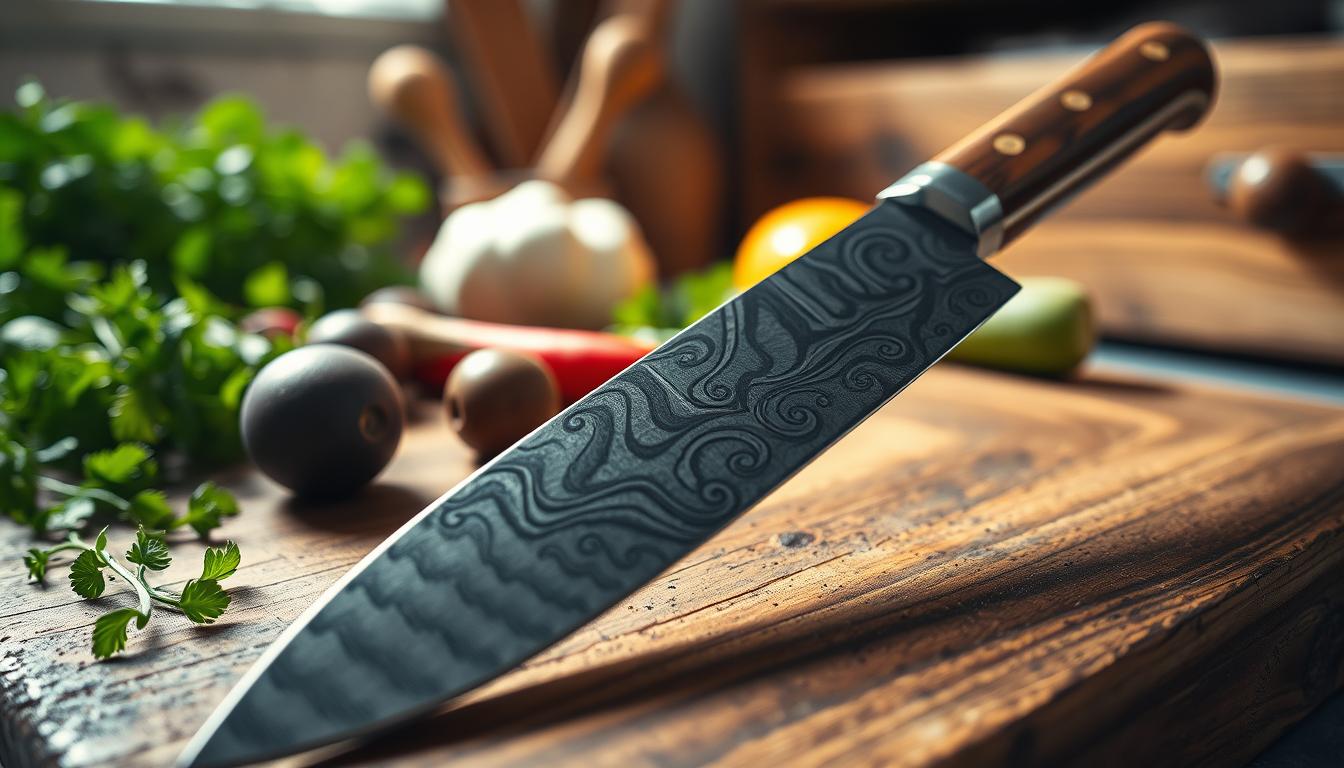
The main bevel and your roadmap: kireha and the shinogi line
The front kireha is the working bevel where the shinogi line must stay straight. As you remove metal, the shinogi will migrate up the blade. Match that movement so the bevel width stays even and cuts true through food.
Right-handed vs left-handed single bevel knives and setup
Confirm handedness by where the bevel sits before you start. Position the knife so you can keep full, flat contact on the kireha without twisting your wrist. At the tip, subtly rotate and adjust handle height to keep the shinogi crisp.

- Common types: Yanagiba, Deba, Usuba—verify which side to work on.
- One quick tip: only light uraoshi passes to clean burrs or chips.
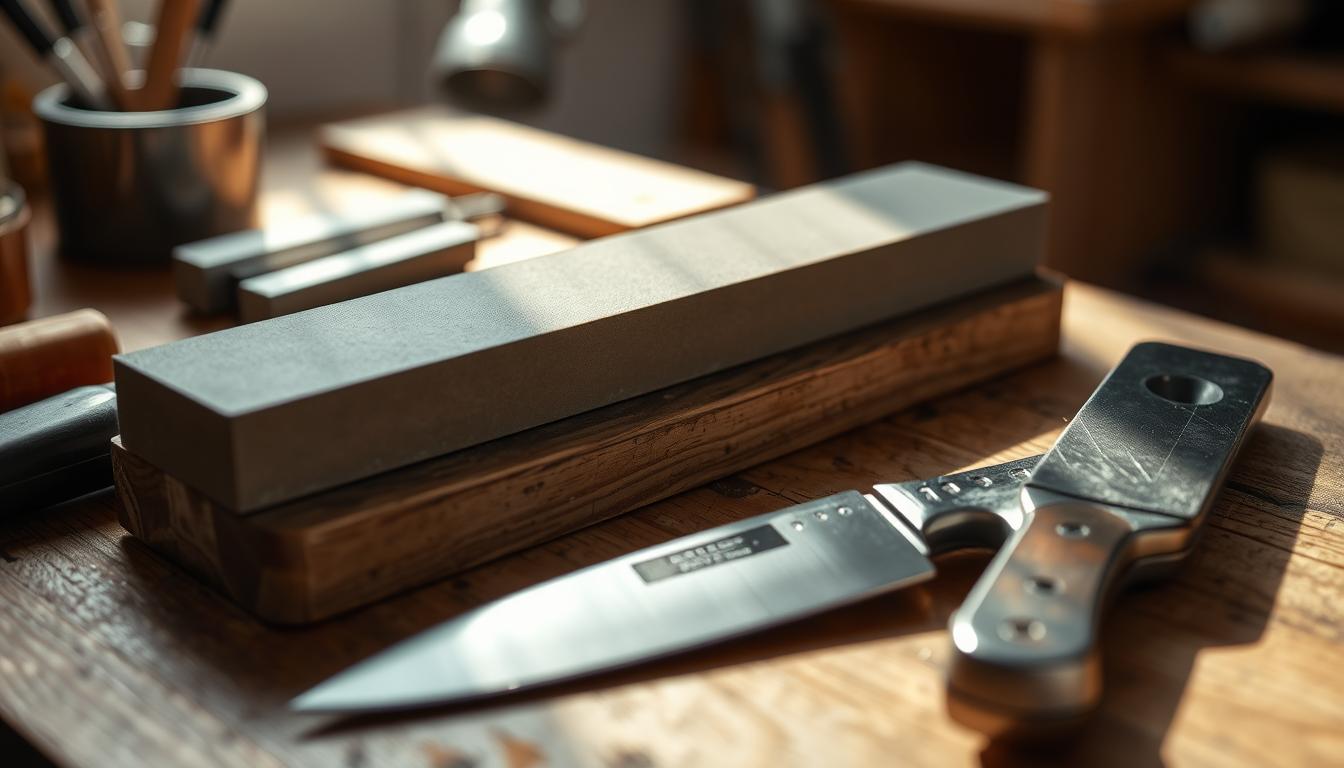
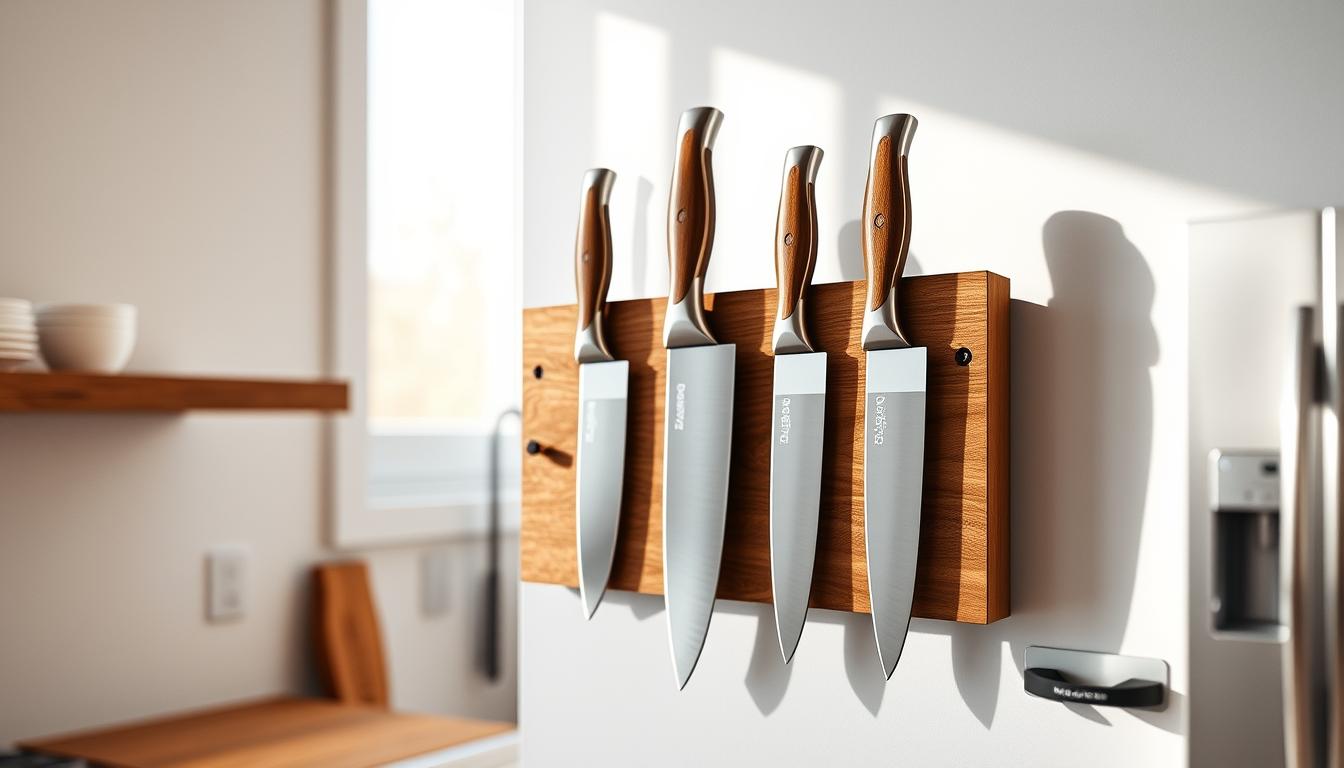
Tools, stones, and setup for consistent knife sharpening
Start with the right stones and a solid workstation so your edge work stays consistent.

Practical stone lineup: keep a medium stone (1000–1500) for routine work, a fine finishing stone (5000–8000), and a coarse 220–400 for Deba repair or chips. This setup covers most home needs without excess expense.
- Why Deba vs Yanagiba differ: Deba tolerates coarse work to reset an edge after heavy use. Yanagiba needs medium-to-fine stones to keep a clean slice and avoid removing too much metal.
- Flatness is non-negotiable: flatten stones before you start and during the session. A dished stone rounds the kireha and widens uraoshi areas.
- Accessories: stable holder, flattening plate, towel, and optional nagura for slurry control.
Angle and pressure control: lay the kireha flat as your baseline, use a marker to confirm contact, and raise or lower until the marked area wears. Use firm, steady pressure on coarse stones, then lighten pressure as grit increases to form a clean burr and avoid over-grinding.
Troubleshooting tip: if a video or guide page fails to load due to a page blocked extension message, try disabling extensions or disabling an ad/script blocker so instructional content loads correctly.
Sharpening single bevel with whetstones: the complete step-by-step process
Prepare your workspace. Stabilize the stone, keep water handy, and protect the wa handle with masking tape or plastic wrap so the wood does not stain during longer sessions.
Begin on the back side. Use a flat 1000–1500 stone and give only a few very light passes on the uraoshi rim to clear microchips without flattening the urasuki concavity.
Mark the rim if needed to confirm contact. Stop when the biting feel evens out—extra time here widens the uraoshi and shortens blade life.
- Front work: lay the kireha flat and work heel-to-tip, keeping the shinogi line straight with steady pressure.
- Raise a burr: continue until a continuous burr forms along the edge; this proves you reached the apex.
- Remove the burr: flip and take only light passes on the back so you don’t create a second bevel on the flat side.
Progress through coarse (only when needed), medium, then fine stones, keeping the same geometry, flattening stones as you go, and reducing pressure with each grit. Add a small koba micro bevel on the finishing stone by raising the spine a few degrees for strength.
Finish well. Deburr carefully, optionally strop, and remember: above ~8000 grit you mostly gain polish and feel rather than raw cutting power. Time spent on consistent technique beats chasing ultra-fine grit.
Deba and Yanagiba sharpening adjustments, common mistakes, and when to stop
You can protect long-term blade geometry by choosing the least aggressive stone that will do the job. Make grit choice and pressure your first decision before you grind. Small, steady passes keep the edge predictable and repeatable.
Deba considerations
Reach for coarse 220–400 only when chips, deep dents, or heavy wear demand major metal removal. For routine maintenance, stay in the 1000–3000 range to avoid shortening blade life.
Use firm pressure on coarse stones, then back off as you move to finer stones. This sequence preserves the kireha while resolving damage.
Yanagiba priorities
Focus on a refined face and a clean apex to support long pull-slices. Avoid aggressive coarse work that increases drag, disturbs the shinogi, or leaves scratches that hamper food release.
Critical mistakes and stop signals
- Don’t grind both sides like a double-bevel: that can expose soft cladding and ruin the knife.
- Never widen the uraoshi beyond ~2 mm or grind the back flat; that kills the urasuki effect.
- Stop back-side passes once you remove the burr and contact is even; stop front passes when a consistent burr appears.
When to call a pro
Seek pro repair for a vanished urasuki, warped shinogi, deep chips, or a blade repeatedly reground at the wrong angle. These need wheels and experience, not DIY time.
If your online cart stalls while buying stones or a sharpener, refresh and verify scripts before you worry—then return to steady technique.
Conclusion
Keep one simple rule at every session: follow the existing kireha and do less metal removal than you think.
Flatten your stones, work the kireha until you reach a clean apex, then use a few light back passes to remove the burr. Move through finer grits with lighter pressure and finish with a small koba micro bevel for strength and lasting edge feel.
For Deba expect occasional coarse work; for Yanagiba favor restraint and refinement to preserve slicing performance. If the urasuki is gone, the uraoshi rim is too wide, or the blade looks like a double‑bevel, stop and seek pro restoration rather than grinding more metal.
Tech note: if an embedded video or resource shows a page blocked extension message, try disabling extensions temporarily and reload the page so your guide continues without interruption.