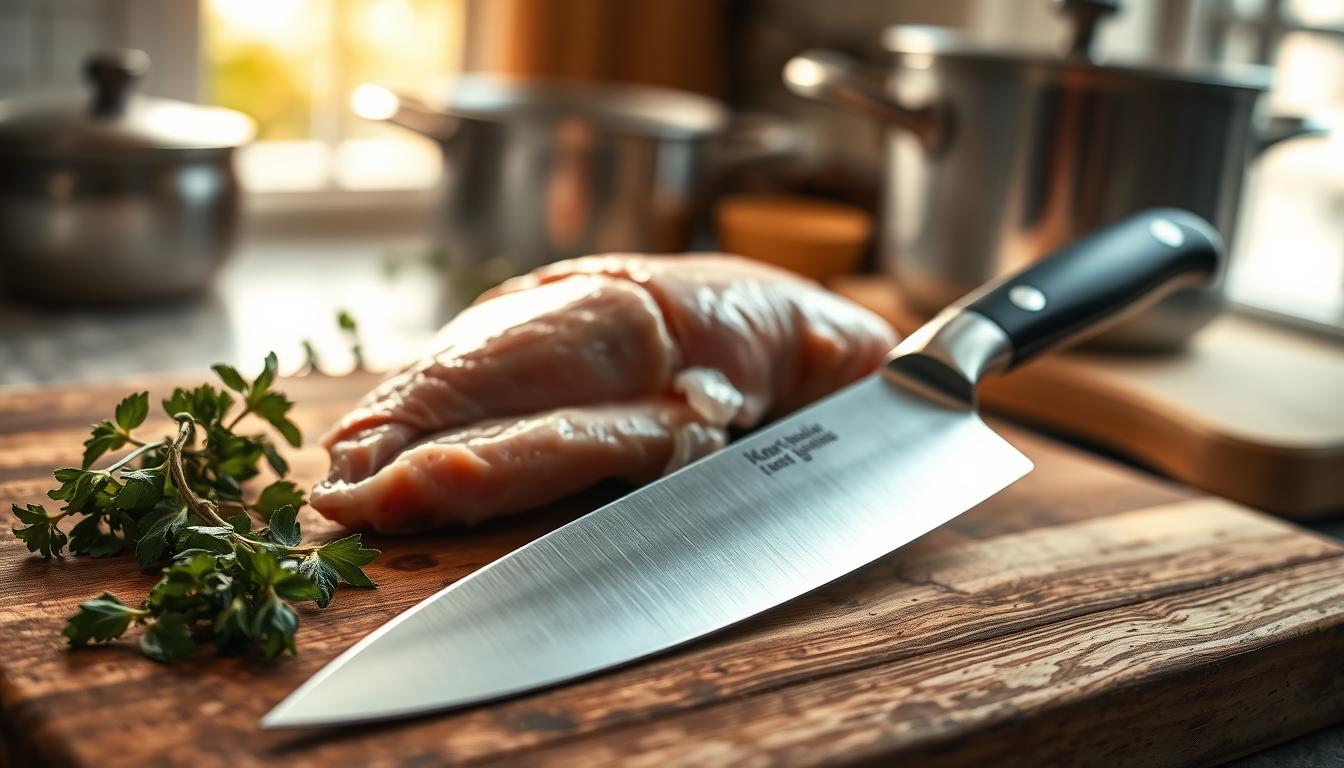
How to Clean Your Knife After Cutting Lemons and Acidic Foods
Quick care prevents stains and rust. After cutting citrus, tomatoes, or vinegar-based dressings, act fast to limit acid on the blade. Prompt hand-washing and thorough drying are the best first steps for most kitchen knives.
“Stainless” steel resists corrosion but is not rust-proof. Dishwashers speed wear through heat, moisture, and harsh detergents, so you should default to hand-washing and immediate drying even if your kitchen knife is marketed as stainless.
This short guide sets expectations: you will learn a fast post-cut routine, a simple neutralizing method, and a rust removal backup plan that fits busy kitchens. The main goal is to reduce acid contact time, remove residue safely, and dry completely so your blade stays sharp-looking and sound.
Practical outcome: fewer stains, fewer orange spots, less pitting, and longer blade life without complicated techniques.
Why acidic foods can damage your knife blade over time
Citrus and tomato juices start chemical reactions on metal the moment they touch a blade. Those reactions can etch the surface and leave visible marks if left too long.

How acid reacts with steel and other metal
Acid from lemons, tomatoes, or vinegar attacks the protective layer on many steel and metal surfaces. Over time this causes discoloration, small pits, or a dull finish.
Why “stainless” still needs attention
Stainless steel is corrosion-resistant but not impervious. If acid residue and water sit on the blade, the alloy can stain or pit, especially around seams and rivets.
Moisture, oxygen, and the start of rust
Rust forms when metal meets oxygen and water. A wet blade left on the counter or soaking in the sink speeds that process.
- Patina vs. rust: a patina can protect some high-carbon material, while orange specks and rough patches mean active rust.
- High-risk habits: soaking the blade, leaving it under wet towels, or storing it damp after prep.
- Early warning signs: rainbow discoloration, gray haze, orange spots, or rough areas that need attention.
Next up: prevention is mostly about speed, gentle cleaning, and complete drying—not harsh abrasives. In the next section you’ll get a simple checklist to keep at your sink.
Quick checklist of tools and materials to keep at your sink
A compact set of tools at the sink makes prompt care simple and fast. Keep items you use often within arm’s reach so you handle spills and acid residue right away.

Warm water, mild soap, sponge, and cloth
Rinse under warm water, use a mild detergent and a soft sponge, then dry with a dedicated clean cloth. This basic kit saves time and limits contact between acid and metal.
Baking soda for neutralizing and gentle scrubbing
Store baking soda nearby for quick spot treatments. Make a light baking soda solution or paste to neutralize residue without harming the blade finish.
Vinegar, container, and rust standby items
Keep a small glass or plastic container for controlled spot soaks. White vinegar is a reliable rust remover; use it only when needed and prefer short soaks to avoid discoloration.
Food-safe oil for protection
For carbon steel and high-care blades, apply a thin coat of refined edible oil like sunflower oil after drying. Avoid harsh scouring powders or aggressive pads that can scratch the material.
- Keep-it-by-the-sink kit: warm water, mild soap, soft sponge, and one clean cloth.
- Extras: baking soda, small container, white vinegar, and a food-safe oil.
- Avoid: abrasive powders, steel wool for finished blades, and rough pads.
What to do immediately after cutting lemons, tomatoes, or vinegar-based foods
The minutes after cutting acidic foods are the most critical for your blade’s finish. As soon as you finish slicing, rinse the knife under warm running water to reduce acid contact time. This step stops juices from sitting on the metal and lowers the chance of spots or early pitting.
Next, wash the kitchen knife by hand with mild soap and a soft sponge. Focus on removing food film gently rather than scrubbing hard. Pay special attention to the handle junction and the bevel where acid tends to collect.
Do not soak the blade in the sink. Standing water increases corrosion risk and makes reaching into the sink unsafe. Keep the knife visible and separate while you work so you avoid accidental cuts.
- Rinse under warm water immediately to shorten acid exposure time.
- Hand-wash gently with mild soap; avoid abrasive pads.
- Never use the dishwasher: heat, moisture, detergents, and banging speed dulling and staining.
Often rinsing and a quick hand wash are enough. If acid exposure was heavy or the blade still shows residue, use the baking soda neutralizing method in the next section.
Cleaning acid-sensitive knives with a safe neutralizing method
When your blade still smells sharp with acid, a fast neutralizing step can save the finish. Use this method after slicing many lemons, trimming tomatoes, or working with vinegar marinades.
Make a baking soda option for light or heavy residue
For quick wipe-downs, mix a thin soda solution: one teaspoon baking soda in one cup of warm water. For tougher spots, make a paste with two parts soda to one part water.
Gentle, safe steps to follow
Step 1: Apply paste lightly along the full blade. Work from spine to edge on both sides using a soft cloth or sponge.
Step 2: Let the paste sit about one minute after heavy exposure, then rub gently with light pressure.
Step 3: Rinse thoroughly with clean water so no soda remains near the handle junction.
When to repeat the process
If discoloration returns after drying or you cut more acidic food soon after, repeat these steps. This simple technique reduces corrosion risk and preserves the sharpness of your knife blade.
Drying the blade the right way to prevent rust and water spots
After you rinse and wash, dry the blade immediately. Letting water sit increases the chance of rust and visible spots on the metal.
Pat dry with a clean cloth and then air briefly
Pat the blade with a folded clean cloth rather than wiping fast. Folding the cloth gives you more control and keeps your fingers farther from the edge.
Hold the knife by the handle and move the cloth from spine to edge in one direction. Then set the knife on the counter and let it air for a minute so hidden water can evaporate.
Check the small parts and store only when fully dry
Pay special attention to the handle junction, rivets, pins, stamped logos, and any seam where water can hide. These parts trap water and start rust first.
- Pat dry right away; don’t let water evaporate on its own.
- Use the folded cloth as a barrier to protect your fingers.
- Short air time on the counter helps hidden water dry before storage.
The payoff: fewer water spots, less flash rust, and a blade ready for storage. Once fully dry, decide if a thin oil coat is needed based on steel type and how you store your knife.
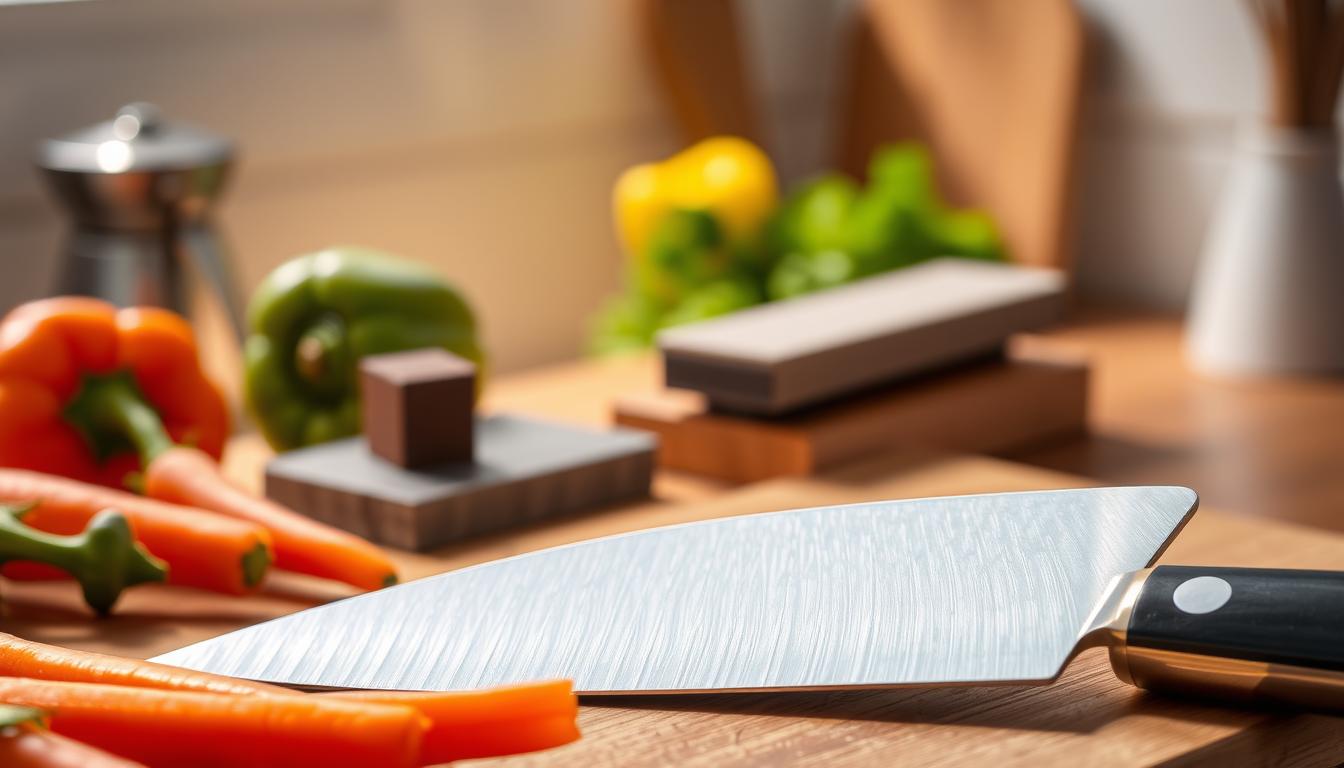
Oiling and protecting steel knives after cleaning
A thin film of oil can be the simplest and most effective shield for metal after you finish washing a blade.
Oiling helps most when steel contains little or no chromium. High-carbon and low-chromium steels benefit the most, and any knife you won’t use daily or that will live in humid air should get a light coat.
When a thin coat helps
For many stainless knives, oil is optional day-to-day. Use it if you notice spotting or if you plan long-term storage.
How to apply oil without stickiness
Put a drop or two of food-safe oil, like refined sunflower, on a clean paper towel or soft cloth. Spread a whisper-thin layer along both sides of the blade from heel to tip.
- Thin is the goal: excess oil attracts dust and may feel sticky or transfer when you next use the knife.
- Lightly oil exposed metal near the handle junction, but avoid soaking wood handles or leather sheaths.
- Always oil only after the blade is fully dry and store where it won’t rub hard against other tools.
Before you cook, simply wipe the blade once on a clean towel so it feels dry and ready to use. This small step adds reliable corrosion resistance to your regular cleaning and drying routine.
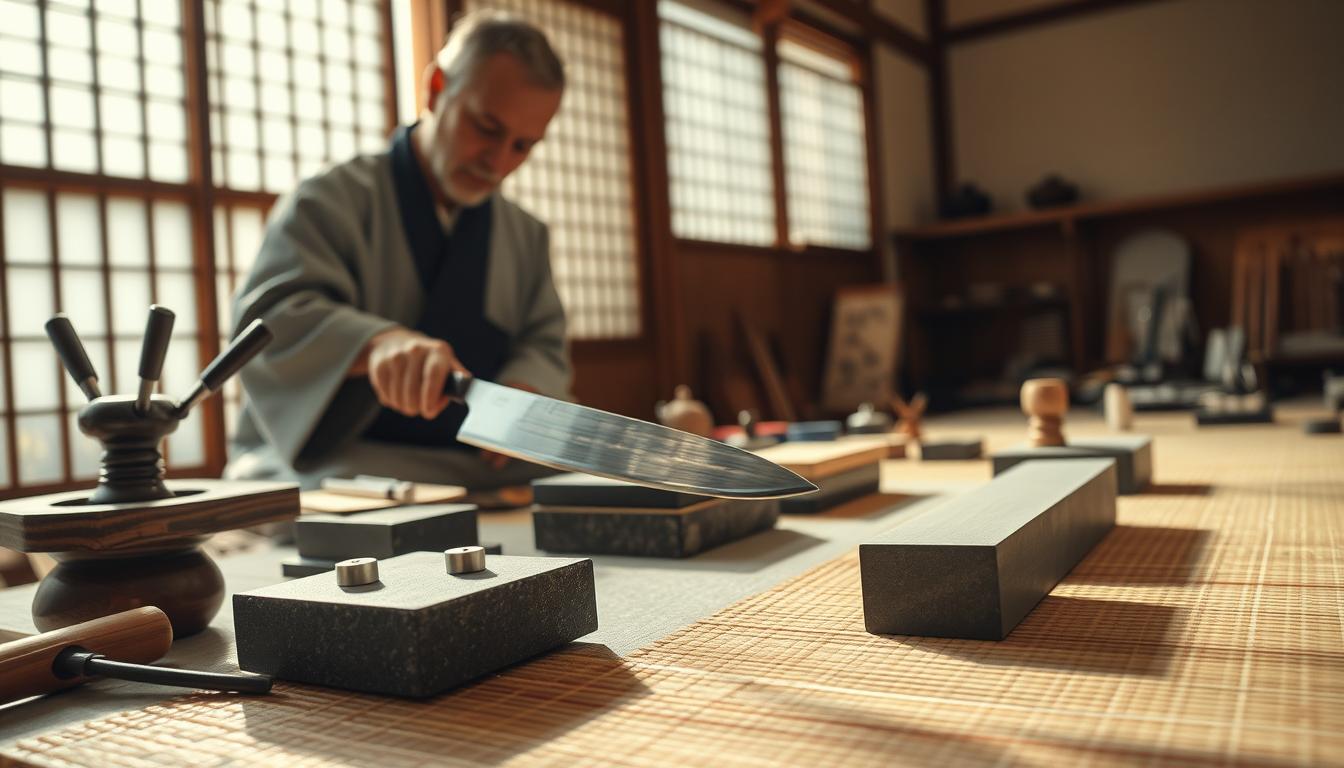
How to remove rust if it shows up after acid or moisture exposure
If rust appears on your blade, start with a calm plan: assess the scale and pick a gentle method. Identify small orange specks versus larger, rough patches near the handle or edge.
Baking soda paste for light surface rust
Make a paste of baking soda and water and apply it to the affected metal. Rub gently with a soft cloth or nonabrasive pad for a minute or two, then rinse and inspect.
White vinegar soak — about 30 minutes
For stronger spots, soak only the blade in white vinegar for about 30 minutes. The acid loosens rust. After soaking, use a soft scrub to lift residue, then rinse well.
Lemon juice for stubborn areas and extra time
Use lemon juice as a more potent option. Rub fresh juice onto the rust or soak the piece; allow at least 30 minutes and extend time for thicker corrosion.
When to use pads or steel wool and safety notes
Use a light scrubbing pad or fine steel wool only when needed. Keep pressure low to avoid changing the finish or removing healthy metal. Avoid power tools and heavy stones unless you are experienced; they remove material fast and can ruin geometry.
- Finish: rinse thoroughly, dry completely, and apply a very thin coat of oil to slow future rusting.
- If rust returns quickly, revisit your washing, drying, and storage routines — moisture and air cause most problems.
Conclusion
A few quick habits at the sink keep your blade looking and performing like new.
Rinse right after cutting acidic foods, hand-wash with mild soap, neutralize spots when needed, and dry thoroughly. Treat a kitchen knife as a daily tool; don’t let water or juice sit on metal.
Remember that stainless steel resists but does not prevent stains. Even your best knives need prompt care to avoid rust or pitting on the steel.
Prevention is easier than repair. Most problems start when water, acid residue, and time overlap after cutting. A fast routine stops that trio before it causes visible rust.
Make immediate cleanup your habit. A few seconds of proper cleaning and drying protects the blade and helps your knife perform well for years.