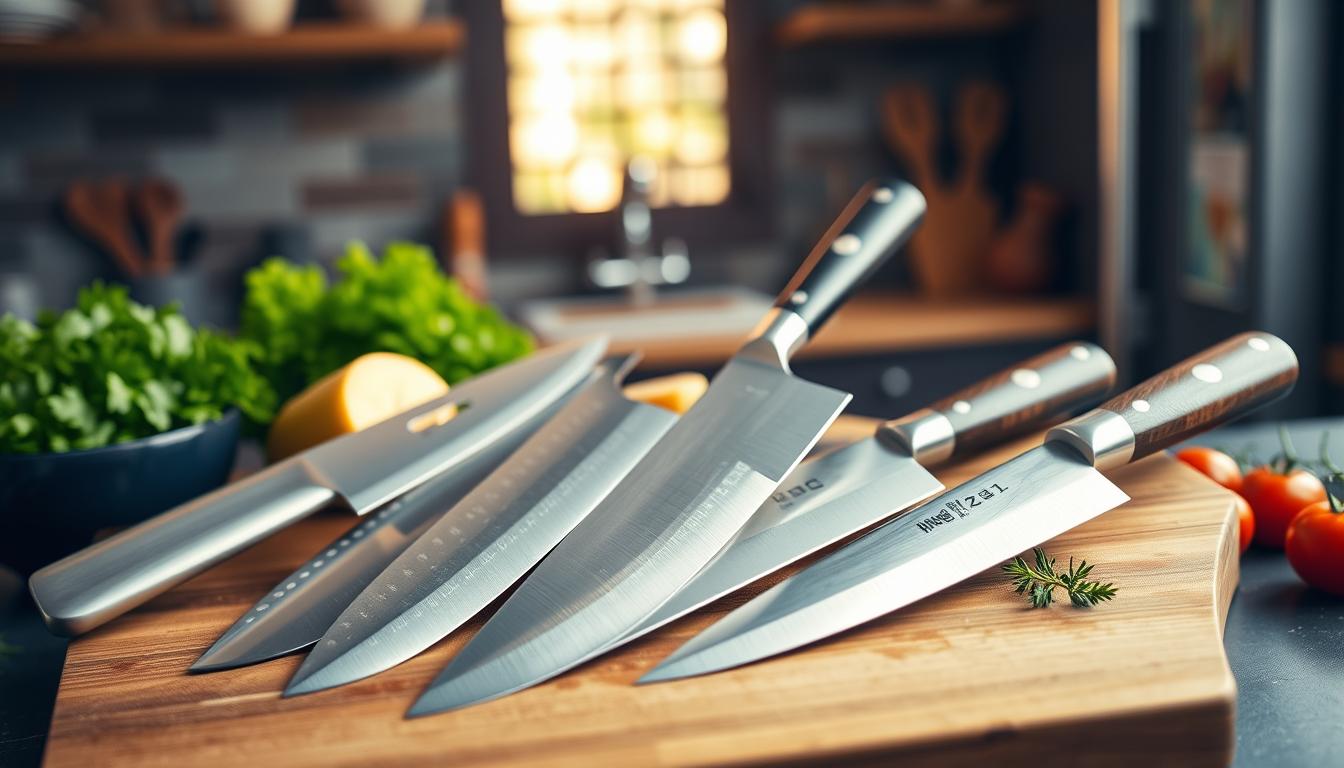
How to Prepare and Store Your Professional Knives for Months of Non-Use
You rely on sharp, clean tools in a busy kitchen. Proper preparation before a long period of non-use keeps your gear ready and prevents common problems like rust, pitting, and handle shrinkage.
“Long-term knife storage” means planning for weeks, months, or years and changing your approach based on the room’s climate and humidity. Assess risks, clean and dry each blade, apply a protective barrier, and pick a container that won’t trap moisture.
Both professional kitchen knives and high-end folders share the same core rule: remove salts and moisture, then limit oxygen and humidity exposure. Stainless resists corrosion better than carbon, but neither is immune in damp basements or near salt air.
Use proven products like Renaissance Wax, Tuf-Glide, or silicone wipe-downs as brief protectants rather than heavy oils. More oil is not always safer—cool, damp conditions can trap condensation under wet coatings.
Quick preview: assess risks, clean and dry, apply protection, choose a safe case, and control humidity for the whole time. The rest of this guide will show common container mistakes to avoid.
Assess Your Storage Risks Before You Put Any Knife Away
Before you tuck tools away, take a moment to evaluate the risks where they will rest. A short audit helps you match your plan to the room, the materials, and the likely hazards.
Match your plan to climate and room conditions
Check humidity levels and ambient moisture. Damp, cool spaces raise corrosion risk fast. In humid areas, prioritize desiccants or a dehumidifier set to a moderate level so you don’t over-dry natural handles.
Identify what you’re storing
Know the blade metal and the handle materials. Carbon steels need stronger barriers and more monitoring than many stainless types. Natural handles like bone, stag, and horn can crack if the room gets too dry.
- Walk a quick risk audit: closet, safe, basement, garage, or climate-controlled room.
- Consider airflow: sealed cases can be great if you control internal humidity; they can trap moisture if you don’t.
- Decision tree: in humid climates, use dehumidifiers and silica; in dry zones, protect natural handles and avoid overdrying the space.

Clean, Dry, and Prep Your Knives to Prevent Rust and Corrosion
Start by stripping every visible residue from the blade so salts and oils don’t invite rust while it’s idle. Use a solvent-safe cleaner or mild dish soap and a soft, lint-free cloth to remove food, fingerprints, and salts that speed corrosion.
Repeatable cleaning routine:
- Wipe the blade with a degreasing cleaner, then rinse with warm water.
- Dry with a clean, lint-free cloth, working the edge away from you.
- Inspect pivots, the ricasso, and handle seams for trapped moisture.
Folding knives need extra attention: open the blade and wipe pivots, liners, and cavities. For fixed blades, check the choil and the junction where handle meets metal, and consider sheath effects on blades left in covers.
Always allow extra air-dry time so you don’t trap humidity under wax or oil. Finish with a final inspection under bright light to catch faint residue near the edge or handle junction.
Practical tip: If you used the blade that day, don’t rush it into a case—clean and fully dry first to keep the metal stable over time.

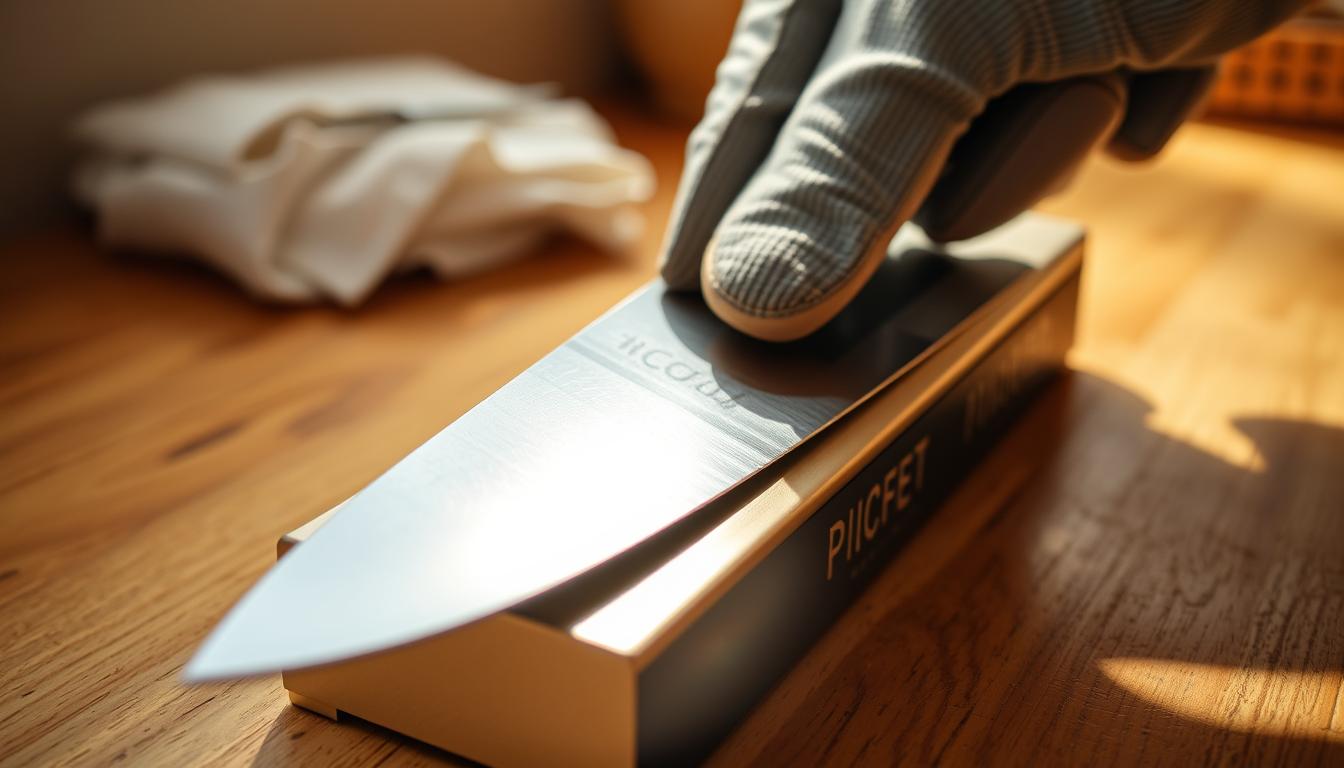
Long-term knife storage: Choose a Protective Barrier That Lasts
Choose a protective finish that keeps metal isolated from air and humidity while it rests. The goal is simple: create a stable layer between steel and the environment so the blade won’t oxidize over months or years.
Wax coatings for durable protection
Wax like Renaissance Wax offers long-lasting protection that can last for years if the piece is rarely handled. Apply thin coats, buff well, and avoid buildup near pivots so moving parts don’t gum up.
Use oil carefully
A light coat of food-safe oil can help, but avoid over-oiling. In cool, damp areas excess oil can trap moisture and cause condensation that leads to rust.
Quick, food-safe wipe-downs
Silicone-impregnated cloths give a nontoxic, easy option for blades you touch often. They leave little residue and are safe for food-contact surfaces.
Dry-film protectants
Products such as Tuf-Glide set on the metal and offer neat, low-mess corrosion resistance. They work well when you expect occasional handling and want less reapplication.
- Protective barrier = steel + less air/humidity contact.
- Wax for long-term storage and minimal upkeep.
- Oil sparingly; use a tiny bit on natural handles with a drop of mineral oil if needed.
Select the Right Storage Container Without Trapping Moisture
Your biggest enemy when packing tools away is trapped moisture, not outside spills. Pick a container that keeps metal protected but lets you control internal humidity.
Avoid foam padding: foam and pluck foam may cushion items, but they hold moisture against metal and raise corrosion risk. Skip foam-lined cases for long idle periods.
- Hard cases protect from impacts and dirt, but a sealed case can lock in humidity. Use desiccant packs and check internal air before sealing.
- Plastic boxes work well when paired with silica gel. Pack on a dry day and give the box a short airing before closing to avoid sealing damp air.
- Soft rolls and fabric wraps breathe more, but still need blade protection like wax or dry-film products to prevent surface oxidation.
For zippered cases—especially vinyl—leave a 1/2″ to 3/4″ gap for airflow. Use light paper or a soft wrap between items to stop scratches without creating moisture traps.
Match type to use: rigid cases for transport, plastic boxes for home shelving with silica, and fabric rolls for mixed use where breathability helps.
Control Humidity, Silica Gel, and Airflow During Long-Term Storage
Control of ambient air makes everything you’ve done to protect blades actually work. If the room stays damp, coatings and wraps struggle and corrosion risks rise fast.
Target mindset: keep relative humidity low enough to limit corrosion but not so bone-dry that natural handles shrink or crack. Aim for a steady band rather than wild swings.
When to use a dehumidifier: basements, garages, coastal homes, and places with seasonal swings benefit. Run the unit until conditions stabilize, then monitor to avoid over-drying.
- Place silica gel packs inside cases but do not let them touch metal directly; position them near corners or liners.
- Recharge packs by baking at roughly 200–300°F for a couple of hours; watch them and cool fully before reuse.
- Consider rust-preventive vapor tabs in sealed cases; they emit a protective vapor and can last up to two years depending on the product.
Finally, allow a little airflow when practical. Sealed containers need desiccants and vapor inhibitors. Your goal is stable, controlled conditions for the entire term of storage.
Handle Sheaths, Wraps, and Special Situations the Right Way
Small choices in how you cover and carry blades decide whether they come back clean or corroded. Pick materials that protect edges without trapping humidity next to metal.
Why avoid leather sheaths: leather soaks up moisture and holds it against the blade. That creates a micro-environment that encourages rust and pitting, even if the leather used safe tanning methods.
Practical cover alternatives
When you need a simple sleeve, make one from cardboard and tape. It protects the edge and your hands without the moisture-trapping problem leather causes.
Vehicle and go-bag guidance
Before stashing in a car or kit, wipe the blade with a silicone-impregnated, food-safe cloth. Then use a cardboard sheath so the blade won’t sit in damp leather inside a hot, sealed console.
Plastic, Kydex, and packing tips
Plastic or Kydex sheaths can be acceptable, but still apply a thin protective barrier to the metal and avoid sealing damp air in a box.
- Pack multiple items in a box with soft separators to prevent rubbing and preserve finishes.
- Position desiccant near corners, not directly touching metal.
- Keep airflow in mind; sealed boxes need active moisture control.
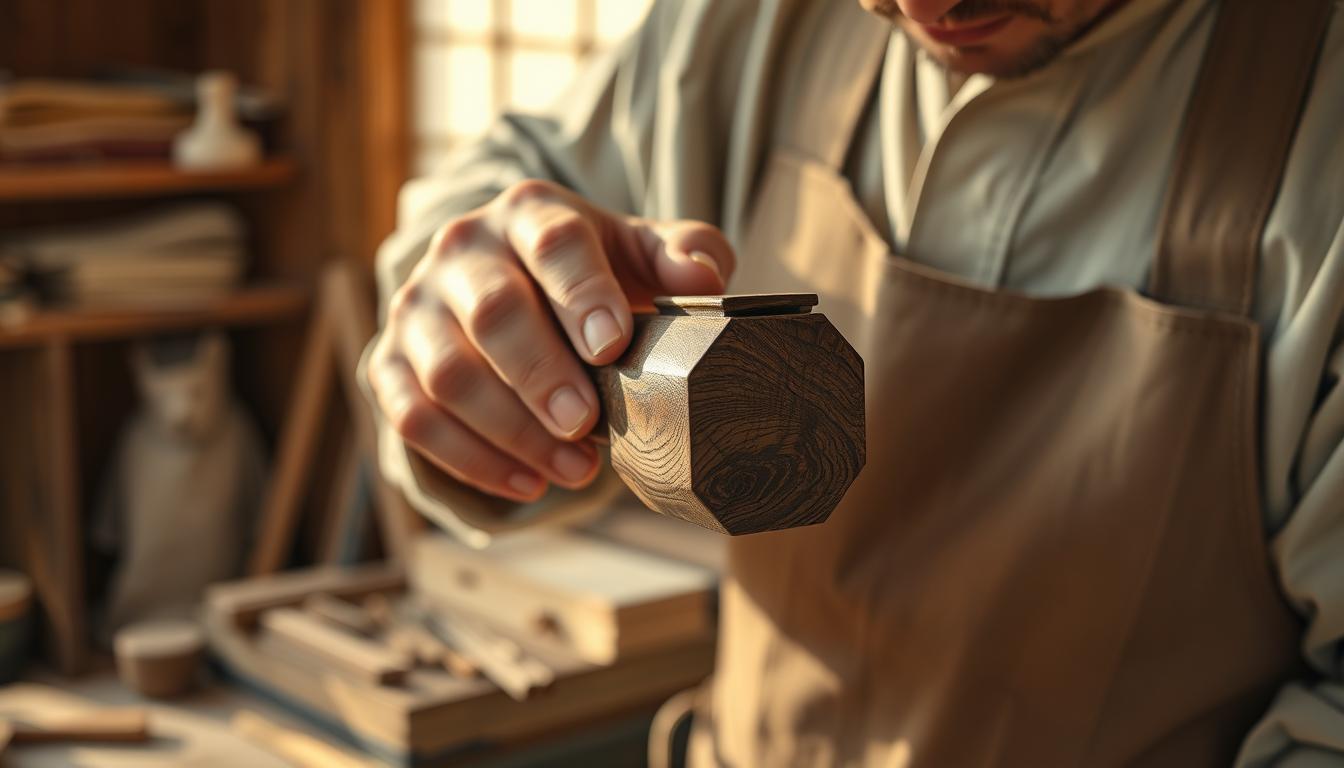
Protecting natural handles
For bone, stag, or horn, use a very light coat of 100% mineral oil in dry conditions to prevent cracking. Use just a bit to cut staining risk.
Conclusion
A simple checklist keeps your blades ready and prevents costly damage while they sit unused.
Follow these quick steps: assess risks, clean and dry each blade, apply the right barrier (wax for months or years; oil sparingly), pick a case that won’t trap damp air, and pair sealed boxes with desiccant or vapor tabs.
Avoid foam-lined cases and don’t leave a knife in leather for long. Label each item on paper or a tag with the name and last wipe-down date. Check items monthly in humid areas, less often in stable rooms.
These small habits protect edge performance, finish, and handle fit. They cost far less than restoring pitted metal. Thanks for reading and for caring for your knives.