Japanese Wa-Handle Care: Protecting Traditional Octagonal Wood
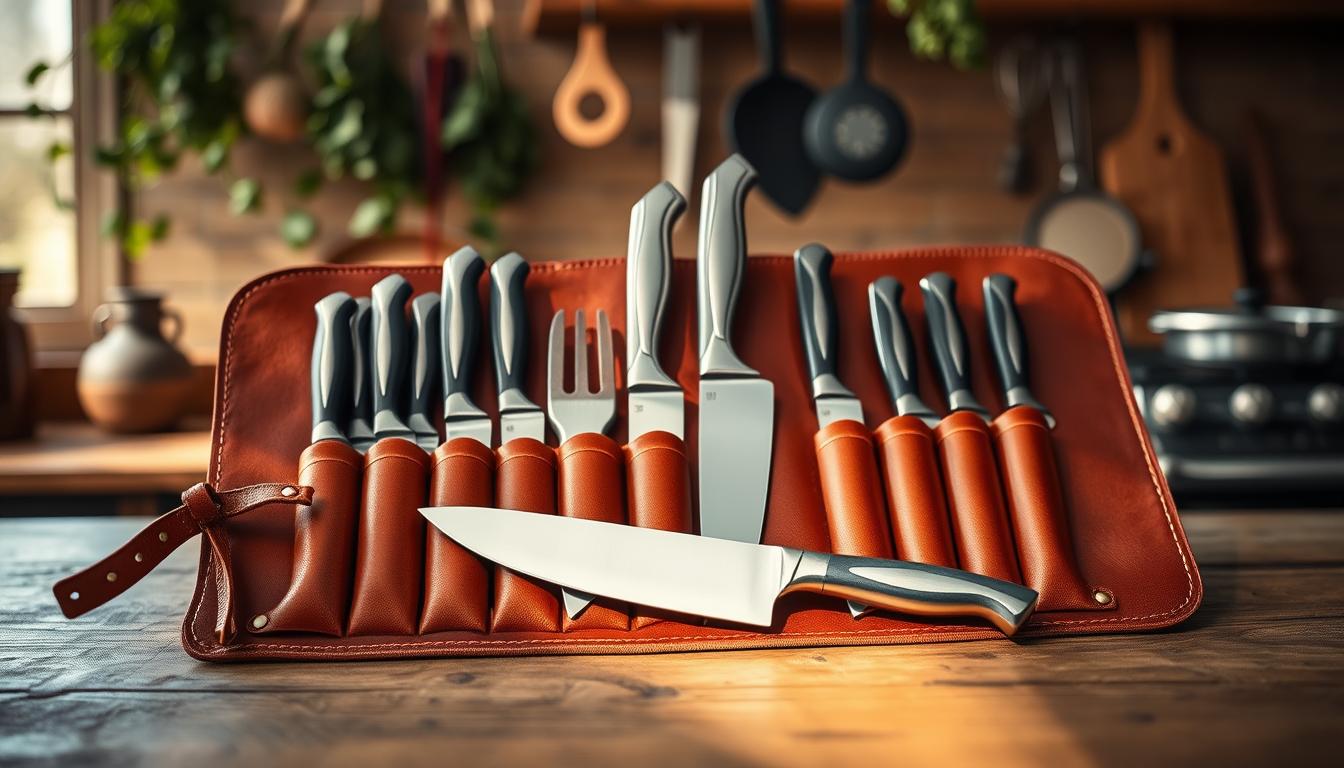
Traditional wa-handles shape how a japanese knife feels in your palm. These octagonal wooden handles are light, warm, and let the blade sit forward for precise cuts.
What “Caring for Wa-handles” means in practice is simple: limit water exposure, dry the junction, store the tool upright or sheathed, and condition the wood on a basic schedule. Do this and you prevent swelling, odours, and hairline cracks.
The biggest risks you stop are trapped moisture at the blade-handle junction, a swollen fit that loosens, and a dried handle that splits. These problems harm grip, balance, and long-term value.
This guide is for you if you use a japanese knife at home, prep meals often, or want a no-drama routine that keeps the handle steady and safe. Expect a firmer grip, cleaner hygiene, and a comfortable handle that lasts for years.
Why Wa-Handle Care Matters for Your Japanese Knife
Proper handle upkeep directly affects how safe and precise your knife feels in your hand. A japanese knife handle that is slick, swollen, or cracked steals control from you and raises the chance of slips while cutting.
Safety, grip, and control in your hand
Think of the handle as the control surface for the blade. Small changes in texture or fit change how the blade responds to pressure. A shifting knife handle makes fast work riskier and tires your hand faster.
Longevity, value, and daily comfort
A smooth, sealed handle stays comfortable over years. Routine simple care prevents rot, delamination, and costly replacement. Keep the handle conditioned and it will hold balance and feel longer.

Hygiene risks from trapped moisture around the ferrule
Moisture often pools where the ferrule meets wood. If you don’t dry that junction, water can wick into the grain. Trapped moisture plus food residue brings odors and bacteria in busy kitchens.
- Quick payoff: a few minutes of care protects the knife handle’s function, feel, and resale value.
- Practical tip: dry the joint right after washing to stop moisture from entering the wood.
Know Your Wa-Handle Before You Maintain It
Start by learning what your handle is made of and how its shape wears with use. Identify whether the grip is octagonal or D-shaped; each shape shows wear in different spots: edges and corners on octagonal grips, palm-side wear on D-shaped ones.

Most traditional japanese handles are made from ho (magnolia) wood. Natural wood varies in grain and absorbency, so two similar knives can age very differently. That variation affects how quickly a piece looks dry.
What the ferrule and tang do
The ferrule reinforces the blade end and hides the joint where water collects. Buffalo horn ferrules look premium but need gentler treatment — less soaking and soft drying help preserve them.
- Friction fit explained: a hidden tang sits tight inside the handle. Swelling or shrinkage from moisture can cause wobble, sometimes masked by a small wedge.
- Material matters: identifying wood and ferrule materials sets the next steps in your maintenance routine.
- Inspection tip: check shape, grain, and ferrule fit before any oiling or repair.
Wa-Handle vs Western-Style Knife Handle: Care Differences That Matter
Different handle constructions change what you must watch for when maintaining your knife. Identifying the build guides your daily routine and prevents common failures.
Hidden-tang wa-handle vs full tang yo-handle construction
Hidden tang handles (stick tangs) rely on a friction fit inside the wood. Moisture trapped at the blade-handle junction can wick into the grain and loosen the fit.
Full tang or yo-style handles use scales and pins across a visible metal spine. A full tang often feels more water-tolerant day-to-day, but you still should dry the joint area after use.
Pakkawood composite vs wooden handle maintenance expectations
Pakkawood composite and materials like pakkawood are resin-impregnated and resist water better than natural wood. That means less frequent conditioning and easier stability in humid kitchens.
Natural wood handles need periodic oiling and closer inspection at the ferrule. Low maintenance does not mean care-free; consistent cleaning and quick drying remain essential.
- Match care to construction: protect hidden tang joints differently than full tang scales.
- Expect fewer oils with composites, but still dry around the blade after washing.
- Treat wooden handles with scheduled conditioning; treat composites like pakkawood with simpler upkeep.
Daily Cleaning Rules to Prevent Moisture Damage
Small habits after each use keep wood stable and joints tight on your Japanese knife. Follow a short, repeatable routine and you’ll stop the common problems that come from trapped moisture at the ferrule and seam.
Hand-wash only and keep the handle out of the dishwasher
Always wash this knife by hand. Never put it in the dishwasher. Dishwashers use hot cycles and harsh detergents that extend wet time and can swell wood and loosen the friction fit.
Rinse smart: minimize water exposure to the wood and joint
Rinse the blade quickly and angle the handle up and away from the stream. Avoid running water directly into the ferrule seam to stop water from wicking into the grain.
Dry immediately with a soft cloth, including around the ferrule
Wipe the blade and then the handle with a soft cloth. Make sure you deliberately dry around the ferrule and blade-handle junction. The rule is simple: the handle must be dry before storage, not later.
- Quick routine: rinse the blade, avoid flooding the handle, and wipe dry immediately with a soft cloth.
- Why it works: limiting water contact prevents swelling and keeps the joint tight without special tools.
- Timing rule: store the knife only after the handle feels dry to the touch.
What to Avoid That Shortens Handle Life
Avoid a few common mistakes and your wooden handle will outlast many kitchen seasons. Damage usually comes from easy-to-stop habits: too much water, sustained heat, and abrasive cleaning.
No soaking or leaving knives in water
Make “no soaking” a hard rule. Do not leave a knife in a sink, a tub of water, or under a damp towel where water sits against the wood.
Avoid heat, direct sunlight, and hot surfaces
Keep the handle away from hot pans, burners, and sunny windowsills. Long exposure to heat can warp or crack the finish and distort the shape over time.
Skip harsh abrasives that roughen the grain
Abrasive cleaners and rough pads raise the grain and strip protective finishes. That rough surface soaks up moisture faster on the next use and feels fuzzy in your hand.
- Safe alternatives: mild soap, a soft sponge, and a quick rinse focused on the blade.
- Troubleshooting note: if a browser reports a blocked extension or a page blocked extension while you research products, rely on reputable retailers and maker guidance instead of random forums.
- Quick reminder: avoiding these high-risk habits protects the handle more effectively than any single fancy oil.
How to Store Japanese Knife Handles to Prevent Swelling and Cracks
A smart storage choice keeps the handle’s shape and feel steady across years of use. The way you store knives influences swelling, dents, and hairline cracks. Small impacts and repeated friction change comfort and safety over time.
Block, strip, or sheath: pick the right protector
In a US kitchen you can use a knife block, a magnetic strip, or a saya/sheath. A block keeps handles separate. A magnetic strip works if you place knives so the handle doesn’t hang or bang.
A sheath or saya is best for drawers or travel. Use guards or edge covers to stop blades and handles from knocking together.
Drawer rules and long-term storage
If a knife must live in a drawer, add dividers, a knife tray, or individual guards. This prevents repeated knocks that dent the shape and wear finishes.
For long-term storage, choose a cool, dry place with stable temperature and low humidity swings. Avoid direct sunlight and high moisture that can warp wood.
- Before long downtime: apply a light coat of a food-safe oil to wooden handles, then store away from heat.
- Bring back into use: check the ferrule and dry the joint; recondition if the handle feels dry.
Good storage is simple but effective. Protect the handles and the knife will stay balanced and comfortable for years.
Caring for Wa-handles: Oiling Schedule and Best Oils
A predictable oil schedule removes guesswork and prevents dry, rough patches on the handle. Follow a simple cadence and you’ll avoid cracked grain, sticky residues, and a loose ferrule.
How often to oil based on use and season
Typical cadence: every 2–6 months.
Oil more often in dry winters or if you use the knife daily. In stable, moderate kitchens, oil toward the longer end of the range.
Which oils to choose
Mineral oil is food-safe and easy to apply. It soaks in without curing and is low-risk.
Camellia (tsubaki) is a traditional option that conditions wood nicely without strong odor.
Tung oil cures to a harder finish and suits handles that need extra durability, but allow proper cure time before heavy use.
What to avoid and how to apply
Avoid vegetable oils like olive or canola. They oxidize and go rancid, leaving tacky buildup that smells and slips.
- Apply a few drops to a soft cloth and spread a thin coat.
- Let sit briefly (5–15 minutes), then wipe off all excess so the surface is dry, not greasy.
- After oiling, check the ferrule area and wipe any residue to avoid trapping grime at the joint.
Waxing for Water Resistance and a Smoother Feel
A brief wax ritual a few times a year is an easy way to extend the life and comfort of your wooden handle. Beeswax adds a satin layer that gives a nicer grip and extra water resistance beyond oil.
Beeswax conditioning is commonly recommended two to four times per year. In dry climates, increase this schedule. After oiling or light sanding, wax acts as the final protective film.
How to wax and how long to wait
Apply a thin film of beeswax. Let it sit a few minutes so it soaks slightly into the grain.
Then buff vigorously with a soft cloth until the surface feels satin-smooth. Remove all tacky residue.
- What wax adds: a smoother hand-feel and improved splash resistance compared to oil alone.
- Frequency: a few times per year; more often in dry seasons.
- Too much wax: tacky buildup that attracts grime — avoid this by buffing thoroughly with a clean cloth.
Waxed wood handles stay comfortable and less slippery in use. Treat waxing as the finishing step after oiling to keep your handle performing well over time.
Fixing a Rough or Fuzzy Wooden Handle After Washing
C captures the issue: tiny fibers in the wood can lift when wet, so the handle feels rough against your hand. This raised grain is common on unfinished or lightly sealed handles and is an easy fix that takes only a little time.
Light sanding with fine grit to restore comfort
Diagnose the fuzziness: run a finger along the grain. If you feel raised fibers rather than gouges, plan a light sanding.
Protect the blade edge and use very fine sandpaper (around 600 grit). Sand gently along the grain and stop once the surface feels smooth in your hand.
Re-seal with oil or wax after sanding
Remove dust with a soft cloth. Apply a thin coat of food-safe oil and wipe off excess so the surface is dry, not greasy.
Optionally follow with a light beeswax buff to add water resistance and a satin feel.
- Minimal removal: you are smoothing fibers, not reshaping the octagonal edges.
- Quality check: the wooden handle should feel smooth, dry, and non-dusty when finished.
- Prevention: rinse the blade smartly and dry the joint quickly to reduce how often you need to sand.
Climate and Kitchen Habits That Change Your Maintenance Routine
Your kitchen’s climate and daily routines decide how often the handle needs attention. Wood moves with humidity, so where you live and how your kitchen is ventilated should change your schedule. Watch the surface and trust what you see and feel.
Dry climates: prevent brittle wood and hairline cracks
In dry homes with forced air or strong heating, the wood can dry faster. That makes the surface look dull and thirsty.
Condition the handle more often. Check it after a few weeks of heavy use or when it looks matte. A thin oil followed by light beeswax stops small cracks.
Humid climates: stop swelling, looseness, and odors
High humidity and frequent steam push moisture into joints. That can loosen the friction fit and trap smells at the ferrule.
Prioritize drying after each use and inspect the blade-handle junction for wobble. Increase oiling only if the surface feels dry; otherwise focus on drying and ventilation.
- Real triggers: repeated dishwashing cycles, leaving knives on wet towels, or storing near a stove or steamer.
- Adjust by observation: change timing by how the handle looks and feels, not rigid dates.
- Research tip: if you see “page blocked” or a “blocked extension” while reading maker advice, use official maker pages or trusted retailers.
Quick Weekly Checks That Prevent Handle Failure
Spend sixty seconds each week to confirm the blade handle is still tight and reliable. A short routine helps you spot wobble, gaps, and slick finishes before they affect function.
Spotting wobble at the blade-handle junction
Hold the knife by the grip and brace the blade tip on a soft surface. Gently try to move the blade at the junction. Stop immediately if you feel any play.
Checking ferrule tightness and visible gaps
Look along the ferrule and wood for small gaps or misalignment. Shifts, cracks, or a loose ferrule are early signs that the friction fit is changing.
What a slippery handle is telling you
A slick surface can come from residue, over-oiling, or finish wear. It reduces control in your hand and makes cutting unsafe.
- 60-second checklist: test wobble, inspect ferrule, feel the grip.
- If slippery: clean residue, dry, then re-condition lightly.
- If loose: stop using the knife and seek repair before normal use.
Removing Odors, Stains, and Grime Without Damaging the Wood
Food residue near the ferrule and in micro-gaps causes most odors and stains. Start with a gentle approach so you clean effectively without saturating the handle or weakening the joint.
Safe surface cleaning that won’t saturate the material
Use mild soap on a lightly damp cloth and wipe the handle surface. Rinse the cloth, not the wood, and avoid pouring water into the ferrule line.
Focus on the ferrule seam and any tiny gaps where grime hides. Remove residue, then dry thoroughly with a soft towel so moisture cannot linger.
When light sanding and refinishing is the better fix
If stains or persistent odors remain after careful wiping, choose light sanding instead of repeated wet cleaning. Deep spots or sticky oxidation often need abrasion to remove trapped residue safely.
- Gently sand with fine grit along the grain.
- Remove dust, then apply a thin coat of food-safe oil and follow with beeswax if desired.
- This refinish restores protection so the issue does not return quickly.
When Your Wa-Handle Feels Loose: What You Can Do Safely
A loose wa-handle is a clear safety signal you should not ignore. If the knife wobbles in your hand, stop using it immediately. A moving handle reduces control and raises the risk of cuts.
Stop using the knife if the handle wobbles
Put the knife aside and do not test it while cutting. Continued use can cause injury or further damage to the joint that holds the tang.
Why moisture and swelling loosen a friction fit over time
Most traditional wa- handles are a friction fit over a stick tang. Wood expands and contracts with moisture cycles, and that movement can reduce the grip on the tang over time.
Repeated wetting, drying, and seasonal humidity change the fit. Small gaps or a shift in alignment show that the handle no longer holds the tang tightly, which harms the knife’s balance and function.
- Do not keep “testing” the wobble while cutting or try random glues that may misalign the blade.
- Immediate steps: dry the handle thoroughly, inspect for gaps or cracks, and see whether the looseness reduces as it dries.
- Next actions: minor looseness may be fixed by a professional re-wedging; severe movement, contamination, or cracking often means a full rehandle.
Goal: restore a secure, aligned handle so the knife’s balance and safe function return. If you are uncertain, stop using the knife and consult a qualified blade repair or rehandle service.
Care Tips for Other Japanese Knife Handle Materials
Not every knife handle needs the same care; match what you do to the material and you’ll avoid common problems.
Pakkawood is engineered to resist moisture and needs low maintenance. Clean gently with mild soap, then dry the seam and surface. Only polish or condition if the finish looks chalky or scratched; avoid regular oiling that can leave a film.
Dense hardwoods such as walnut, rosewood, or ebony are more stable than softer species but still benefit from occasional conditioning. Apply a light food-safe oil or a beeswax rub a few times a year to keep the feel consistent and prevent dull, dry spots.
Metal and resin handles offer hygiene advantages and strong water resistance. Still, always wipe the joint and dry around the ferrule after washing to prevent trapped moisture at the blade seam.
- Decision rule: natural wood = needs conditioning; composites = needs cleaning; all handles = dry at seams.
- Routine tip: use the same quick drying habit across your japanese knives to avoid over-oiling composites or neglecting hardwood.
- Keep it simple: consistent, light steps beat aggressive products and save you time.
Building a Simple Wa-Handle Care Kit for Your Kitchen
Keep a small, purpose-built kit within arm’s reach and you’ll handle most wooden-handle problems before they start. A tidy kit makes routine care fast and stops issues from becoming repairs.
Assemble supplies you actually use and store them by the sink so maintenance happens in the moment.
Soft cloth, mild soap, and a drying routine
- Soft cloth for drying and mild dish soap for quick cleaning.
- Designate a routine: wash, dry the ferrule, then store.
Conditioning: mineral oil or camellia oil plus beeswax
Choose one oil and a beeswax finish to add water resistance and a smoother grip. Apply thin coats and wipe away excess.
Fine sandpaper for spot-smoothing
- Keep 600-grit sandpaper for raised grain after washing.
- Avoid harsh abrasives and scented household oils that leave residue or change grip.
Keep the kit next to where you clean knives. If a retailer page is blocked by a “page blocked extension,” buy basics from reputable kitchen stores in the US.
Conclusion
Keeping your handle stable takes little time but protects function and safety.
Follow a simple routine: wash the blade by hand, limit water on the wood, dry the ferrule and handle fully, store safely, and apply oil or beeswax a few times a year.
If the handle wobbles, stop using the knife immediately and seek repair. That single check prevents accidents and preserves balance and hygiene.
Today you can inspect joints for gaps, wipe and dry the seam, and schedule your next oiling based on your kitchen climate.
When researching products online and you see a “page blocked” error, try disabling extensions or an ad blocker. If that fails, use manufacturer PDFs or trusted knife shop guides.
Your japanese knife will stay reliable with quick checks and light conditioning.