Plastic vs. Leather Blade Guards: Which is Better for Travel?
Traveling with sharp tools can be tricky. You must protect your hands, your gear, and the cutting edge at the same time. This intro helps you spot common packing hazards and fixes you can use today.
In travel terms, using a blade guard means you slide the edge and tip fully into a snug protector before the item goes near any bag or case. That simple step prevents accidental cuts, dulling, and contact with other tools.
We compare plastic and leather for protection, packability, upkeep, and replacement cost over time. Which is better depends on how you travel — checked luggage, RV kits, culinary school rolls, or grill transport.
Safety first: a protector that stays on beats a perfect one you stop using because it slows you down. This article is a practical how-to with a head-to-head comparison and a packing checklist you can follow right now.
Why a blade guard matters when you travel with a blade
Travel often means reaching into dark bags and drawers without looking—one exposed edge can turn that habit into a painful mistake. Protecting your kit is about more than avoiding cuts; it preserves tools and prevents damage to your gear.
How guards prevent accidental cuts in bags, drawers, and cases
Blind grabs happen in hotels, RVs, and packed cases. A proper blade guard creates a solid barrier between the sharp edge and your hand, fabric, or other packed items. That barrier lowers the chance of quick, unnoticed cuts when you pull something out in a hurry.

How edge protection reduces dulling, chipping, and blade-to-blade contact
Vibration and shifting during travel can roll an edge or cause chips, especially on harder steels. Enclosing the edge prevents direct contact with other pieces and stops edges from rubbing fabric liners or other tools.
- Stops blade-to-blade contact that rolls or chips edges.
- Protects bags and rolls from punctures and snags.
- Helps the blade last longer so you sharpen less often.
Safe storage matters everywhere you go. Hotel drawers, camp boxes, and tool cases all need the same simple protection to keep you safe and your equipment sharp.
Using a blade guard for travel: what “safe transport” really means
Safe transport means more than covering an edge. It’s a simple, repeatable system that protects your kit, your luggage, and your hands.
Covering the edge and tip completely before you pack
Slide the edge fully into the protector so the tip and heel are enclosed. Partial coverage leaves a puncture risk and can still cut you when you reach into a pocket.
Keeping the guard snug so the blade can’t slide out in transit
Test retention in seconds: insert fully, give a light tug, then invert the piece over a safe surface. If it slips, swap to a tighter fit or add a wrap.
Choosing a guard that fits your storage setup
Match style to place: slim protectors for a roll, tougher options for a hard case, and moisture-tolerant pieces for camping or RV kits.
- Define safe transport: full coverage, tested retention, and limited movement inside the pack.
- Plan no-collision zones so tools don’t make contact during travel.
- Build quick habits. If the process costs too much time, you’ll skip it.

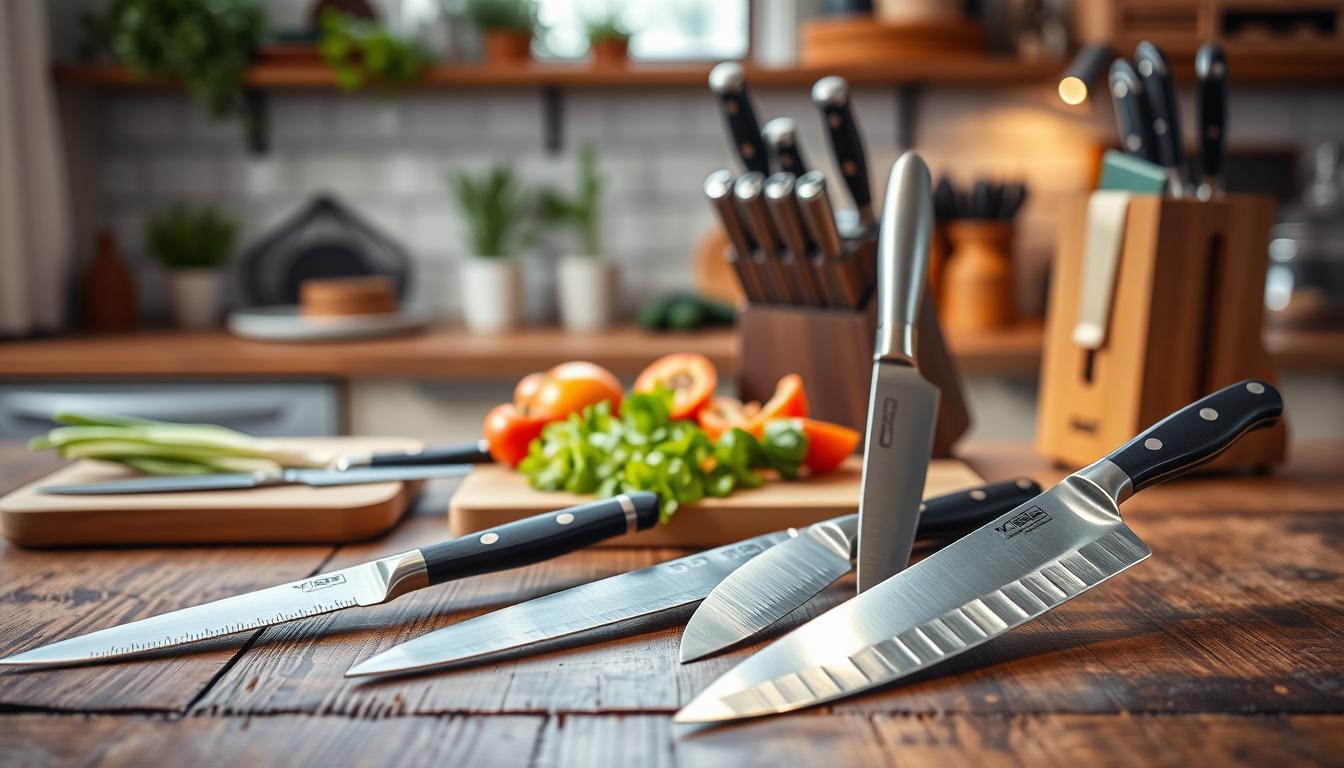
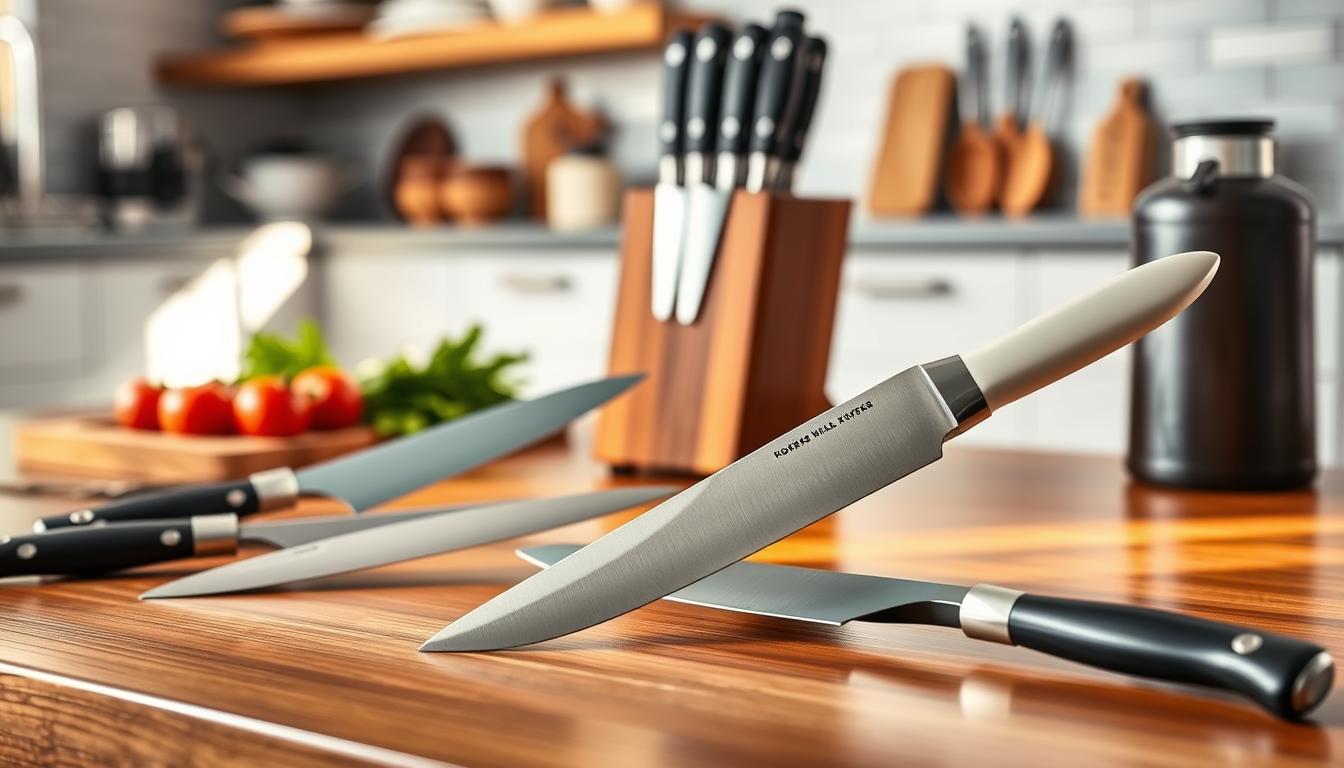
Plastic blade guards for travel
Travel demands tough protection; rigid shells resist common impacts that ruin edges on the road. Hard plastic protectors are the default for checked luggage, tool cases, and busy kits because they stand up to drops, compression, and stacked gear.
Durability and impact resistance for checked bags and tool cases
Hard polypropylene shells hold shape when bags get tossed or stuffed. In impact scenarios like bag drops or overloaded compartments, a stiff cover resists crushing better than softer pieces.
Moisture tolerance and easy cleaning
Plastic does not absorb water, so you can pack after cleaning without trapped moisture. Many models are dishwasher-safe, making deep cleaning simple when you return home.
Hygiene wins: non-porous surfaces hide less road grime and resist odor if you wipe them regularly.
Fit range and sizing for common kitchen knives
Most sets come in multiple lengths to fit paring, chef, santoku, and carving profiles. Pick the closest length for a snug fit to avoid rattling and unwanted contact during transit.
- Slim profiles save space in rolls and cases.
- Multiple sizes cover common knife types.
- Dishwasher-safe material speeds reset time between trips.
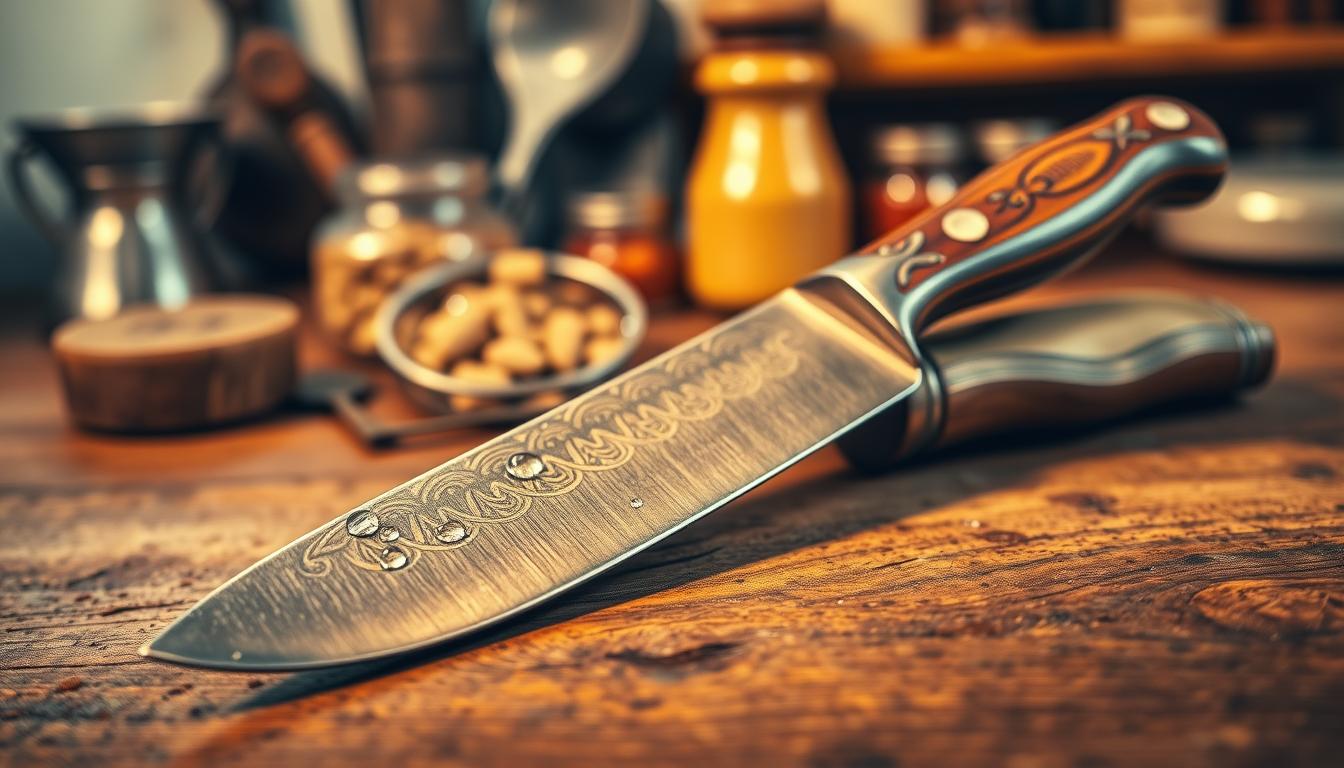
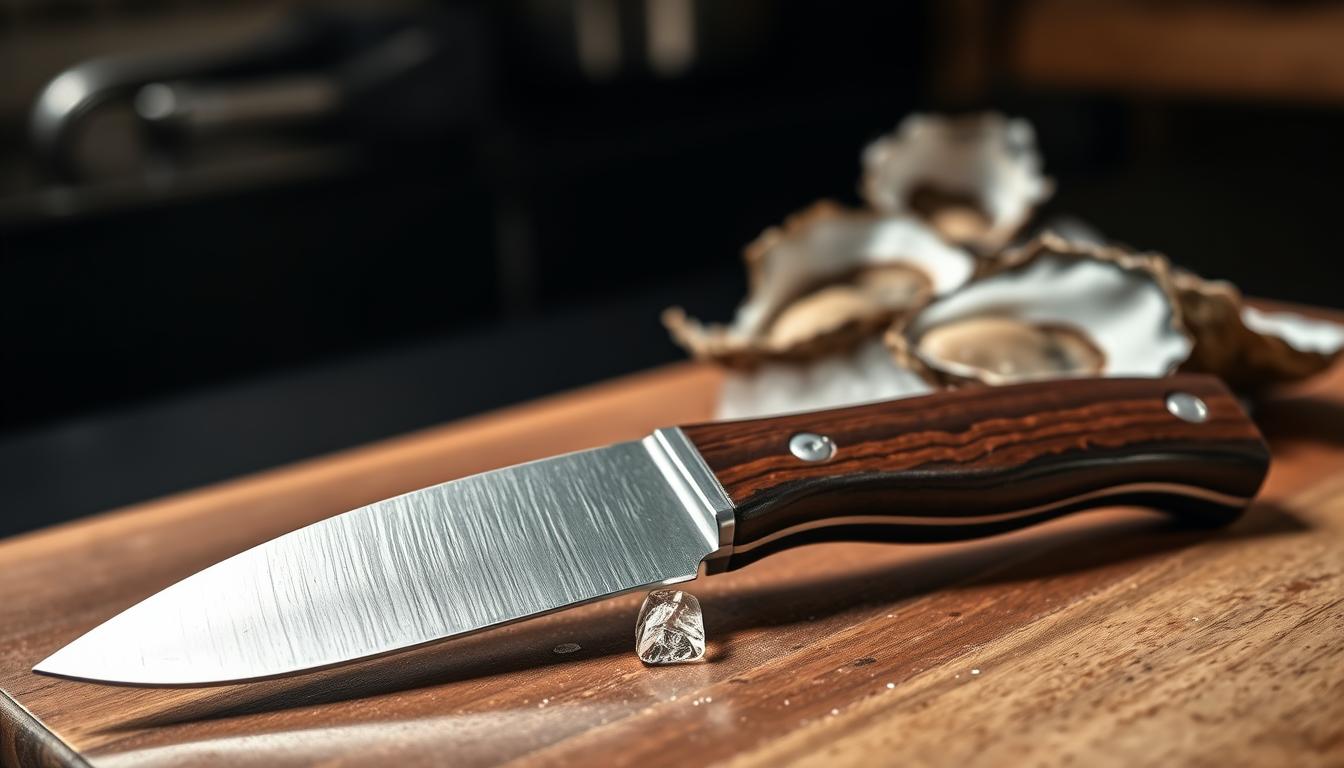
Leather blade guards for travel
Leather brings a classic feel that pairs well with premium kitchen tools on the road.
Comfort and finish: You may prefer leather because it offers a softer interface against blade faces and a premium look that matches high-end knives. That soft surface reduces cosmetic scratches when blades sit close inside a roll or case.
Coverage matters for safety. Leather must still fully cover the edge and tip. Looks are not a substitute for proper retention and full coverage; test fit before you pack to avoid accidental contact.
Moisture, drying, and long-term wear
Leather absorbs water and oils, which can slow drying time and create odors. If a blade goes into leather, make sure both pieces are dry first. If the guard gets wet, air-dry it before repacking to prevent mildew.
- Reduces cosmetic wear in tight rolls when interiors are smooth.
- Can loosen with time and repeated use, which affects retention.
- Frames comfort and tradition versus plastic utility and easy cleanup.
Plastic vs. leather blade guards: head-to-head comparison for travelers
Choosing between rigid and soft protection affects how edges, tips, and nearby gear fare during transit. Below is a compact comparison to help you pick the right option for your kit and travel style.
Protection for edge, tip, and surrounding gear
Plastic resists punctures and impacts, so edges and tips stay intact in checked bags. Polypropylene shells hold shape under pressure.
Leather is gentler on finishes and reduces cosmetic scratches, but it can compress and lose protection if packed tightly.
Weight, bulk, and packability
Plastic can be thin and rigid, which saves space in a roll or case. Leather varies by build; premium pieces may add bulk yet still fit rolls neatly.
Maintenance, odor, and long-term wear
Plastic cleans easily and many models are dishwasher-safe. Leather needs drying and occasional conditioning and can absorb smells over time.
Cost and replacement over time
- Plastic: low cost, easy to replace on the road.
- Leather: higher initial cost, often seen as a long-term accessory.
- Safety note: shared housing, schools, and group travel often require blade guard behavior even if not enforced.
How to choose the right blade guard for your blade type and trip
Pick protection that matches both the tool and the trip so your kit stays safe and simple to pack. Start by measuring your edge, then match shape and material to how you travel.
Match size and profile for a secure fit
Sizing checklist:
- Measure blade length from heel to tip.
- Note height and profile—chef, santoku, or bread knife differ.
- Choose a protector that fully encloses the tip and leaves no exposed edge.
What secure fit should feel like
Insert fully without forcing. You want minimal wiggle and no sliding when you give a gentle tug. If it shifts, try a different size or add a thin wrap.
Material mapping for trip types
Quick guide: culinary school favors low-maintenance, hygienic shells; grilling calls for fast on/off protection; camping needs moisture-tolerant materials; RV kitchens benefit from compact pieces that fit your case.
Hard plastic or leather—when to pick each
Choose hard plastic for checked luggage, crowded bins, wet places, or when cleaning access is limited. Leather fits well when packing is controlled, storage stays dry, and you value scratch resistance.
Think like in woodworking and power tools: pick the right protector for the job so you stay protected every time, not just when it looks nice.
Packing steps that reduce cuts and damage during transport
A simple routine can stop most travel cuts and keep edges intact. Follow steps that fit your kit so each trip ends with fewer accidents and less wear.
Slide the blade in fully, then test retention before you pack
Dry the edge first to prevent moisture in storage. Insert the blade fully so tip and heel are covered.
Test retention: give a light tug and tilt the piece. If the protector slips off with little pressure, it can pop free in transit and expose the edge.
Use a case, knife roll, or separate compartment to limit movement
Pack into dedicated slots or a rigid case so pieces can’t shift. Stable compartments cut vibration and stopping forces that damage edges.
If your roll is tight, avoid overstuffing. Loose pockets and overfull bags are common failure points.
Keep blades isolated from other tools to prevent edge contact
Prevent contact by separating knives from tongs, shears, and utensils. Even protected edges suffer if tips or handles get hammered.
Treat the bag like a board: fill gaps so items cannot accelerate and collide during transit.
- Dry blade
- Insert fully
- Confirm tip coverage
- Retention test
- Pack in stable compartment
Outcome: fewer cuts to you, less damage to your blades, and gear that lasts longer.
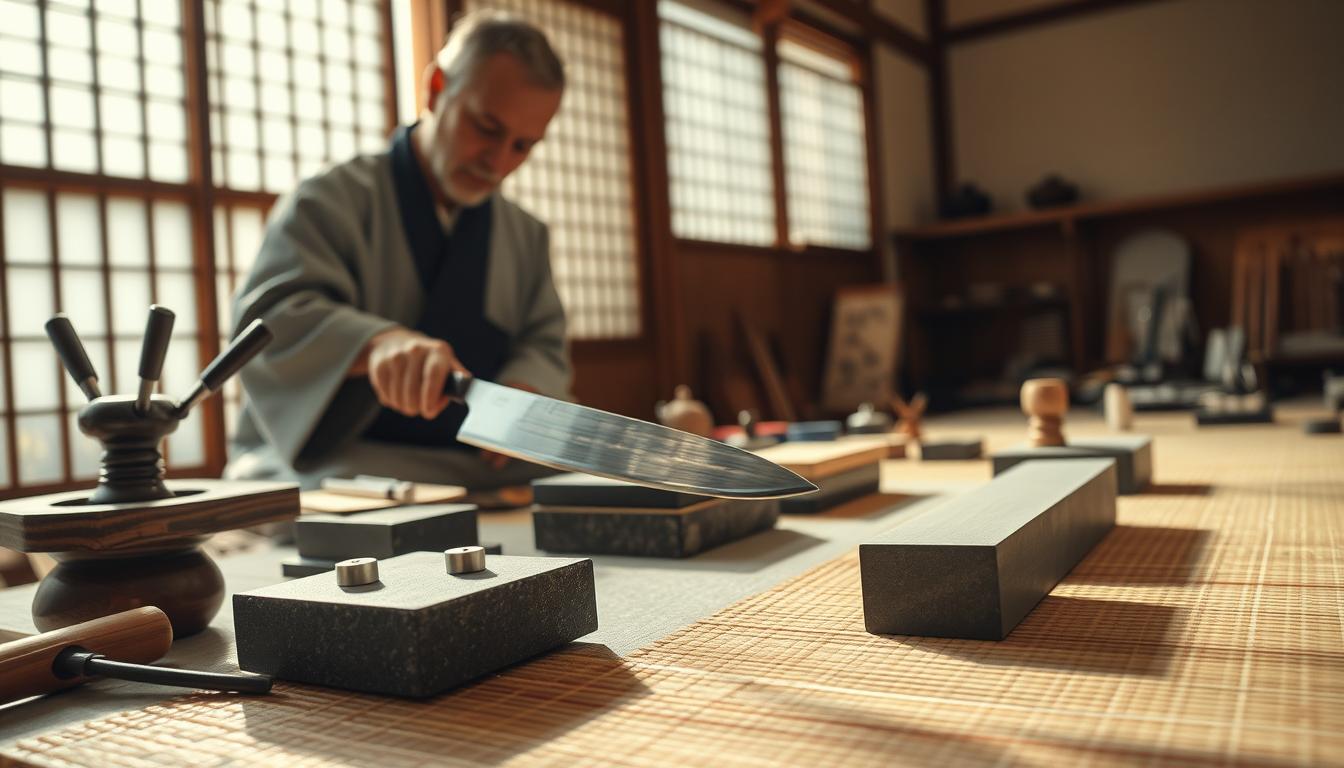
Safety lessons from table saws that still apply to travel blade guards
What you learn from table saw setups applies directly to packing sharp tools for trips. In shops, owners often call the guard a nuisance. Online photos that show a saw without protections make removing safeguards seem normal.
Why people remove protections: convenience vs. real risk
Many remove a cover because it feels faster or gives a clearer view. Burt’s experience mirrors this: the fit seems awkward at first, and visuals without protection reinforce skipping it.
Lessons from saw setups: barrier, riving knife, splitter
Think of the saw’s barrier as the first line. The riving knife and splitter keep pieces aligned and reduce kickback. Together they form layered protection — the same logic you should apply when you pack.
Common-sense tools and travel habits
Push sticks and sleds are handy, but they don’t replace the barrier. Likewise, careful packing helps, yet it works best when your cover stays installed.
Why images of missing protection matter
Seeing photos or video without safeguards normalizes risk. That makes unsafe packing feel acceptable even when consequences are severe.
- Practical takeaways: pick protection you’ll keep on, organize your kit so safeguards don’t “get in the way,” and build habits that protect your fingers.
- Treat shifting gear like kickback: limit movement with compartments and secure covers.
- Layer controls: barrier + separation + stable packing beat any single trick.
Conclusion
Choose protection that fits your trip so you actually keep it on every time.
For travel, plastic offers impact resistance, moisture tolerance, and easy cleaning. Polypropylene shells come in sizes that fit common knives and reset fast on the road.
Leather gives a traditional feel and can reduce cosmetic scratches. Remember it soaks up moisture and takes time to dry if it gets wet.
Whatever you pick, always ensure full edge and tip coverage, snug retention, and a stable case to stop movement and contact.
Convenience tempts you to skip routine safeguards, but consistent protection is the safer way. Quick action plan: check sizes, pick your style, do the retention test, then pack so nothing shifts.