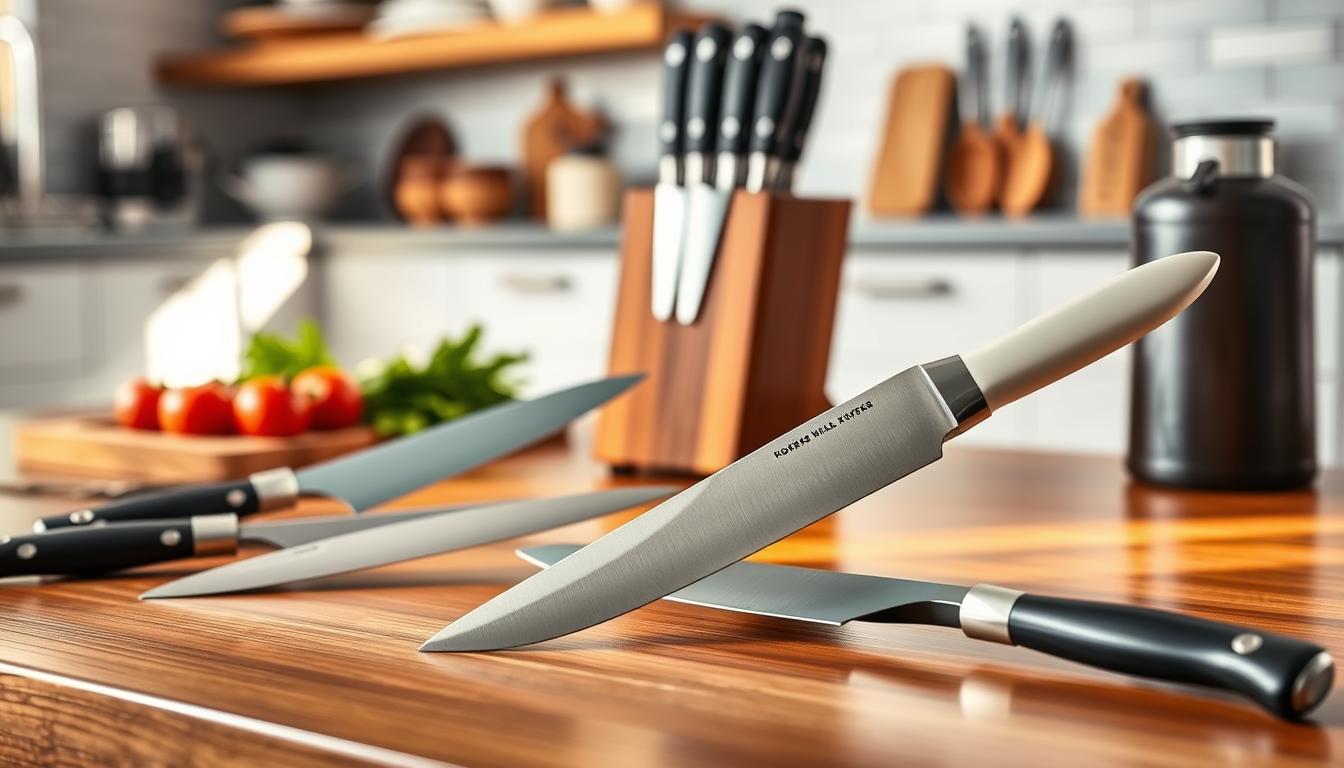
Traditional Japanese Knife Sharpening: Master the Single Bevel Edge
You’re about to learn a classic approach for the single bevel edge used on many traditional Japanese blades. This method removes very little metal while restoring a keen, long-lasting cutting face.
Expect a clean, stable edge that slices tomatoes, fish, and herbs without crushing them. Regular care keeps the geometry true so your edge lasts longer and feels safer in the kitchen.
The core workflow is simple: pick the right stone and grit, set a stable, wet station, sharpen the face until a burr forms, then treat the back to remove the burr and finish. You’ll also learn to hone between full sessions to realign micro-burrs and keep control.
Watch for real signals that tell you you’re on track: burr formation, consistent scratch patterns, and the sound and feedback from the stone. Brands like Musashi Japan and advice from Knifewear back this practical approach.
Your goal is repeatable control: hold a steady angle, keep full bevel contact, and you’ll build a precise edge every time.
What Makes a Single Bevel Japanese Blade Different
The single-bevel design requires you to work deliberately. You shape most of the bevel on the face, then use the flat back to remove the burr and finish the edge.

Face and back: the parts you touch
The face side has a wide bevel where you grind to form the cutting geometry. The opposite back, called the ura, lies nearly flat with a slight concave surface.
How geometry changes the process
Most material removal and angle control happen on the face. The back side work is for burr removal and cleanup, not heavy grinding. Avoid rough grit on the flat side to prevent overcutting and damage.
- You should feel steady stone feedback and even scratch patterns across the bevel.
- A full-length burr signals the face is done; remove it by laying the back flat and using light passes.
- Because the harder steel and thin edge can chip, use light pressure and controlled strokes for safety and durability.
Choose the Right Sharpening Stones and Grit Progression
Picking the right stones and grit will determine how quickly you fix damage and how fine your final edge looks. Start by deciding if you want speed or control: natural stones remove less steel and give more feedback, while synthetic stones cut faster and wear predictably.

Natural vs. synthetic: control, wear, and feel
Natural stones usually last longer and offer subtle feedback as you work. They can be slower but remove less metal over repeated sessions.
Synthetic stones are consistent in grit and faster at shaping. They suit repair work and predictable grit progression.
Match grit to the job
Use coarse grit for chips and major geometry changes (
Typical progression and water handling
Common practical progressions follow patterns like 220 → 1000 → 4000 → 8000. You can shorten or extend that path depending on damage and how mirror-like you want the finish.
Soak coarse stones (about 10–15 minutes) until bubbles stop. Many finer stones are splash-and-go; prolonged soaking can harm them. Keep the stone wet to manage swarf and to give consistent feedback, but avoid flooding the surface.
- Choose stones by speed vs. control, and by how much steel you want to remove.
- Shop grit bands: 1000–3000 for general work, 3000–6000 to refine, 6000+ for polish.
- Make small grit jumps to avoid leaving deep scratches from a coarse stone when moving to fine stones.
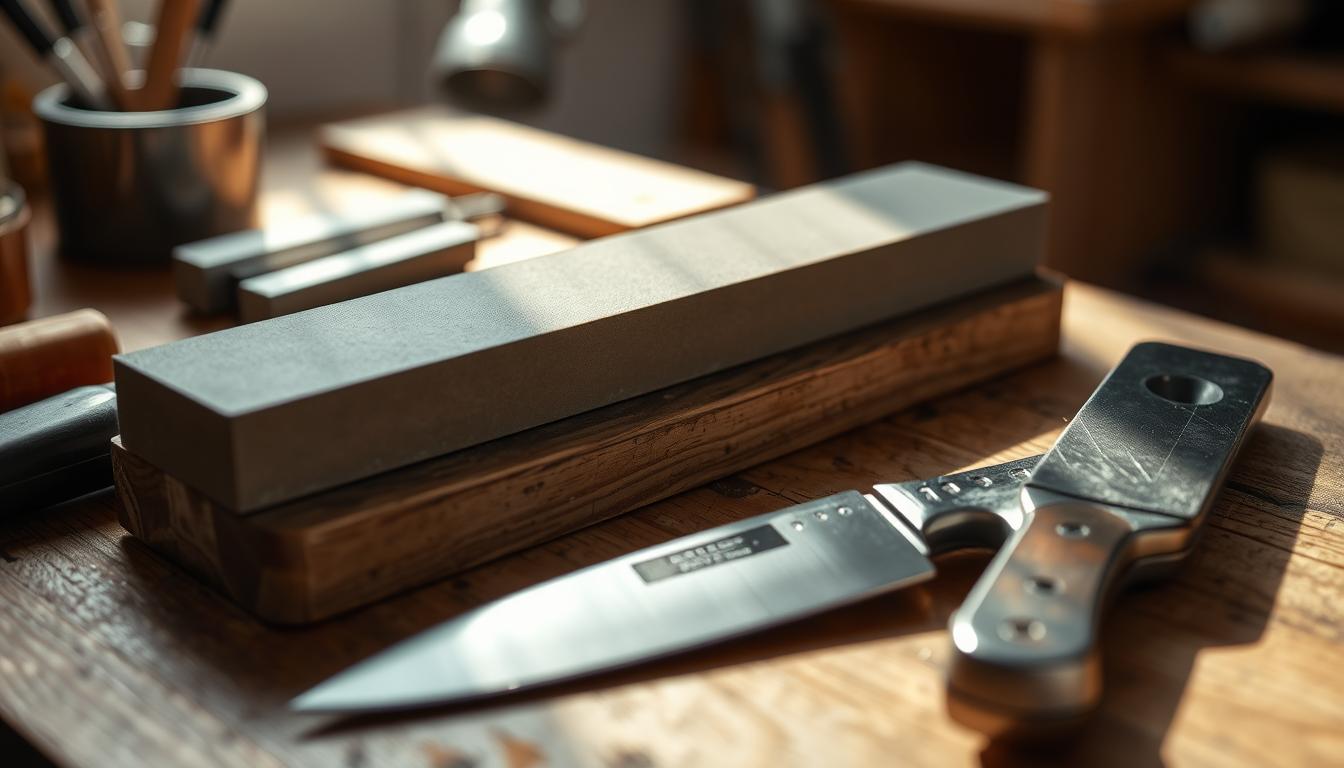
Set Up Your Sharpening Station for Control and Safety
Start by arranging a compact, stable workspace where the stone and water are always within reach. A repeatable setup saves time and reduces errors when you work on the edge.
Create a stable, non-slip work surface
Secure the stone on a damp towel, rubber mat, or stone holder so it won’t slide. Keep your bench at a height that lets your shoulders and elbows relax; this helps you hold a steady angle and avoid rocking the blade.
| Body part | Ideal height | Balance tip |
|---|---|---|
| Shoulders | Neutral, relaxed | Feet shoulder-width apart |
| Elbows | Slightly bent | Rest forearm on bench if needed |
| Wrists | Flat and aligned | Keep steady wrist motion |
Keep water handy to protect the edge
Have a spray bottle or bowl of water within reach and add water as the stone dries. Coarse and medium stones often need soaking; re-wet the surface during work to keep consistent feedback.
Quick guide: set towels, water, and an angle guide in the same place each session. A non-slip station reduces slips that can push your fingers toward the edge and keeps your routine safe and repeatable.
Japanese Knife Sharpening Fundamentals You’ll Use Every Time
Small, repeatable techniques will give you consistent angle control and cleaner cuts. Treat this as a short routine you can use before and after cooking.
Honing vs. sharpening — clear, simple roles
Honing realigns micro-burrs and keeps your edge true between sessions. Sharpening removes steel to rebuild a blunt or damaged edge.
Set the angle with coin guides
Lay coins under the spine to set a repeatable angle. Three nickels gives about 15°, four is near 20°. Start with this guide and build muscle memory.
Hold, press, and move for a steady result
Grip the handle with your dominant hand. Use your index finger on the spine to lock the angle. Rest the other hand near the belly and apply light, even pressure.
Work heel to tip and read the signs
Sharpen in short sections (two- to three-finger widths) from heel to tip. Form a continuous burr and check scratch patterns for even contact.
- Too much pressure → uneven scratches, patchy burr, rounded bevel.
- Slurry/sludge is normal; manage it with water rather than scraping it off.
- Listen and feel: the stone will smooth out as the edge refines.
Sharpen the Single Bevel Face Side on a Medium Stone
Use a medium-grit nakato stone as your go-to for routine edge restoration. This is the right start when the blade feels dull from normal use but has no chips or missing tip.
When to drop to a coarser grit: move to a rougher stone only for visible chips, rolled sections that won’t take a burr on medium grit, or when the bevel geometry needs rebuilding. Arato-class stones are for repair, not regular maintenance.
Stroke mechanics and section work
Keep the wide bevel flat and use controlled back-and-forth strokes. Maintain the same angle and favor consistent contact over speed.
Work the face in short sections from heel to tip. Check that scratch patterns run evenly across each section, not concentrated near one spot.
Raise and confirm the burr
Use light pressure with two to three fingers near the edge and locked wrists. Sharpen until a full-length burr forms; it should feel scratchy, like Velcro.
Verify the burr by moving your thumb pad toward the edge (not along it). When you feel the burr, that section is done.
Handle the tip
As you approach the tip, roll it into the stone by lifting at the elbow to keep the same angle. Avoid lifting the spine abruptly; that motion rounds the tip and ruins the finish.
- If a section won’t raise a burr, slow down and re-check angle and contact.
- Re-wet the stone and repeat—don’t jump ahead hoping later grits will fix it.
- Finish the face before moving to the back for burr removal.
Sharpen the Flat Back Side to Remove the Burr Without Overgrinding
A flat-back pass removes the burr and restores a clean edge without rebuilding the bevel.
Lay the back flat and focus on clean burr removal
Place the back side flat on the stone, honoring the slight concave profile. Use light, full-length strokes with even contact from heel to tip.
Goal: you are only removing the burr and cleaning the edge, not creating a new bevel or reshaping the blade.
Why avoid coarse arato grit on the back
Coarse grit can cut too fast on the flat side and change your geometry. That makes future work harder and can ruin food release and cutting feel.
Finish the back side for a cleaner cutting edge
Check for burr removal by feeling the edge: the scratchy sensation will fade and the edge will feel consistent along its length.
- Keep pressure light and strokes controlled to avoid over-grind.
- Finish on the back side each session to strip remaining burrs for a cleaner edge.
- Don’t rush—impatience causes uneven wear and weakens the knife’s performance.
Refine, Deburr, and Polish for a Razor-Sharp Edge
At the shiageto stage, you trade aggressive passes for delicate, controlled strokes that reveal polish and tone. This final phase focuses on finish and feel instead of heavy metal removal.
What changes on fine stones: you refine scratch patterns, improve cutting feel, and polish the bevel. Use light pressure and short, even strokes to let the stone do the work.
Read the stone, not the burr
On high-grit surfaces you should judge progress by a uniform sheen and quieter stone feedback. Chasing a big burr here wastes time; the wire edge is tiny and fragile.
Deburr safely with stropping-style motions
Lead with the spine, not the edge, as you pull the blade across the surface. Think of spreading peanut butter—gentle, even contact protects the apex and avoids rolling or chipping.
- Use splash-and-go water sparingly to keep consistent feel.
- Finish with light honing passes or a few sheets of newspaper to remove any remaining wire edge.
- Optional: perform a tip-focused Kobadome sequence—lift slightly and give a few controlled passes to strengthen the tip.
| Step | Action | Result |
|---|---|---|
| Shiageto | Fine stones, light pressure | Polish and uniform finish |
| Deburr | Strop-style, spine-first | Safe wire-edge removal |
| Tip finish | Kobadome passes | Stronger tip for use |
Durability tip: harder steel rewards careful deburring and conservative pressure. Finish slowly and your edge will stay sharp longer.
Conclusion
Finish with steady, patient passes and you’ll protect the edge you built.
Follow the full single-bevel workflow: pick the right grit, sharpen the face until a burr forms, lay the back flat to remove it, then refine and polish to the finish you want.
Focus on the big success factors: consistent angle, light pressure, section-by-section work from heel to tip, and using burr and scratch patterns as your feedback.
Care for your stones: keep them wet when needed, true them flat, and avoid over-soaking splash-and-go types. Hone often and sharpen on a schedule that matches your use.
If a page content or video won’t load and shows a page blocked or blocked extension warning, try disabling extensions, reload, and confirm the materials display before you continue.