Sujihiki vs. Western Slicers: The Best Blades for Meat Carving
This buyer’s guide helps you compare sujihiki and Western slicers so you can pick the right tool for clean, professional-looking meat carving at home or in a pro kitchen.
The core decision factors are simple: blade geometry, steel hardness, edge angle, balance, and length. These traits explain why thinner, harder blades often make smoother slices and cleaner cuts with less drag.
Think of the sujihiki as a purpose-built slicer that favors pull-cutting through boneless proteins. You gain refinement on roasts, brisket, fish, and strip loins, but you lose bone work and heavy chopping ability.
This guide shows which length (240mm vs 270mm), which steel type (carbon, stainless, or powder), and which handle style fits your grip and counter space. You’ll see who benefits most: BBQ fans carving brisket, sushi and crudo lovers, and cooks who value uniform slices.
Later sections validate the claim: thinner blades + harder steel + acute edge = less tearing and better presentation.
What a Sujihiki Knife Is and Why You’d Use One for Slicing Meat and Fish
If you slice proteins regularly, the right blade changes both texture and presentation. In practical terms, this Japanese-style slicer is a long, narrow tool made to portion and carve boneless meats and fish with minimal resistance.
Meaning and origin: The name comes from Japanese roots meaning “sinew puller,” which explains its purpose: follow muscle fibers to produce clean, intact slices instead of shredding them.
Typical design profile: Expect blades in the 240–300mm range with low height and a thin cross-section. That slim profile reduces surface contact and drag, so fatty cuts and delicate fish glide under the edge without sticking.
Double-bevel versatility: Most models use a double-bevel edge, so you can use and sharpen them more easily whether you’re right- or left-handed. Compared with single-sided yanagiba-style tools, these are more flexible for mixed meat and fish tasks.
- Long, narrow blade for single-stroke slicing
- Low height reduces friction and preserves texture
- Double-bevel suits everyday sharpening and both-handed use

Sujihiki vs. Western Slicers and Carving Knives: Key Differences That Change Your Slices
Even tiny shifts in thickness, angle, and balance determine whether meat tears or glides under the edge. Understanding those differences helps you pick the right tool for clean presentation and efficient carving.

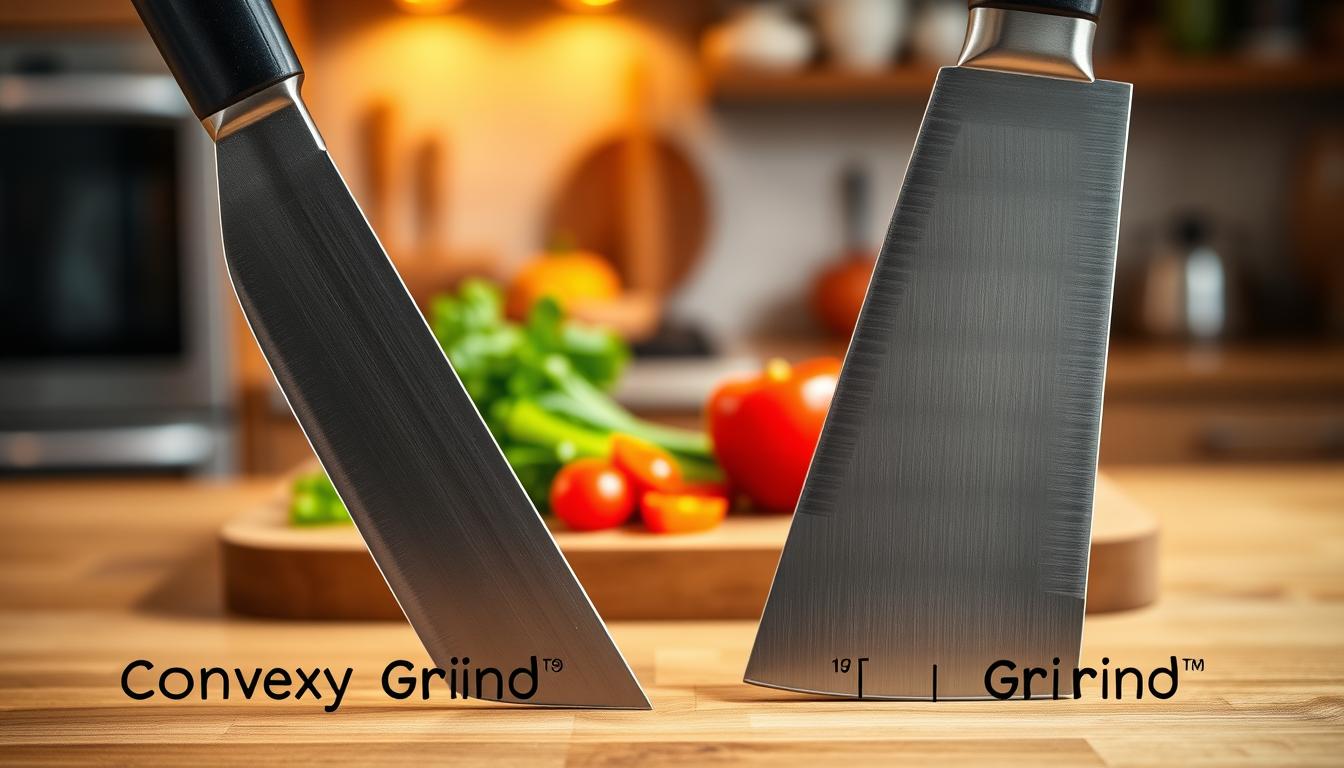
Blade thickness and geometry
Japanese profile: about 1.5–2.0mm thick, slim geometry that reduces wedging and drag.
Western slicers: typically 2.5–3.0mm thick, which can force you into sawing motions that rough the surface.
Steel hardness and edge angles
Harder steels (~60–62 HRC) support acute edges near 15° per side. Softer Western steels use 20–25° angles for durability. The result: sharper, thinner blades give cleaner cuts and better sheen on fish and roast.
Weight, balance, and cutting style
Japanese tools are lighter and more agile; Western carving knives often feel heavier and blade-forward. That changes control and your preferred motion.
- Pull-cut slicing: favors long, single-stroke slices with less tearing.
- Push/sawing: common with thicker blades and heavier carving knives.
Practical note: if your goal is maximum carving performance on boneless proteins, the thinner geometry and harder steel are the biggest differentiators for precision and final presentation.
Best Use Cases: When a Sujihiki Outperforms a Chef Knife for Large Cuts
When you face big roasts or whole loins, the right long slicer can turn awkward carving into a single smooth motion. For many home cooks and pros, that single change improves presentation and speeds service.
Carving roasts with single-stroke slicing
Prime rib, brisket, and ham benefit from long, even pulls that keep juices on the roast and off the board. A long blade makes it easier to finish each slice in one pass, so you see cleaner edges and less shredding.
Portioning and presentation
For strip loins and ribeyes, the long slicer helps you hit uniform thickness. That consistency means even cooking and better-looking plates when you serve.
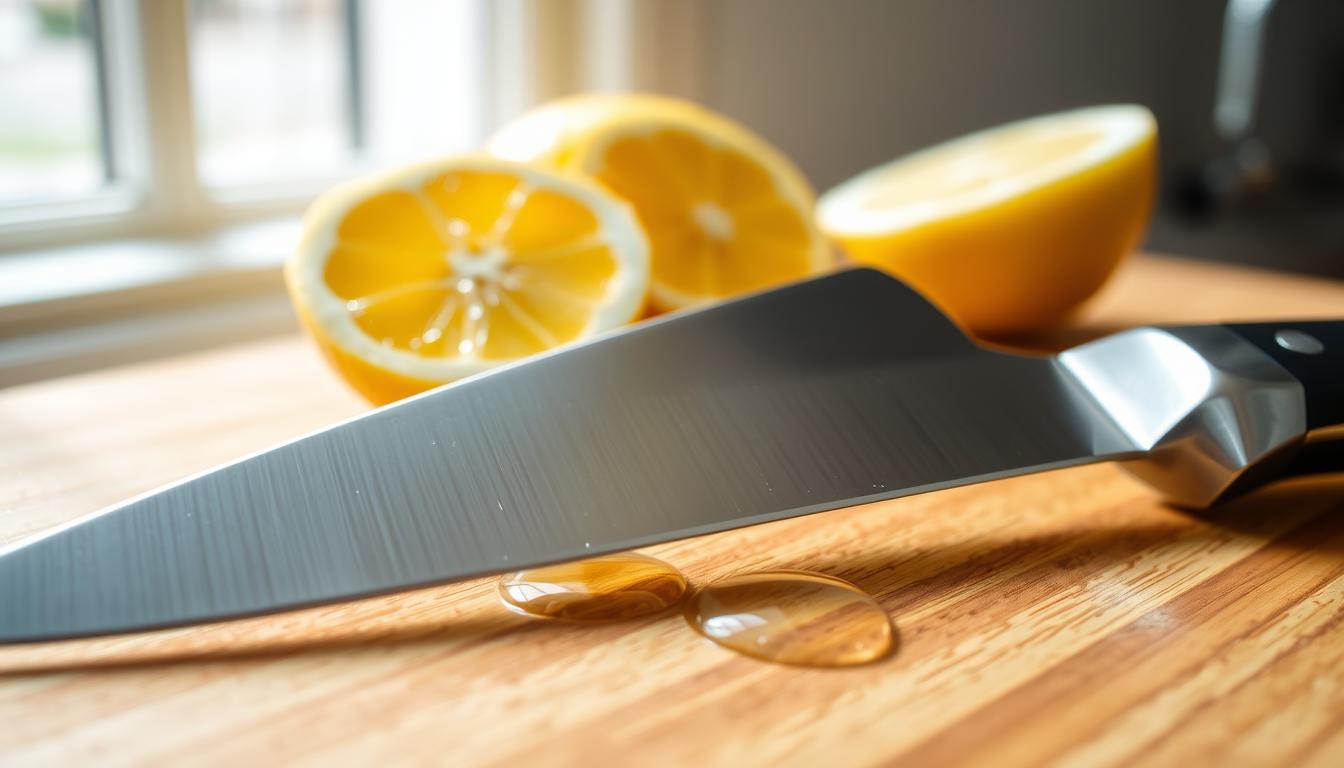
Fish, trimming, and limits
You can slice sashimi, sushi toppings, and crudo with less compression, which protects delicate texture and keeps edges tidy. The thin profile also rides close to silverskin and fat seams, so you trim precisely and waste less meat.
- Don’t use for: bones, hard joints, or chopping tasks. Lateral impact can chip an acute edge.
- When it pays off: if your cooking leans into roasts, BBQ, or raw fish, this tool is a focused performance upgrade over a chef knife.
Choosing a Sujihiki Knife: The Specs That Matter Most for Performance
Small differences in length, spine thickness, and handle balance have big effects on slicing performance.
Blade length and control
Longer blades let you finish cuts in fewer strokes, so you get cleaner, uniform slices. But they need more board space and steadier technique.
Shorter lengths add control for tight kitchens and quick trimming tasks.
Height, tip shape, and spine thickness
Low blade height and thin spines reduce drag and help the edge glide through fatty or delicate proteins.
A tapered tip helps start cuts without tearing; a thicker spine adds stability for denser cuts.
Edge type and sharpening
Most models use a double-bevel edge. That makes sharpening easier and keeps the tool usable for both right- and left-handed cooks.
Handle style and fit
Wa-handles feel lighter and shift balance toward the hand. Western yo-handles feel familiar if you come from Western knives.
- Fit matters: match handle shape to your grip, hand size, and board height.
- Outcome: the right specs deliver better glide, less tearing, and more precise, consistent slices.
Choosing the Right Length for Your Kitchen: 240mm vs 270mm Sujihiki
Length affects how many strokes you need and how confidently you finish each slice. Your board size, storage, and how often you carve large cuts should guide the decision.
240mm: maneuverability for home cooking
240mm fits most kitchens and smaller boards. It lets you control the tip easily and reduces awkward angle changes while cutting.
For everyday slicing, it delivers precise slices with less time spent learning new technique. It still outperforms chef knives on thin, consistent cuts.
270mm: fewer strokes for big roasts and whole fish
270mm shines on brisket, prime rib, and whole fish. Longer single strokes mean cleaner presentation and fewer stop-start marks.
Expect a larger learning curve: you’ll need more board space and steady control to keep the edge tracking smoothly.
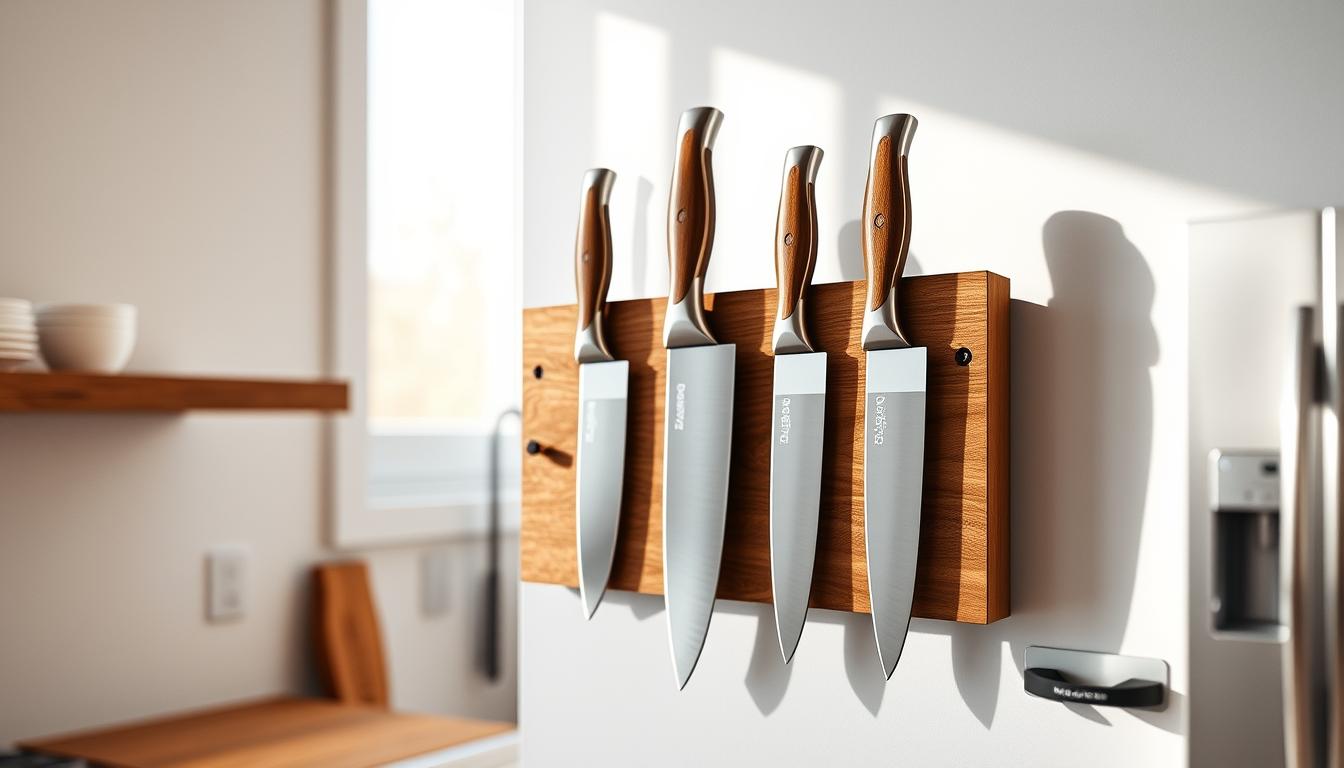
Storage and safety
Protect the edge with a magnetic strip, saya/sheath, or knife block. Avoid loose drawer storage that dulls and chips the blade.
- Match length to board size and storage setup for best performance.
- Choose 240mm for everyday home slicing; pick 270mm if large cuts are routine.
Steel Types and Blade Construction: High-Carbon vs Stainless for a Meat Slicer
Steel choice shapes how your slicer feels, how long the edge lasts, and how often you sharpen. Your daily experience depends on sharpness, edge retention, and how careful you must be with moisture and storage.
High-carbon options (example: Aogami Super)
High-carbon steels like Aogami Super deliver peak sharpness and fast bite. You get cleaner slices and crisper texture on roasts and fish.
Tradeoff: these steels require prompt drying and careful storage to avoid rust. If you enjoy sharpening, this route rewards you with acute edges and precision cuts.
Stainless and powdered steels (examples: SG2, STRIX)
Stainless and powdered steels give superior edge retention and easier care. SG2 and STRIX resist corrosion and stay sharper longer between sessions.
Benefit: less maintenance time and more consistent performance during busy service or long cook nights.
Damascus, cladding, and real-world performance
Damascus patterns and cladding look great, but they rarely change cutting performance by themselves. Geometry, heat treat, and grind drive how smoothly the blade slices meat.
Pick carbon if you want maximum bite and enjoy sharpening. Pick stainless or powdered if you want longer time between touch-ups and simpler care.
- Quick guide: carbon = peak sharpness; stainless/powdered = easier maintenance.
- Remember: edge geometry and heat treatment matter more than visual patterning for real-world precision.
How to Slice Like a Pro: Pull-Cutting Technique for Cleaner Carving
Mastering pull-cutting transforms rough shreds into uniform, glossy slices. Follow a simple setup and a steady stroke to protect texture and improve presentation.
Set-up and stance
Place a large board so the full blade can travel straight. Use a carving fork to steady the roast or large cuts. Stand with feet shoulder-width apart for balance.
Single-stroke slicing
Start with the heel beyond the protein. Draw the blade toward you in one smooth motion, exiting near the tip. Use the full length of the blade for even slices.
Pressure and angle control
Let the edge do work. Minimal pressure preserves meat fibers and keeps surfaces glossy. Hold a shallow angle to reduce drag and maintain precision.
Practice plan
Build skill on chicken breast or pork tenderloin before moving to prime roasts. Repeat slow, consistent strokes and reset the start point to keep cuts uniform.
- Tip: use sharp knives and steady pacing for repeatable results.
- Goal: smooth slices with intact texture and minimal tearing.
Maintenance and Sharpening: Keeping Your Sujihiki Edge Sharp Over Time
Routine care keeps your blade cutting true and prevents surprise dulling between uses. Follow a few simple steps after each session to protect the edge and cut with consistent precision.
Daily care and rust prevention
Hand-wash with mild soap, rinse, and dry immediately, including the handle junction. Skip abrasive scrubbers that can scratch finishes and promote corrosion.
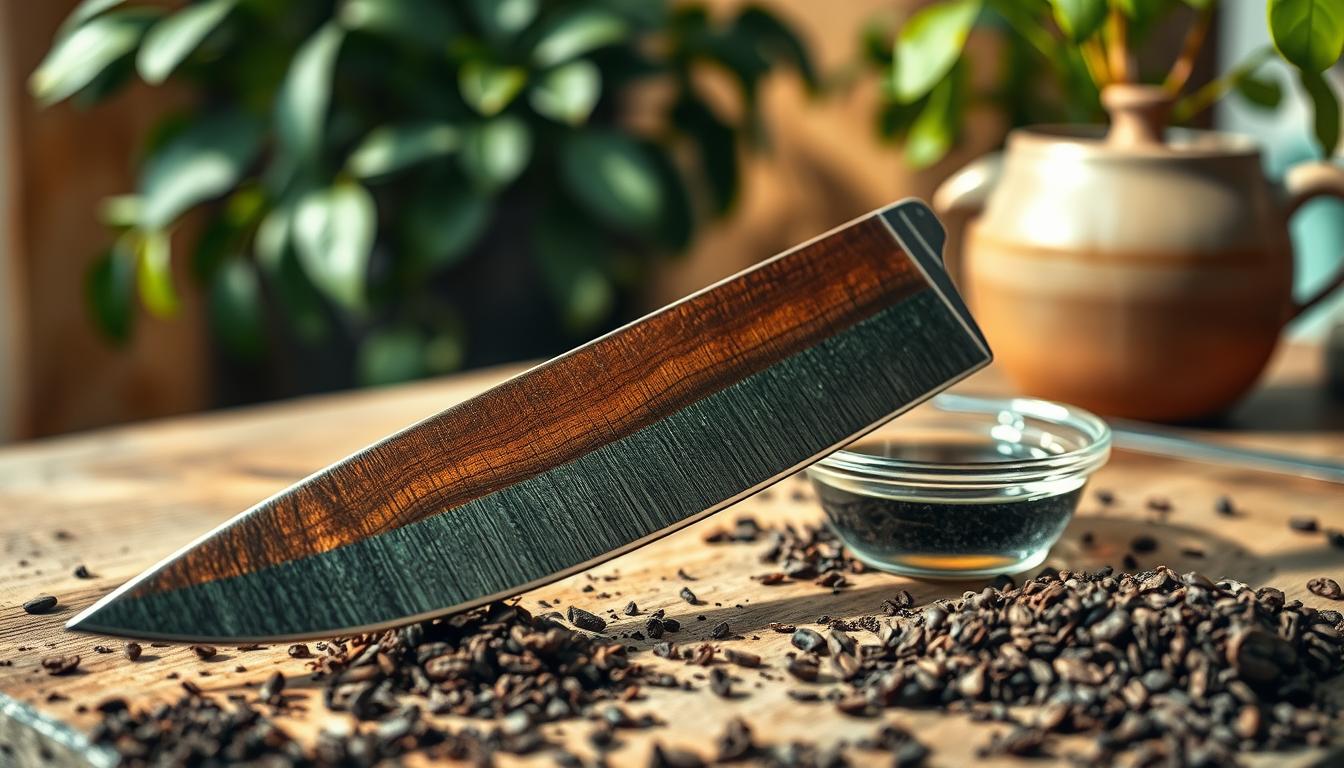
For carbon steel, wipe a thin film of food-safe oil (camellia or mineral) on the blade and store it dry to prevent rust in humid kitchens.
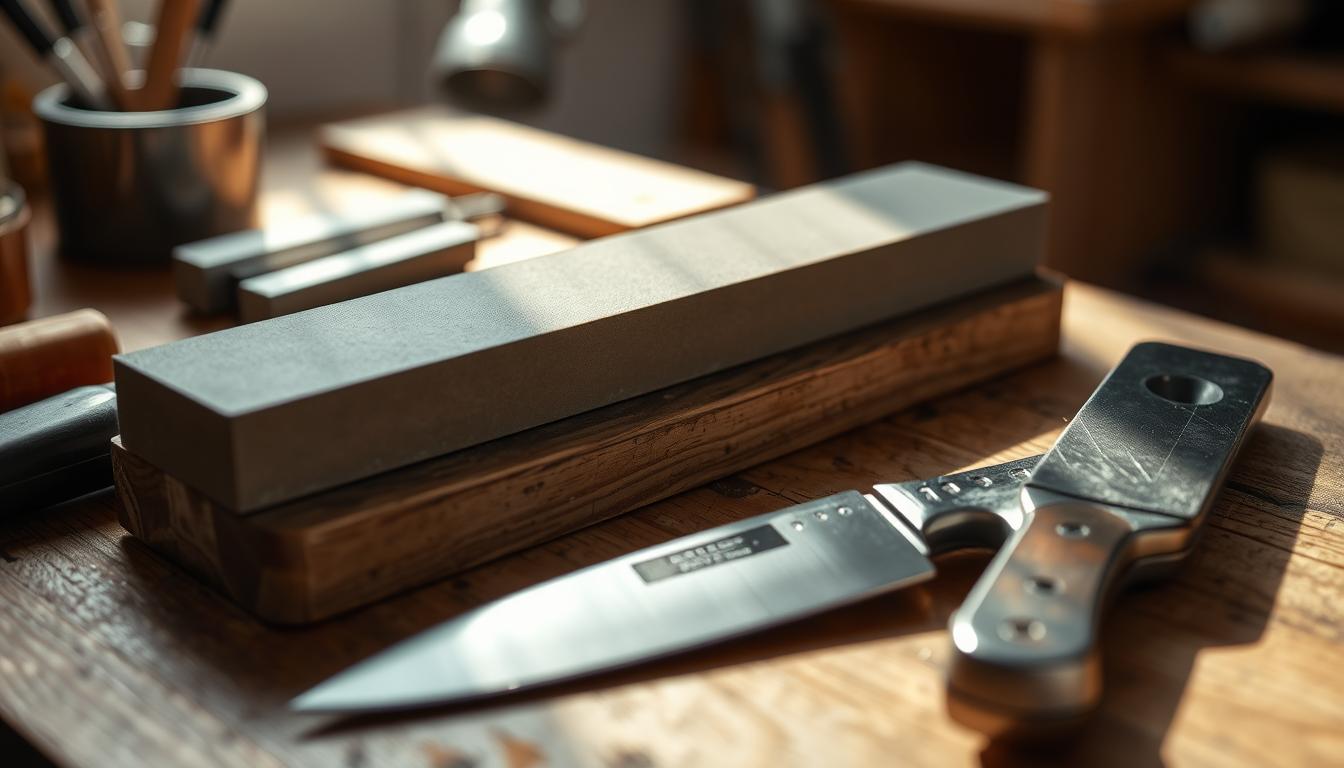
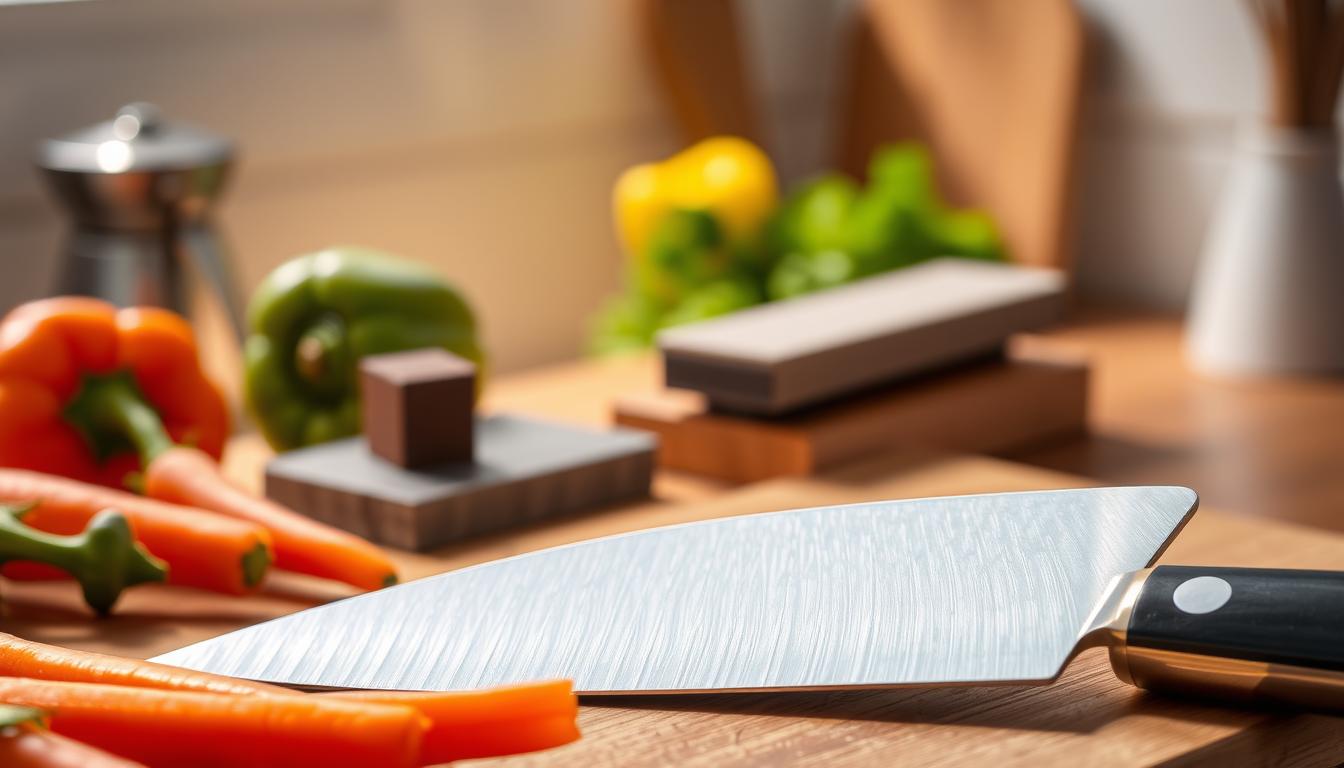
Whetstone progression and routine sharpening
Use a coarse stone (~400 grit) only for chips and major repair. Move to a medium stone (~1000) to set the bevel, then finish on a fine stone (6000+) for polish and glide.
Flattening and burr removal
- Flatten stones regularly so grits stay even.
- Remove the burr after each side to stabilize the edge.
- Test cutting performance and touch up before service time to keep precision consistent.
If online guides won’t load and you see messages like “page blocked” or a blocked extension, try disabling extensions or open the page in a clean browser profile to access sharpening videos and resources.
Conclusion
Upgrading your cutting tool delivers the most visible improvement in roast and fish presentation. If you want cleaner, uniform slices, focus on thin geometry, harder steel, acute edges, and pull-cut technique.
Remember how this differs from a chef knife and heavier Western slicers: the slimmer blade and sharper angle reduce drag and preserve texture on boneless proteins like meat and fish.
Final checklist: pick 240mm for tight spaces and control or 270mm for long, single strokes on large roasts. Choose carbon for peak sharpness or stainless/powdered steels for easier care. Protect the edge in storage and avoid bones or chopping tasks.
Now shortlist 2–3 knives that match your common proteins and maintenance tolerance, then test feel and balance before you buy.