Can You Over-Sharpen a Knife? Signs You Are Removing Too Much Steel
You can over-sharpen a knife — and it happens when you remove more steel than the task needs. In the kitchen, true sharpness means a stable apex that stays cutting, not a shiny edge that dulls fast.
Unnecessary sharpening shortens blade life by grinding metal away. Common warning signs include loss of blade shape, uneven bevels, a persistent burr that peels away, and a tool that gets sharp briefly then dulls quickly.
This guide focuses on practical technique: stone habits, pressure control, angle consistency, grit progression, and finishing steps that build edge stability. You’ll learn to protect steel while getting better cutting performance.
Whether you are a home cook, chef, or someone using whetstones, expect clearer results: longer-lasting edges, less wasted time, and fewer accidental repairs. The goal is balance — maximum sharpness with minimum metal removal.
Can you actually sharpen a knife too much?
Too much sharpening wears metal, and that loss adds up faster than most people expect.
Sharpening means you abrade steel to reset the bevel and create a new, crisp apex. This process removes material to form a fresh cutting geometry. When the edge is damaged or the bevel is gone, sharpening is the right fix.

Sharpening vs. honing: what each one does to your edge
Honing uses a honing rod or similar rod tool to realign a rolled edge. It does not remove much metal. Use honing between sessions to keep the edge working longer.
Why removing steel is sometimes necessary, but always a tradeoff
Many people sharpen repeatedly because they try to fix a rolled edge with full sharpening instead of a light touch-up. That habit grinds away more steel than needed.
- Hone when performance drops slightly.
- Sharpen only when honing and light refinement fail to restore the edge.
- Choose the right tools and stop chasing a mirror finish; a stable apex beats polish.
Decision rule: hone for small issues, sharpen for permanent damage. The rest of this guide shows how to make sharpening intentional so you remove only the steel required.
Over-sharpening a knife: what it is and why it shortens blade life
Grinding away more metal than needed changes how the blade behaves and shortens its useful life.

Definition: You overwork the edge when you remove more steel than required to restore cutting performance. This often comes from too much time on the stone or doing full sessions instead of light maintenance.
How repeated steel removal alters profile and thickness
Each sharpening pass narrows material behind the edge. Over many sessions, the blade gets thinner and the original profile can disappear.
That change makes the knife feel different on the board and reduces support behind the apex. Thinner geometry means more micro-damage and more frequent attention.
Why more time on the stone can weaken the edge
Spending long stretches on one spot or using too much pressure can tear steel instead of refining it. You may create a fragile burr or an unstable apex that folds and dulls quickly.
- Dished stones can force uneven contact and promote unwanted convexing.
- High pressure plus excess time produces inconsistent edges and chasing sharpness.
- Durability falls: less metal equals less support and more micro-failures.
Next: visual signs will show when you’re removing too much steel so you can stop before damage grows.
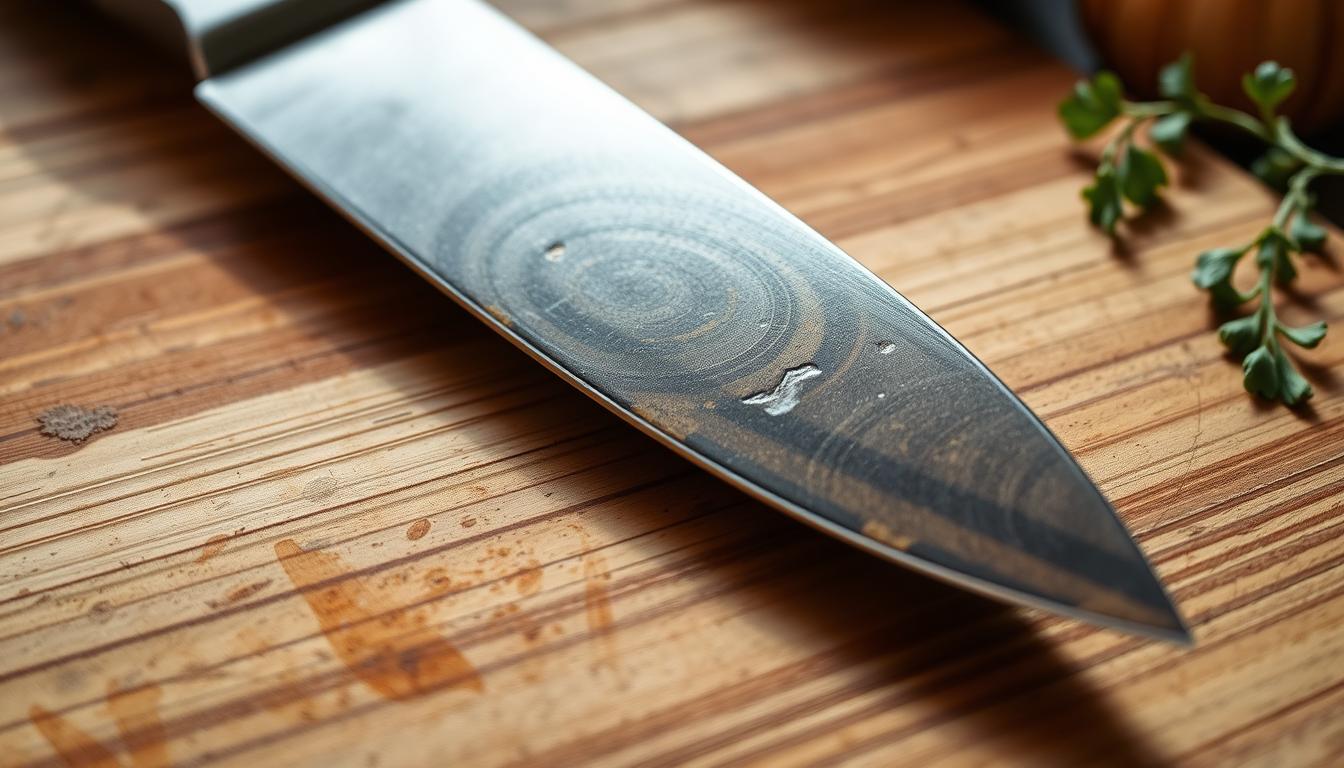
Clear signs you’re removing too much steel from your blade
Watch the silhouette of your blade: small changes in shape often signal too much material loss. Check the belly, tip, and overall profile after several touch-ups to see if the original curve drifts or the tip looks thinner.
Loss of shape and unintended thinning
If the blade begins to wedge less or feels fragile near the edge, you’ve likely thinned the profile. That makes the tool less supportive and more prone to nicking.
Uneven bevels from inconsistent pressure or stroke
When your pressure or stroke favors one side, the bevels grow unequal. This causes the edge to steer, cut crooked, or bind in soft foods.
Wire edge or heavy burr that won’t go away
If a heavy burr forms and flips sides without clearing, you may be overworking the apex. This wire edge can feel sharp briefly but won’t hold during normal cutting.
Looks polished, cuts worse
High polish can hide a rounded edge. The bevel may gleam yet lack bite. Don’t chase mirror finishes; seek a stable apex for lasting sharpness.
Sharp briefly, then dull fast
The classic sign is a tool that cuts well for a few strokes, then turns into a dull knife. That pattern usually points to fatigue at the apex or incomplete burr control.
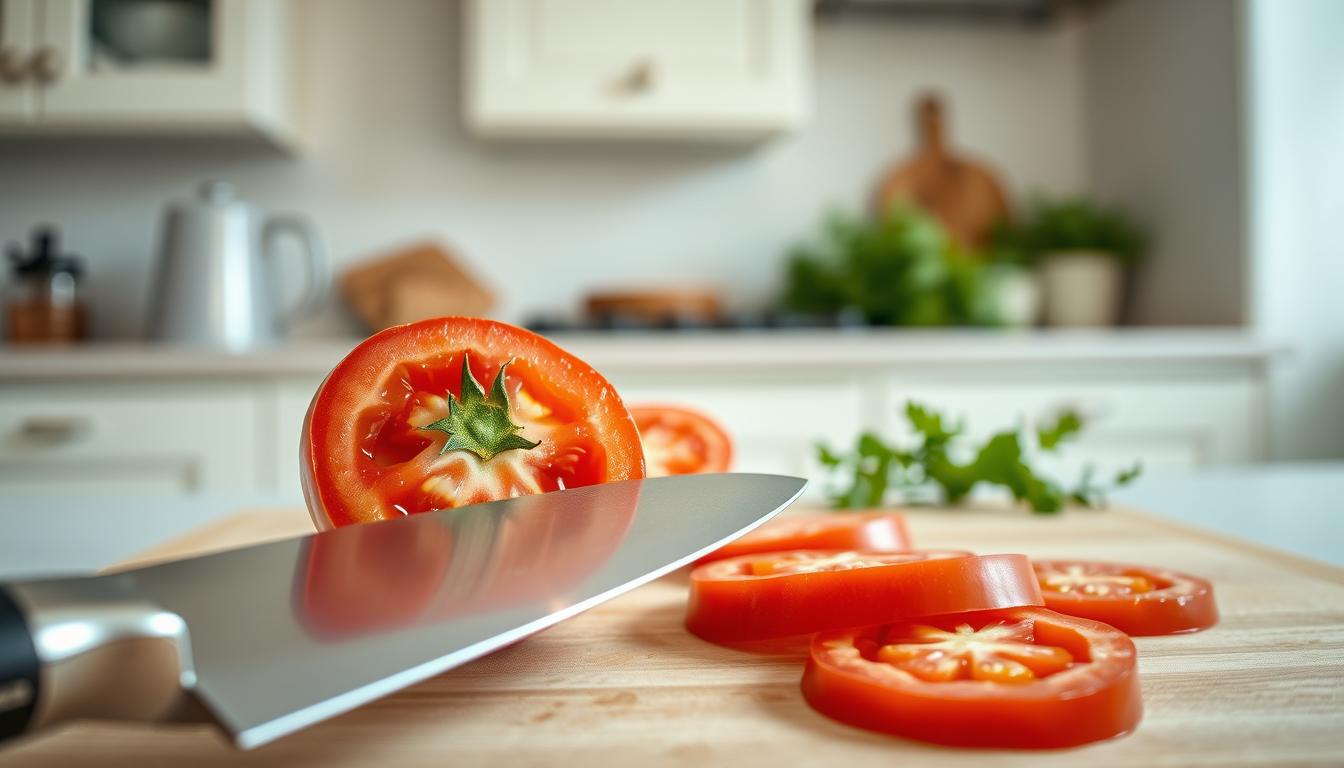
- Quick self-checks: paper-slice feel, tomato skin bite, and testing performance on both sides.
- Note if cutting is inconsistent across the sides of the edge; that shows uneven work.
- Many complaints of “dull after sharpening” come from fixable technique errors, not a failing blade.
Why your knife feels dull after sharpening
A freshly finished blade that cuts poorly often tells a story about angle, grit, or burr errors.
Wrong angle: too steep or too shallow
Too steep creates a thick wedge that won’t bite into food. If you sharpen at an angle higher than the blade’s design, the edge feels blunt despite heavy work.
Too shallow builds a fragile edge that rolls or chips quickly. Match your angle to the blade type—Japanese blades often run 12–15° per side; Western styles sit around 18–22°.
Switching angles mid-stroke
Changing your angle as you move along the bevel rounds the profile. The finished surface may look polished but lacks a true apex. That rounded edge cuts poorly and dulls fast.
Skipping grit progression
Jumping from coarse to fine can polish over deep scratches left by a rough grit. The mirror-like finish hides damage, so the edge feels smooth but does not bite.
Burr problems and excessive force
If you never raise a burr, you probably didn’t form an apex. If you leave a big burr, that flimsy wire edge will fail under use.
Using too much force tears steel rather than refines it. Your sharpening stone choice matters, but technique matters more—don’t try to fix angle or burr errors with extra strokes.
Simple troubleshooting
Before sharpening longer, diagnose: check angle consistency, confirm grit steps, feel for a continuous burr, and ease off pressure. For rolled edges, try honing first; it often restores performance without removing further metal.
- Confirm your working angle per side.
- Use proper grit progression on the sharpening stone.
- Form and remove a consistent burr before finishing.
Set the right sharpening angle for your knife and keep it consistent
Set a repeatable angle before you touch the stone; consistency saves steel and time.
Practical angle targets: Many Japanese knives work best around 12–15° per side. Most Western kitchen knives suit 18–22° per side. Follow manufacturer guidance when available, then pick the nearest target you can reproduce.
Lock your wrist and move from the body
To stop angle drift, lock your wrist and pivot from shoulders or hips. Move slowly and in short sections so the angle stays constant across the bevel.
Choose consistency over perfection
Pick an angle you can match on both sides. If the apex wanders, the edge steers or chips. Use simple guides—commercial angle jigs or visual markers—then wean off them as you gain muscle memory.
- Chef practicality: the best angle is the one you can reproduce during quick maintenance.
- Match both sides so the apex stays centered.
- Next, learn how grit, time, and pressure affect the finish on the stone.
Use pressure, time, and grit the effective way on a sharpening stone
Treat sharpening as staged work—each stone has one job and you must move on when it’s done.
Match grit to the job
Start coarse to reset a very dull or damaged bevel. Move to medium for regular sharpening and finish on fine for refinement and polish.
Why this matters: each grit removes the scratches left by the prior stones so the apex becomes clean and reliable.
Manage time and pressure by stage
Use moderate pressure early to establish geometry. As you progress, reduce force and shorten strokes.
Finish with feather-light passes so you refine the edge without tearing metal.
Keep the edge centered
Count matched strokes per side, watch scratch patterns, and test for a consistent burr before you switch grit or stop.
- Coarse: set the bevel, then switch sides.
- Medium: balance cutting and smoothing.
- Fine: polish and reduce micro-tears.
Bottom line: use grit, stone selection, measured time, and staged pressure as a controlled way to keep your blade sharp longer.
Master burr control and finishing so your edge lasts
A thin, continuous burr is your sign that the edge has reached its true apex. Stop when you can feel a light ridge along the entire bevel from heel to tip. That checkpoint prevents extra steel removal and keeps the profile stable.
How to tell when the burr is continuous
Work in short, even strokes and test the side opposite the one you just worked. Gently run your finger perpendicular to the edge (not along it) to feel for a faint burr. It should be uniform; patchy or heavy wire edges mean uneven pressure or too many strokes.
Safe, gentle burr removal
Remove the burr with light, alternating passes. Use reduced pressure and match stroke count per side. End with a few controlled, feather-light strokes to clean the apex without rounding it.
Stropping without overdoing it
Strop for just a few light passes. Stropping can polish and align the edge, but too many strokes convex the bevel and cut sharpness. Use leather or a fine compound sparingly to preserve edge life.
When to use a honing rod
Use a honing rod between sharpening sessions when the edge feels less crisp but not dull. A few controlled passes on the rod realign the edge and delay full sharpening. Make this part of your routine for consistent results.
- Key tips: seek a continuous burr, switch sides promptly, use lighter pressure to remove the burr, and strop or hone modestly to extend sharpness.
- Repeatability matters: build these steps into your sharpening routine so your edges last longer and perform reliably.
Protect your stones and your knives between sharpening sessions
Simple care between sessions keeps your stones honest and your edges reliable. Neglected stones dish, which changes your working angle and can force a convex edge that feels dull or inconsistent.
Flattening and cleaning the stone
Check your stone before every full sharpening. Run a flat reference plate or lapping tool across it to spot low areas.
When you find dish, flatten with a coarse flattening plate or coarse sandpaper on glass until the surface is even. Do this every few months or sooner with heavy use.
Rinse slurry and residue off the stone after use. Let it dry fully before storing to prevent glazing and cracking.
Knife storage, cleaning, and drying
Store knives so edges never touch other metal or hard surfaces. Options include a block, magnetic strip, edge guards, or individual sheaths.
Wipe and dry blades immediately after use. Never soak in the sink; that invites corrosion and dulling.
Chef habits: quick wipe-downs during prep, avoid hard cutting boards that chip, and keep tools accessible so you maintain edges instead of repairing them.
- Why it matters: well-kept stones and proper knife storage cut down on how often you need sharpening.
- Clean stones keep angle control steady; clean blades resist corrosion and cut more reliably.
- Good routines save time and keep your kitchen cutting tools performing like a pro’s.
Conclusion
Controlled maintenance beats frantic grinding. You can shorten tool life by removing steel without purpose. The real win is a stable, biting apex that lasts through normal use.
Watch for clear signs to stop: a persistent wire or heavy burr, uneven bevels, and a polished finish that still cuts poorly. These tell you you’ve pushed too far.
Follow one repeatable sequence: pick a realistic angle, follow grit progression, ease pressure as you refine, and finish by fully removing the burr. Use honing between sessions so you sharpen less often and preserve metal.
Do this way and you get sharper, longer-lasting edges with less time on stones. Make each session controlled, not a race to grind metal.