Mastering the Santoku Edge: Specific Sharpening Tips for Versatility
Your goal is simple: restore a rounded cutting edge so your blade can bite into food again and cut cleanly. That means turning a dull edge back into one that grips ingredients instead of sliding off them.
Most household knives are double-bevel. You will work both sides of the edge with a medium whetstone as a reliable starting point. This beginner method is steady and effective for care of your santoku knife.
Expect one solid whetstone process, plus faster options like a handheld sharpener when you need speed. You’ll learn safe setup, controlled strokes, and how to avoid rushed moves that cause slips.
This guide previews why sharpness matters, how to read your blade, tools and stone setup, angle and pressure basics, a step-by-step whetstone method, finishing tests, and alternative sharpeners.
Outcome: with consistent practice you’ll gain cleaner slicing, controlled dicing, and smoother mincing—real kitchen versatility from a well-kept knife.
Why a Sharp Santoku Knife Matters for Safety, Speed, and Clean Cuts
When your blade cuts cleanly, prep moves faster and risks fall away. That clear difference comes from sharpness and how the edge bites into food instead of sliding off.

How dull edges reduce control and increase slipping risk
A dull knife forces you to press harder. You lose control and the blade can slip off food or the board. That sudden slide raises the chance of cuts and bruised ingredients.
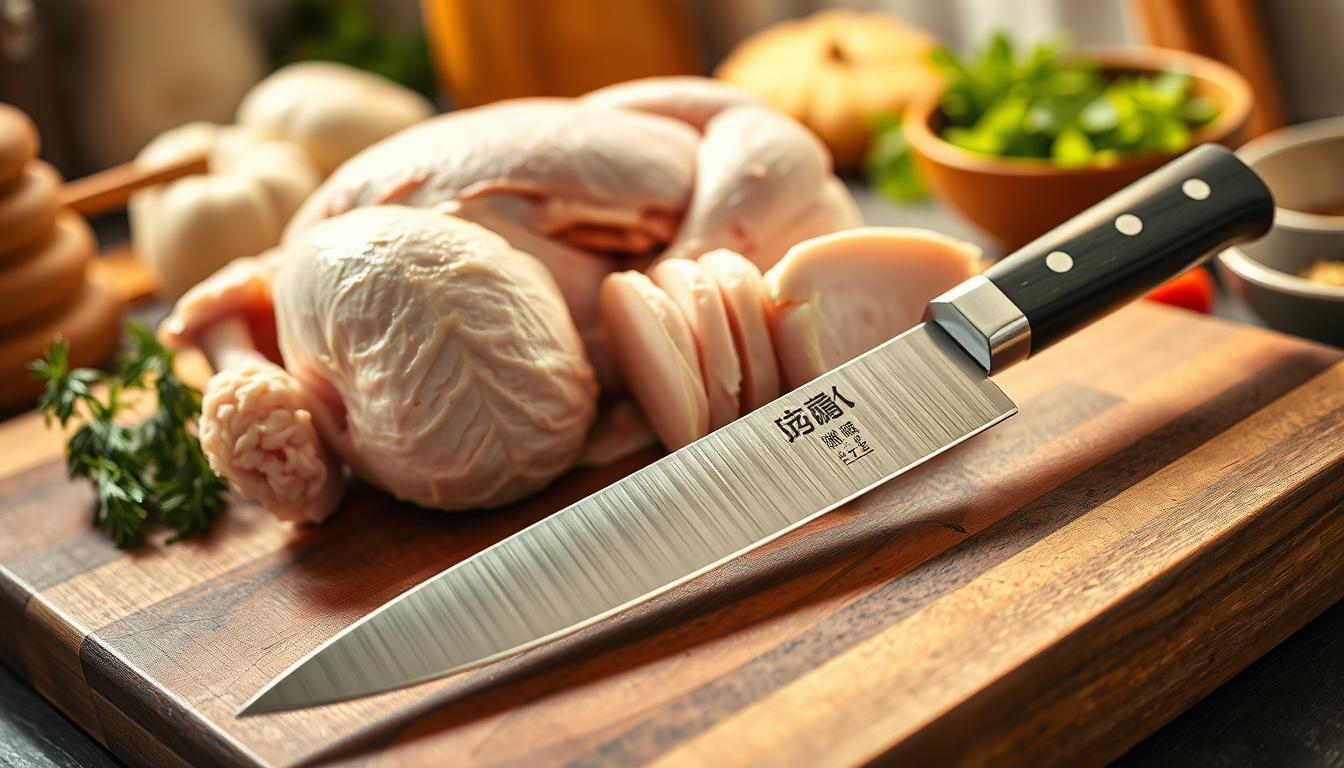
What better sharpness changes in slicing, dicing, and mincing
Cleaner cuts look and cook better. A keen blade slices proteins without tearing, dices vegetables with less cracking, and minces herbs without bruising.
- Fewer repeated strokes saves time and effort.
- Straighter tracking through onions and tomatoes shows better control.
- Less twisting or prying helps avoid chips in the edge.
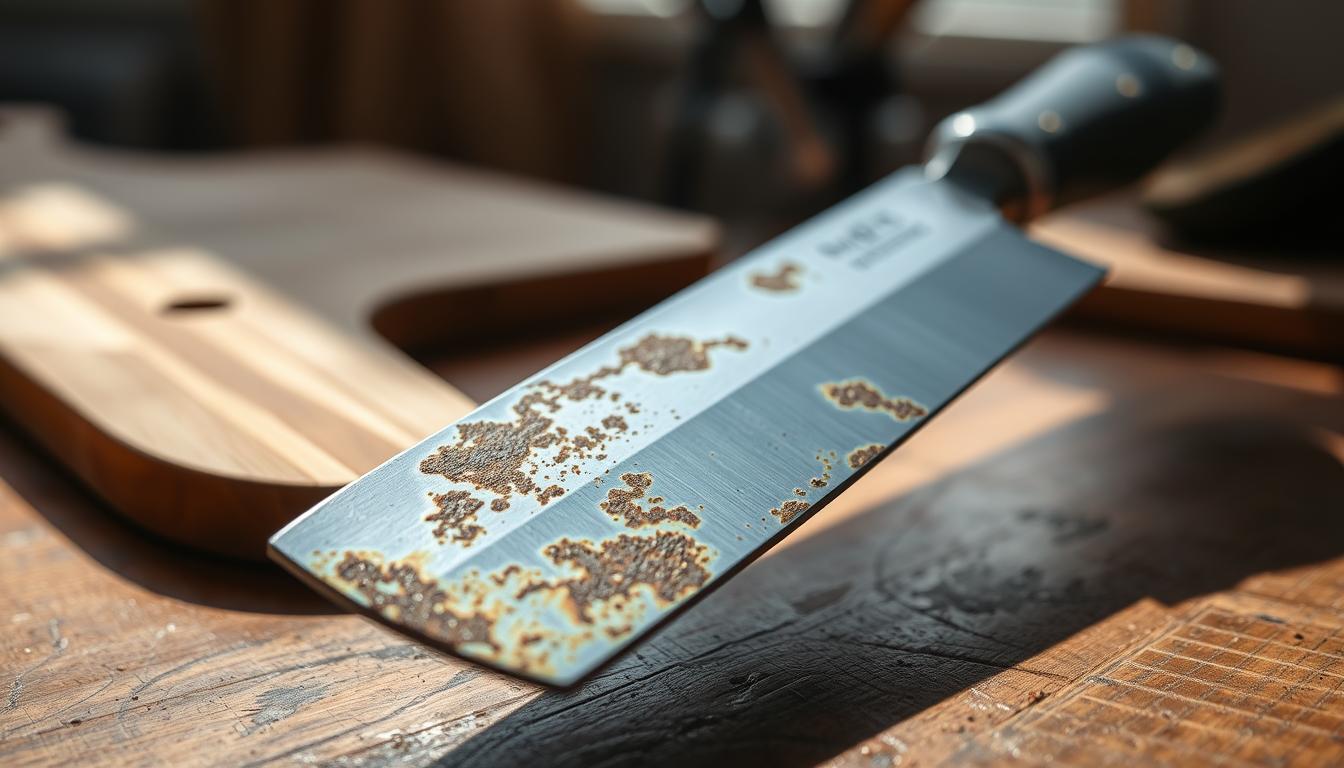
How regular sharpening helps protect the blade’s lifespan
Routine sharpening removes the right amount of steel to preserve geometry. Combined with regular honing between sessions, your kitchen knives keep their shape longer.
Rule of thumb: if the knife slips on tomato skin or crushes herbs, it’s time for maintenance.
Know Your Santoku Knife Before You Sharpen the Blade
Understanding the tool makes your work smoother and safer. Learn which parts influence grip, balance, and how the cutting edge wears so you can plan each pass with purpose.

Blade anatomy that affects the cutting edge
The main parts are simple: blade, knife blade profile, spine, bolster, and handle. Each affects stability and comfort while you work.
The cutting edge is the apex where both bevels meet. That tiny line is what you restore when you work the stone.
Double-bevel expectations and why both sides matter
Most household santoku knife blades are double-bevel. If you only treat one side, the edge drifts off-center and the knife steers when you cut.
- Keep angles and stroke counts even to match both sides.
- Check for uneven shine, chips near the tip, or thick spots before you start.
- Know your steel: stainless steel often grinds slower; harder steels hold edges longer but punish sloppy angles.
When the bevels are even, your knife supports true push cuts and clean slices. Uneven geometry makes the blade wedge or split food instead of slicing through.
Tools and Setup for Knife Sharpening at Home
A calm, stable setup makes every stroke more predictable and safer.
Pick the right whetstone: for most home users a medium #1000 whetstone gives repeatable results without fuss. Coarse stones repair chips, medium grit rebuilds the edge, and fine stones polish for long-lasting sharpness.
Preparing the water stone
Soak the water stone about 10–15 minutes, then place it on a damp towel or non-slip base so the surface won’t slide. Keep a small cup of water nearby and re-wet the surface as it begins to dry.
Why slurry and lubrication matter
Water forms a thin slurry that carries metal swarf away. That keeps the stone cutting instead of clogging, and helps you shape an even bevel across the edge.
Optional gear that improves consistency
- Angle guide or stone holder for steady tilt.
- Flattening plate to keep stones true over time.
- Cut-resistant glove for added control while you learn.
Quick note on materials: water stones cut fast but wear quicker than oil stones. Choose the type and grit that match your goals, and keep the setup steady so the entire sharpening process produces an even, usable edge.
Sharpening a Santoku with the Right Angle, Pressure, and Stroke
Begin with a clear, repeatable tilt so every pass builds the same edge geometry. For most double-bevel knives you want roughly 10–15 degrees per side; use the two stacked coins trick to visualize this starting degrees. Make sure you keep the chosen degrees steady through each set of strokes.
Hand position and control
Grip the handle with your dominant hand. Place your index on the spine and thumb near the bolster for guidance.
Your other hand should rest two fingers on the blade to apply light pressure where you sharpen. This hand placement helps keep the edge flat to the stone and lets you move heel-to-tip with control.
Pressure and stroke technique
Think of pressure like a dial: use light, consistent pressure so the stone cuts without overgrinding. Apply more pressure on the push stroke and ease off on the pull to avoid the stone grabbing the edge.
Motion and wrist stability
Keep the knife oriented about 45 degrees to the stone’s length so the edge makes even contact as you go back forth. Move in a controlled back-and-forth motion, keep elbows relaxed, and make sure your wrists don’t rock.
- Distribute strokes across heel, mid-blade, and tip.
- Match strokes per side to keep the bevel even.
- Make sure each session reinforces the same angle and pressure habits.
Whetstone Method: Step-by-Step Sharpen Santoku Knife Process
Begin with a careful visual check to catch bends or uneven thickness before you touch the stone.
Check the blade’s condition in bright light. Look for warps, chips, or one side ground thinner than the other. That prevents unwanted shape changes during the sharpening process.
- Create a small secondary edge. With a medium whetstone, raise the spine to a steeper angle (about 45 degrees) and make a few light strokes to define a thin white line at the cutting edge.
- Refine at a flatter angle. Lower to roughly 10–15 degrees and remove the secondary line. Use steady wrists and move heel to tip so the whole edge thins evenly.
- Switch sides and match angles. Repeat the same sequence on the opposite side so both bevels stay balanced and the knife tracks true.
Use the burr as your progress marker: feel for a continuous burr from heel to tip before you move on. Expect the flatter-angle passes to take more time; focus on evenness, not speed.
Finishing the Edge: Deburring, Honing, and Testing Sharpness
This final phase polishes the edge and removes leftover burrs for predictable cutting.
Make a light secondary edge. Raise the blade slightly and give 2–3 gentle passes at a steeper angle. These few light moves add support to the apex without oversharpening.
Deburr and hone. Use honing between full sessions to keep performance. For the current finish, draw the edge across newspaper or fine cloth (denim works) about five times per side to remove the remaining burr gently.
Quick test and tidy up
Test sharpness by slicing a sheet of newspaper. Look for a smooth, consistent cut from heel to tip without snagging. If one area catches, return briefly to the stone, then repeat the deburring strokes.
- Keep strokes light and controlled.
- Use steady grip and keep your free hand clear.
- Repeat tests several times to confirm evenness.
What better sharpness feels like: the knife bites on first contact and tracks cleanly through food, cutting with less tearing and fewer strokes.
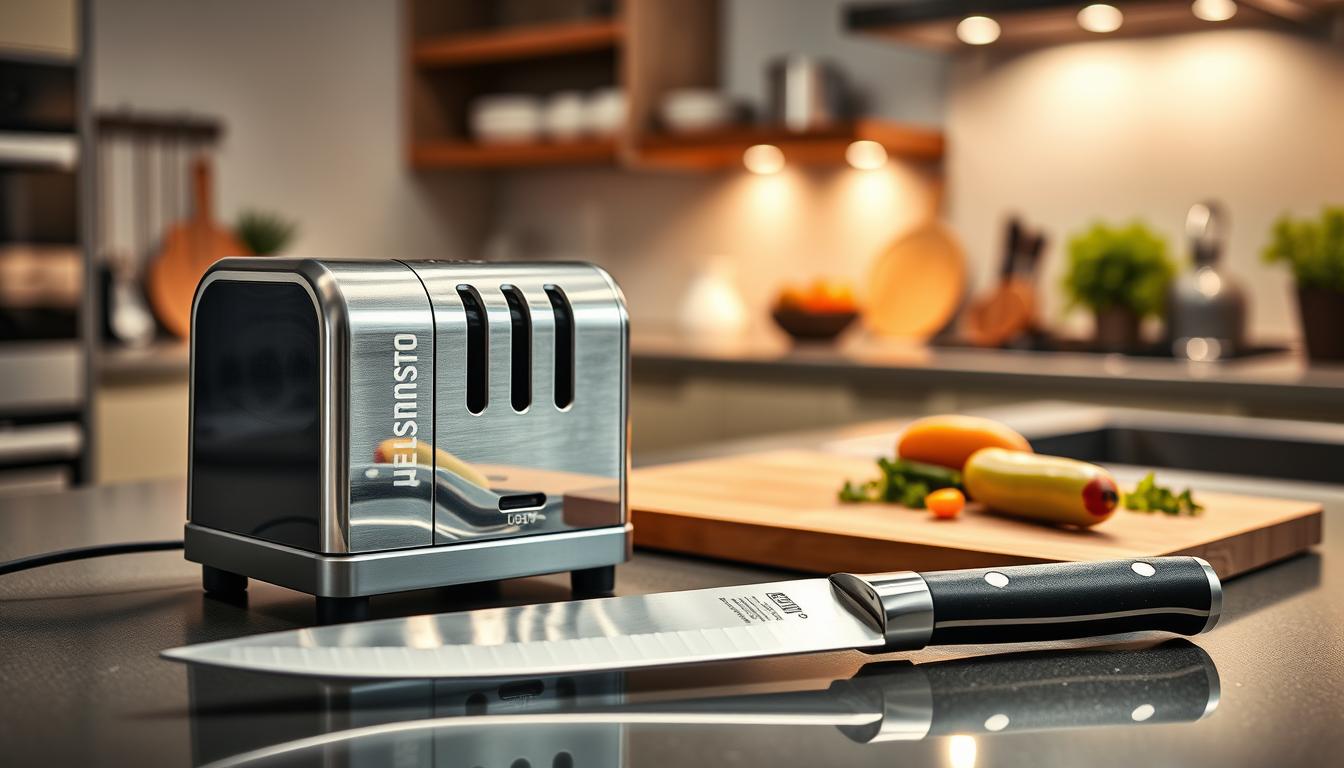
Other Ways to Sharpen a Santoku Knife Using a Sharpener
For quick maintenance between whetstone sessions, many cooks reach for manual or powered devices. These tools speed up the work and give predictable results when you need a fast touch-up.
Manual knife sharpener basics and when it’s a good fit
Manual knife sharpeners usually have 2–3 slots of rising fineness. Place the heel in the coarsest slot and pull through with light pressure 3–4 times. Then move to finer slots to refine the edge and avoid overgrinding.
Electric sharpeners: speed, consistency, and what to watch for
Electric models use rotating abrasives for fast, repeatable results. Follow the manufacturer’s slot guidance and limit passes to 2–3. Use slow, controlled pulls so the device, not you, does the work.
- Use a sharpener when you want a fast, repeatable process.
- Keep pressure light to prevent uneven wear on your santoku knife.
- Beware fixed angles; they may not match your preferred bevel and can remove extra steel if used often.
- Treat sharpeners as complementary to whetstones for full control over edge shape.
Conclusion
Finish each session with confident checks so the blade performs consistently.
Use a medium water whetstone as your baseline. Keep the stone stable on a damp towel and hold roughly a 10–15 degree angle per side while you work.
Match strokes on each side so the edge stays centered. Feel for a continuous burr along the edge — that tells you progress without guessing.
End with a light microbevel, gentle deburring, and a newspaper slice test to confirm smooth cutting. These small steps protect the blade and improve safety.
Make this routine part of tool care: when performance drops, return to your setup, keep angle consistency, and you’ll rely on your santoku knife for daily prep without fighting the cut.