How to Sharpen a Serrated Bread Knife Without Ruining the Teeth
You rely on your bread knife every morning, so when it stops slicing cleanly you want answers fast. This short guide explains why serrated edges stay sharp longer and how to restore a blade without removing the tooth pattern. You’ll learn a simple, safe workflow that preserves the original serrations and returns smooth slices.
First, you’ll identify the beveled side and use a tapered rod to work each tooth with light strokes. Next, you’ll remove burrs on the flat side and test the edge on paper and a loaf. You’ll also learn what “ruining the teeth” looks like so you can avoid common mistakes.
This guide keeps focus on preservation, not converting the blade to a straight edge. It sets realistic time expectations and tells you when a professional should handle severe wear.
Why serrated bread knives dull differently than chef’s knives
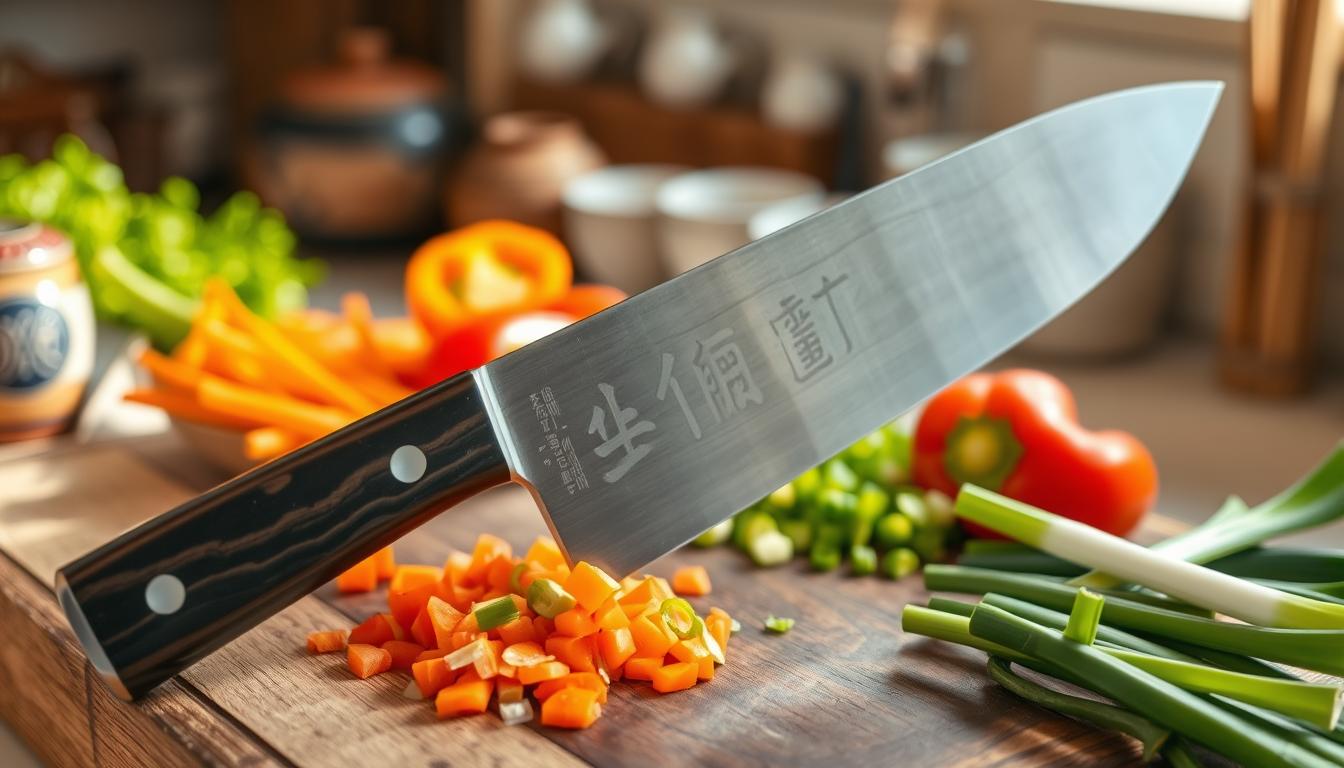
The way a bread blade loses bite is different from how a chef knife wears out. A serrated knife has pointed teeth with gullets between them. Typically, one side of the blade is flat while the other is beveled, and that layout changes how wear shows up.

Serrations, gullets, and the flat side: the anatomy that changes everything
The teeth do the cutting while the flat side guides the cut. Wear usually rounds the tips, but the gullets remain protected. That means the edge can keep working even when some teeth look dull.
Why these edges stay sharp longer and what actually wears down
Force spreads across many points, so abrasion focuses on tips. You only need to restore bite in the valleys, not reshape the whole perimeter like a chef knife. Wide gullets power through crusts and tough skins; fine serrations are better for delicate food but harder to service at home.
When a serrated knife beats a straight edge for hard miles
Use a serrated knife for abrasive tasks: crusty bread, thick skins, or rope and cardboard work. Relying on it for those jobs saves your plain-edge chef blade from needless wear.
- Design goal: restore even bite across teeth without changing the original design.
- Practical tip: service the beveled side and respect the flat side as a guide.
- Outcome: predictable, clean cutting for high-wear tasks.
How to tell when your serrated knife needs sharpening
A dull bread blade shows itself in the crumbs and the effort you use to cut a slice. Run quick, low-risk tests before you decide it’s time to sharpen the serrated edge.

The bread and crumbs test: slicing bread cleanly vs tearing
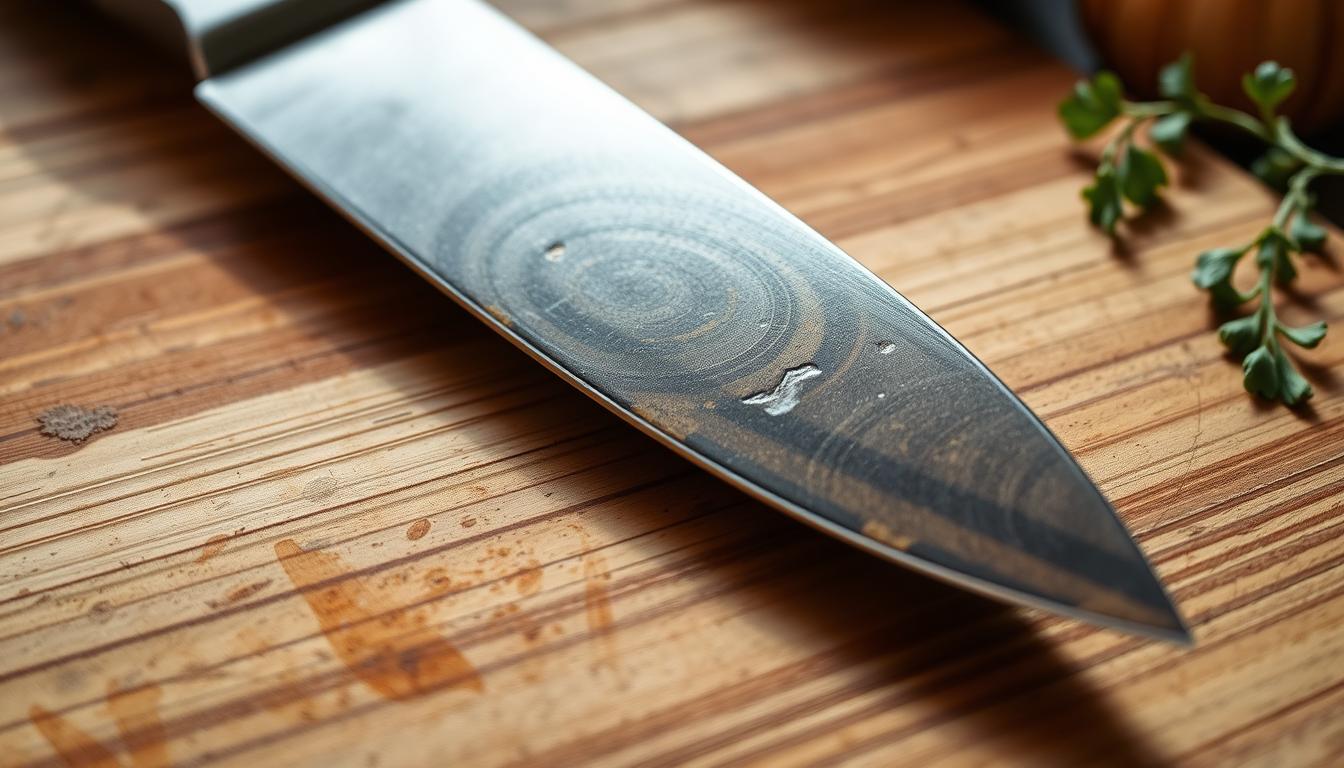
Slice a loaf slowly. If the cut leaves a pile of crumbs or tears the interior, the blade needs sharpening. A sharp tool should glide through crusts and soft crumb with little force.
Extra pressure, slipping, and uneven cutting along the edge
Notice how much effort you use. If you press hard and the blade slips, that’s both a quality and a safety issue. Forcing the blade increases the chance of accidents.
- Simple checks: try paper first, then bread for a real-world test.
- Scan the length: cut from heel to tip to find where the blade bites or skates.
- Look inside gullets: packed residue can mimic dullness—clean before you remove metal.
Set a baseline so you can tell if a small tune-up cut down crumbs and restores smooth cutting. That way you know when it’s really time to sharpen and when cleaning or technique fixes the problem.
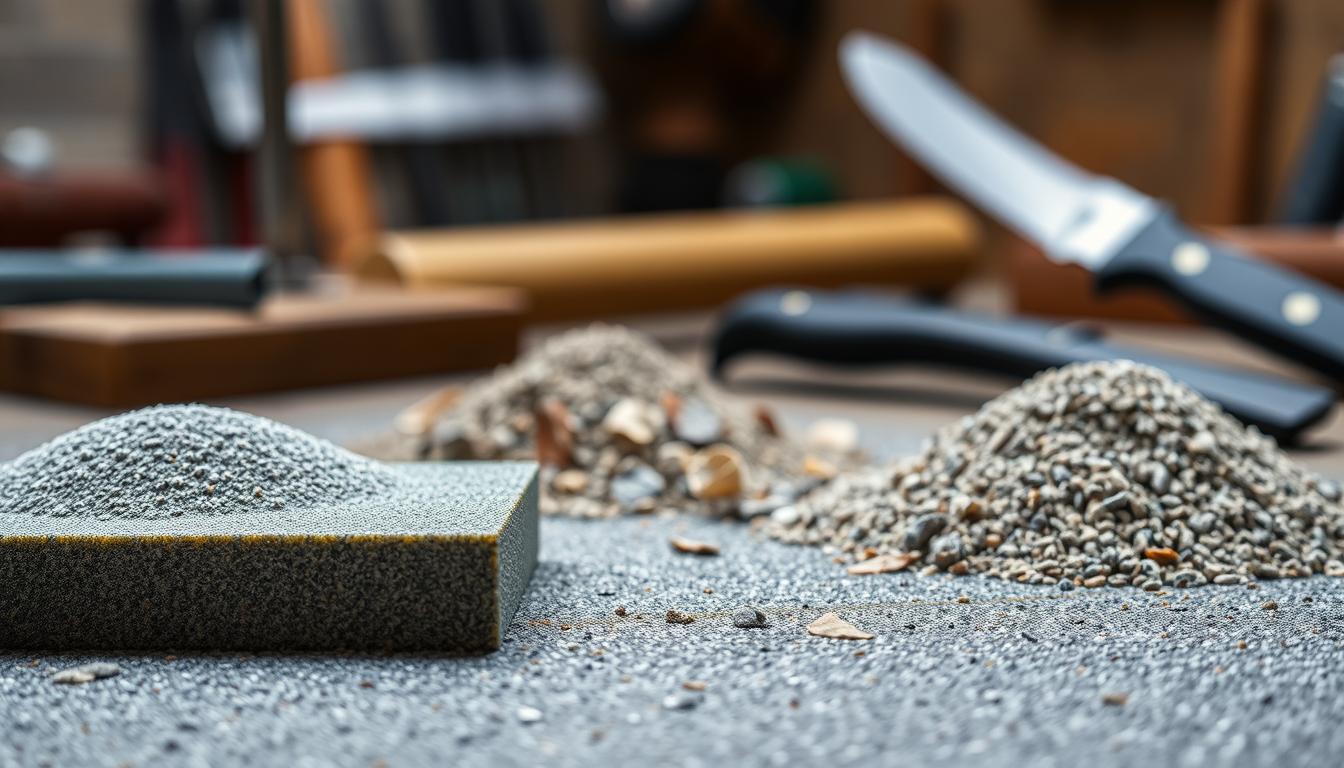
Tools and materials that work for sharpening serrated knives
Pick the right tools before you start. The correct rod size and grit make the job precise and safe. A controlled approach preserves the tooth profile and avoids excess metal removal.
Match rod diameter to each gullet. Use a tapered sharpening rod that fits the gullet so you work the gullet walls without scraping tips or enlarging serrations.
Tapered rod basics and choosing the right size
Choose a rod that fills the gullet’s curve. Smaller gullets need thinner rods; larger patterns need thicker tapers. Work each gullet individually with light, consistent strokes.
Diamond vs ceramic rods and grit guidance
Diamond rods remove metal faster and are useful for reshaping; medium diamond (~600 grit) suits repair. Ceramic rods are gentler for routine honing and finishing (3000–6000 grit).
DIY option and tools to avoid
For odd-size patterns, wrap sandpaper around a wooden dowel sized to the gullet. Swap dowels to match different serrations.
- Avoid flat files and generic pull-through sharpeners: they can widen gullets and flatten teeth.
- Keep cloth, soapy water, and good light nearby to clear metal swarf and check progress.
- Use medium grits for maintenance; reserve coarse grits only for real repair to prevent excess metal loss.
Set up your workspace for safe, controlled knife sharpening
A calm, organized workspace makes the job safer and helps you keep steady angles. Start on a clean, non-slip cutting board in good light so each serration is clear and the blade won’t shift as you work.
Stabilize the blade and lighting
Place the cutting board on a firm counter and wipe it dry. Position the blade so it faces away from your body and the heel sits nearest you. Good overhead light and a steady surface let you see grit or crumbs that hide dull spots.
Clean the knife before you begin
Wash and fully dry the knife to remove oils and crumbs. Removing residue prevents gritty metal buildup and keeps the flat side clear as a guide.
Hand placement and angle control
Use a repeatable grip: one hand holds the handle, the other steadies the blade near the spine or bolster. Keep your off hand well away from the cutting edge while you maintain the factory angle with light, consistent strokes.
- Work methodically: move from heel to tip so you don’t miss any section.
- Wipe often: use a cloth to clear metal dust and check progress.
- Take your time: rushing widens gullets or causes slips; steady work preserves the original profile.
How to sharpen a serrated bread knife step by step without ruining the teeth
Start by positioning the blade so you can clearly see which side carries the shallow bevel. The flat side will be smooth and even; the beveled side shows the angled cuts into each serration. Confirm this before you use any rod—working the wrong side will alter the profile.
Seat the rod and work each gullet
Step one: nestle a tapered sharpening rod into a single gullet and use light pressure. Move the rod along the curve with controlled strokes that follow the existing angle. About 4–5 strokes per serration is a practical rule of thumb.
Maintain a consistent angle
Keep the rod aligned with the blade’s original bevel. Consistent angle control preserves the serration design and avoids widening or blunting teeth. Work slowly and repeatable; patience saves time and metal.
Check progress and change rod size if needed
After a few passes, feel for a tiny burr on the flat side—that indicates progress. If gullets vary, switch to a different rod diameter so each gullet gets full contact without scraping adjacent teeth. Work heel-to-tip, wipe debris often, and test on paper or bread as you go.
- Quick reminders: identify the beveled side, use light strokes, keep the angle steady.
- Stroke count: ~4–5 per serration; inspect and stop when bite returns.
- Sequence: heel-to-tip, one gullet at a time for even results.
Remove burrs and finish the edge for clean slicing
Finish matters: burrs are thin metal wisps formed as you work each gullet. They can make the blade feel sharp but cause tearing and inconsistent cutting if they fold or break. Removing them is the final step before the knife returns to reliable service.
What burrs are and why they mask problems
Burrs are tiny ridges of metal that lift from the edge during repair. They signal you reached the metal and often mean you’ve formed a proper edge. But left in place, a burr will snag food and give a false sense of sharpness.
Deburr on the flat side without altering tooth geometry
Flip the blade so the flat side faces up. Use one or two very light, controlled strokes with the rod or a fine stone along the length. Work gently so you clear burrs without flattening the serrations or changing the original profile.
Finishing options and a simple testing routine
Choose a finish: a leather strop, cork, felt strip, jute, or a soft wood block all work well. They remove microscopic metal and polish the edge without reshaping teeth.
- Strop or cork: quick polish and realigns the micro edge.
- Felt or wood: buffs away residue without heat or grit.
- Clean with a damp cloth afterward to remove metal particles so food stays safe.
Do a paper test first; if paper slices clean, move to a loaf. If paper passes but bread still tears, you likely have remaining burrs or uneven work across the serrations. Finish again lightly and repeat the test until slicing bread is smooth and consistent.
Maintain your serrated knife so it stays sharp longer
Gentle use and the right board cut down wear and save you time on maintenance. A small habit change in the kitchen protects the edge and keeps slices clean between services.
Let the teeth do the sawing
Use a light, back-and-forth sawing motion and avoid forcing the blade down. Let the teeth bite and pull through the crust rather than pressing hard, which can bend tips and dull the blade.
Pick the right cutting board
Choose wood or high-density plastic boards that are kinder to steel. Hard glass or stone boards speed up wear and can round the serrations faster.
Cleaning and storage best practices
Hand-wash and dry the blade right away. Dishwashers expose the metal to heat, harsh detergents, and contact with other items that dull edges and damage handles.
- Store safely: use a knife block, magnetic strip, or blade guard so teeth don’t hit other steel.
- Dry fully: moisture invites corrosion and speeds edge loss.
How often to service your blade
Most home users need to perform knife sharpening only once or twice a year. If you use the tool heavily for crusts or tough skins, check the edge more often and consider professional sharpeners when the serrations flatten beyond home repair.
Conclusion
A short, steady workflow saves metal and brings back clean slices without re‑profiling the edge. Match a tapered rod to each gullet and work the beveled side with light, repeatable strokes. Then deburr gently on the flat side so teeth keep their shape.
Use diamond tools only for real repair and ceramic for routine maintenance. Avoid files or pull‑through devices that widen the pattern; over‑removing metal is the mistake you can’t undo.
Paper checks help, but bread is the true test. Keep good sawing technique, a soft cutting board, hand‑washing, and safe storage to cut service frequency. If the pattern is badly worn, seek a pro to restore the blade without sacrificing the teeth.