Understanding Whetstone Grit: From Repairing Chips to Final Polish
You don’t need to guess when choosing a whetstone. The number stamped on a sharpening surface tells you how aggressive it is and what finish it will leave. Lower numbers remove metal fast to repair chips; higher numbers refine and polish an edge.
This introduction gives you a clear, buyer-focused view so you can match a stone to the job. Learn when you are actually sharpening—removing steel—and when you are just maintaining an edge.
You’ll see how a damaged knife needs a coarse start, while routine touch-ups can skip straight to mid-range options. Different kitchen tasks benefit from different finishes, so your blades feel right while you cut.
Expect a practical roadmap: repairs, everyday sharpening, polishing tiers, stone types, a compact home kit, and basic technique. By the end of this guide you’ll know what a final polish does—and when ultra-fine finishes matter for your cooking style.
Why grit matters in the sharpening process (and what the numbers really mean)
The numeric label on a stone defines how aggressively it removes metal and what finish you’ll get. That number reflects particle size and density, so a low number cuts fast while a high number leaves a finer surface. You’ll use this to plan the sharpening process and choose a sensible start and stop point.
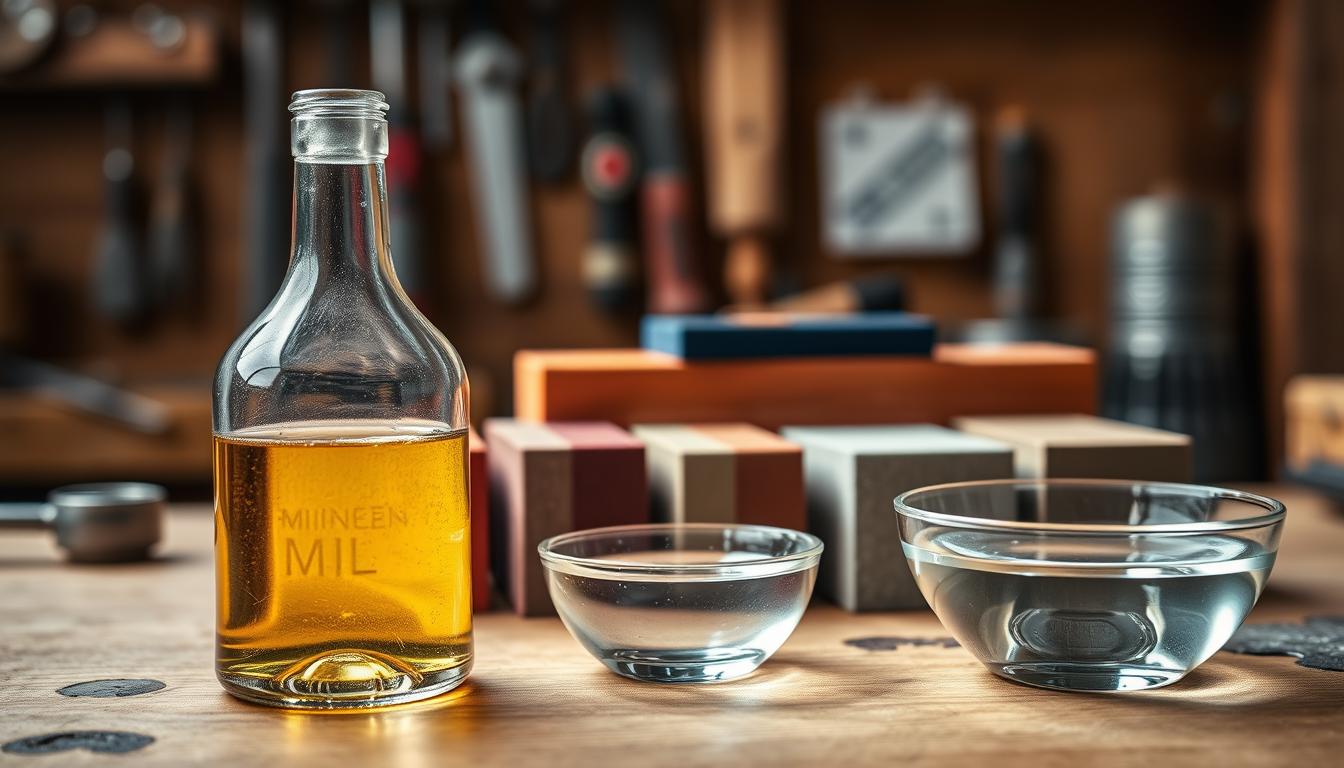
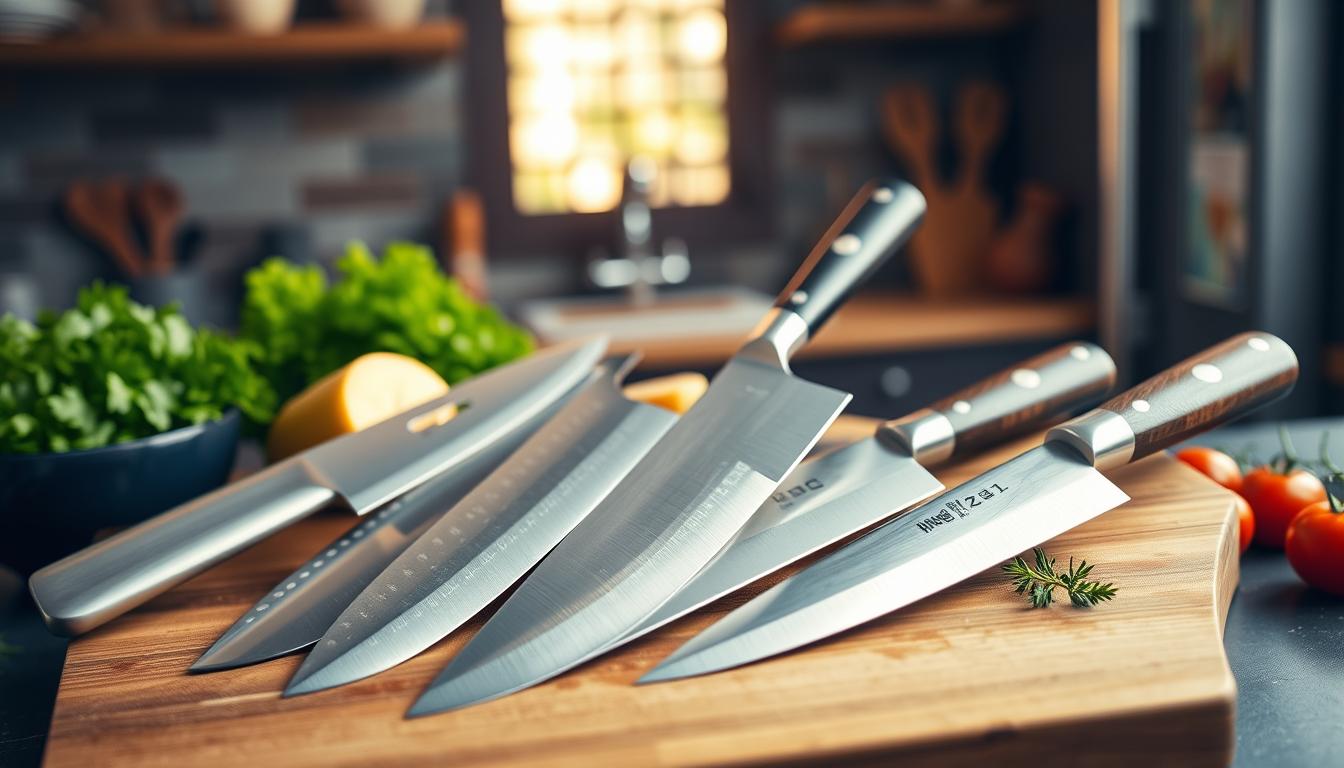
. The middle ground should feature a set of sharpening tools, including a knife and a honing guide, demonstrating the sharpening process. Soft, diffused natural light streams in from the left, casting gentle shadows that emphasize texture. In the background, slightly blurred images of sharpening instructions and a well-used block of wood, creating an inviting workshop atmosphere. The overall mood should convey focus and professionalism, reflecting the importance of grit size in the sharpening process.")
Grit size basics: higher number, smaller particles, finer finish
Higher numbers mean smaller abrasive particles and a smoother result. A coarse surface bites quickly and makes deep scratches; a fine surface smooths those scratches into a polished edge.
What “toothy” vs “polished” edges do in real cutting
A toothy edge has microscopic serrations that grip skins and fibers. It can feel more aggressive on crusty bread or tomatoes.
A polished edge glides on push-cuts and gives cleaner slices when you want precision.
Why starting coarse and progressing finer protects your blade and saves time
- Fast shaping: Coarse work removes metal efficiently and corrects geometry.
- Smoother cleanup: Mid and fine stages remove scratches rather than overworking a fine surface.
- Blade care: Starting too fine wastes time and can wear the edge unevenly.
Stone grit for knives: choose your grit range by blade condition and goal
Match the abrasive range to your blade’s damage and the finish you want. Start by assessing whether the edge is chipped, very dull, or simply in regular rotation. That decision points you to the right level and saves time and metal removal.

When to use 220–400
Use 220–400 when you have chips, broken tips, or major geometry changes. This is repair work: expect deeper scratches and a pronounced burr. Follow with medium steps to remove heavy marks.
When 800–2000 makes sense
If your knife is regularly maintained but a bit dull, begin at 800–2000. This range reshapes a tired edge without wasting metal. It’s the practical starting step for most kitchen blades.
Refining at 3000–6000 and higher
Use 3000–6000 to refine scratch patterns and keep a useful bite for vegetables. Move to 6000–8000 when you want a smoother, cleaner slice for raw meats and fish.
10,000–12,000: polish tier
Reserve 10,000–12,000 for experienced sharpeners seeking a mirror polish on high-end steel. This level rewards steady angle control and consistent technique.
- Decision framework: start with condition, end with the finish you need.
- Ranges are guidelines: steel type, use, and skill affect where you stop.
Coarse stones for repairs and reshaping: removing material the right way
When a blade has visible chips or a rounded bevel, you need a heavy-cutting abrasive to rebuild the edge fast. Coarse surfaces (commonly 220–400) remove material quickly to fix chips, broken tips, or a knife that is very blunt.
Repairing chips and resetting edge geometry
Use a coarse stone when chips and rolled sections won’t clean up on medium surfaces. Focus only on damaged zones and keep a steady angle to reset the bevel evenly.
Deliberate material removal prevents an uneven shape and keeps the edge consistent across the length of the blade.
Reprofiling a very blunt blade without overgrinding
Work with controlled pressure and short sessions. Check progress often and stop as soon as the new bevel forms.
This avoids overgrinding, which wastes metal and weakens the edge.
What to expect and why to follow with medium stages
Expect deeper scratches on the surface and a pronounced burr that forms quickly. A burr is a sign you removed enough metal, not the final goal.
Always move to a medium grit next to remove coarse scratches, stabilize the edge, and prepare for finer sharpening and polishing.
- When to buy a repair tool: own a dedicated repair stone if you often face major damage.
- Occasional fixes: choose a moderate coarse option if damage is rare.
- Tip: pair coarse work with planned follow-up stages to protect blade life.
Medium grit stones for everyday knife sharpening and maintenance
Medium abrasives are the everyday workhorses that keep your kitchen knives reliable and safe. You’ll reach for this range when you want practical sharpness without long polishing sessions. A medium surface restores a usable edge and makes prep faster and safer.
Why 1000 is the baseline
1000 is widely recommended because it cuts fast enough to rebuild a dull edge but leaves a finish you can use right away. It fixes roll and restores geometry without overly rough markings.
How 1000–3000 bridges shaping to refinement
A 1000/3000 combo is popular at home because it moves you from shaping to a cleaner edge in two steps. The 1000 removes defects; 3000 refines scratches and improves sharpness and edge stability.
When a single 2000 stone is “good enough”
If you sharpen often, a single 2000 option gives simple maintenance with quick results. It won’t replace coarse repair work, but it keeps daily sharpness and reduces time spent at the bench.
- Full process role: medium removes coarse marks and sets up polishing.
- Buying tips: prefer a harder surface for longevity or softer for faster feedback.
- Routine advice: match the stone to how often you sharpen and the tools you use.
Fine grit and polishing stones: dialing in finish, sharpness, and food performance
Fine polishing steps change how an edge behaves in the kitchen, not just how it looks. A 4000–6000 finish makes the blade feel smoother and reduces drag when you push-cut vegetables. It still retains a slight bite that helps with skins and fibrous produce.
Stepping to an 8000 finish brings a cleaner glide and superb sharpness that shows on raw fish and precise protein slicing. That extra polish lowers friction and yields thinner, cleaner slices with less tearing.
Higher polish is not always better. If you like a little micro-serration to grab tomatoes or crusty bread, a highly polished edge can feel too slick.
- Performance: 4000–6000 = balanced finish; 8000 = mirror glide and finesse.
- Steel matters: harder steels hold refined polish; softer blade steels gain less benefit.
- Buyer tip: an 8000 is a nice-to-have unless you cook a lot of sashimi or demand razor-smooth slicing.
Choosing the right whetstone type: water stones, oil stones, and diamond stones
Picking the right abrasive affects speed, cleanup, and the edge you end up with. Match a type to how often you sharpen and how much maintenance you’ll tolerate.
Water stones: slurry, speed, and home-friendly use
Water varieties use water to make a slurry that speeds cutting and carries metal particles away. That slurry helps the surface stay active and gives fast feedback as you work.
Many home cooks like these because they cut quickly and feel smooth when you move between steps. Expect to flatten them occasionally; they can dish with heavy use.
Oil stones: durable and low-wear
Oil options wear more slowly and tend to stay flatter longer. They are a solid choice if you dislike frequent flattening and want a steady surface over time.
The tradeoff is cleanup: oil is messy, needs proper disposal, and can add chores after each sharpening session.
Diamond stones: fast removal and dead-flat surfaces
Diamond plates cut very fast and stay reliably flat. Use them for quick stock removal and for truing other stones.
However, they can leave deeper scratches and a larger burr. Avoid diamond when you need a fine finish or when working large single-bevel blades, where those marks are hard to remove.
- Practical rule: water = speed and feel; oil = durability; diamond = flattening and heavy work.
- Buy tip: pair a diamond plate with a water option if you want both fast truing and a pleasant finishing surface.
Build a practical home sharpening set that matches your budget and skill level
Choose a simple kit first, then add specialty pieces as your skill and needs grow. Start with tools that handle weekly upkeep and keep purchases sensible.
The core combo: 1000 3000
Pick a 1000 and a 3000 pair as your baseline. The 1000 resets a dull edge during routine work, while the 3000 refines scratches and stabilizes the bevel. This duo covers most household sharpening tasks.
Add-ons for repair and refinement
Keep a 220 option on hand to tackle chips and broken tips when they occur. Add a 6000–8000 piece if you want a smoother polishing finish for fine slicing.
Two-sided combos and tradeoffs
Two-sided units save space and cost. They suit casual users but sacrifice the feel and longevity of single-grit options.
Essential accessories
- Stable holder: stops movement and improves safety.
- Water spray bottle: keeps surfaces cutting during work.
- Leather strop: removes the burr and boosts polishing results.
- Diamond plate: use it to flatten water-based stones and extend maintenance intervals.
Keep your setup simple when you start at home. Add a repair piece or a finishing option only when your work or skill demands it. This gradual approach saves money and teaches better care.
Sharpening technique: angle control, pressure, and when to switch grits
Control of angle and pressure turns random scraping into repeatable sharpening that lasts. Set a working angle that fits what you cut: about 15° per side for precision and thin slices, or roughly 20–25° for extra durability on busy kitchen blades.
Picking an angle and holding it steady
Use a visual or simple jig to keep the angle steady. Light, even pressure keeps the edge from rolling and prevents you from rounding the apex.
Move the blade with controlled strokes. Count or use short passes so you repeat the same motion each time.
Switching grits at the right moment
Move from a coarse to a medium step when the damaged area is gone and the scratch pattern is consistent along the bevel.
Advance to polishing when the edge feels apexed and the burr appears evenly along the length.
Understanding the burr and finishing correctly
The burr is a tactile signal that you reached the edge. A small, consistent burr shows progress; a huge burr left in place can weaken the edge.
Finish with lighter pressure and higher grit, then strop to remove the burr and tune sharpness.
- Pick angle: 15° for finesse, 20–25° for strength.
- Manage pressure: firm start, lighter finish.
- Stop criteria: damage removed, consistent scratches, even burr.
Care and maintenance for whetstones: keep your surface flat and cutting fast
A flat working surface is the difference between fast, repeatable sharpening and wasted time. Uneven wear makes it hard to hold a steady angle and slows the sharpening process. Regular maintenance preserves performance and saves money on replacement.
Why hollows form and why they matter
Repeated strokes wear the center faster than the edges, so a hollow can develop. That hollow stops the blade contacting evenly and can round the apex.
When contact is inconsistent you may grind more steel, take longer, and still get duller blades.
Flattening choices and what to pick
Use a diamond plate for speed and a dead-flat result. Pick a flattening truing piece if you prefer a traditional material option. Abrasive paper on a flat block works well on a budget.
Nagura dressing and 3000+ surfaces
On higher finishes a nagura dressing refreshes a glazed face and builds slurry. Rub it lightly to restore cutting action before you continue polishing.
Storage, cleanup, and smart buying
Rinse metal residue, dry thoroughly, and store in a cool, dry spot. A “slow” surface usually needs dressing or flattening, not replacement—good care extends life and protects your blades.
Conclusion
A simple progression—repair, reshape, sharpen, then polish—keeps your edge reliable without wasting time. Match starting grit to damage, move to ~1000 for core sharpening, and refine with 3000–6000 depending on the finish you want.
Most home cooks do best with a 1000 and a 3000 pair of stones. Add a coarse piece only to fix chips, and a higher polish only when you need mirror-smooth performance for delicate work.
Remember: a toothy edge grips tomatoes and crusts; a polished finish glides for thin slices in the kitchen. Choose the level that suits your cooking, not the highest number alone.
Technique and care matter most: keep a steady angle, use sensible pressure, switch steps when scratches are consistent, and keep your whetstone flat. That routine protects the blade and makes every sharpening session faster and more predictable.