Sharpening VG10 Steel: Tips for Working with Hard Japanese Alloys
What this guide covers: you’ll learn how to get a fine edge on high-end Japanese alloys without wasting metal. VG10 knives are hard and wear-resistant, so your technique should favor steady angle control and light pressure.
Start with the right tools and a clear workspace. I’ll walk you through tool selection, setting the correct angle, grit progression, building a burr, and full deburring for lasting edge retention.
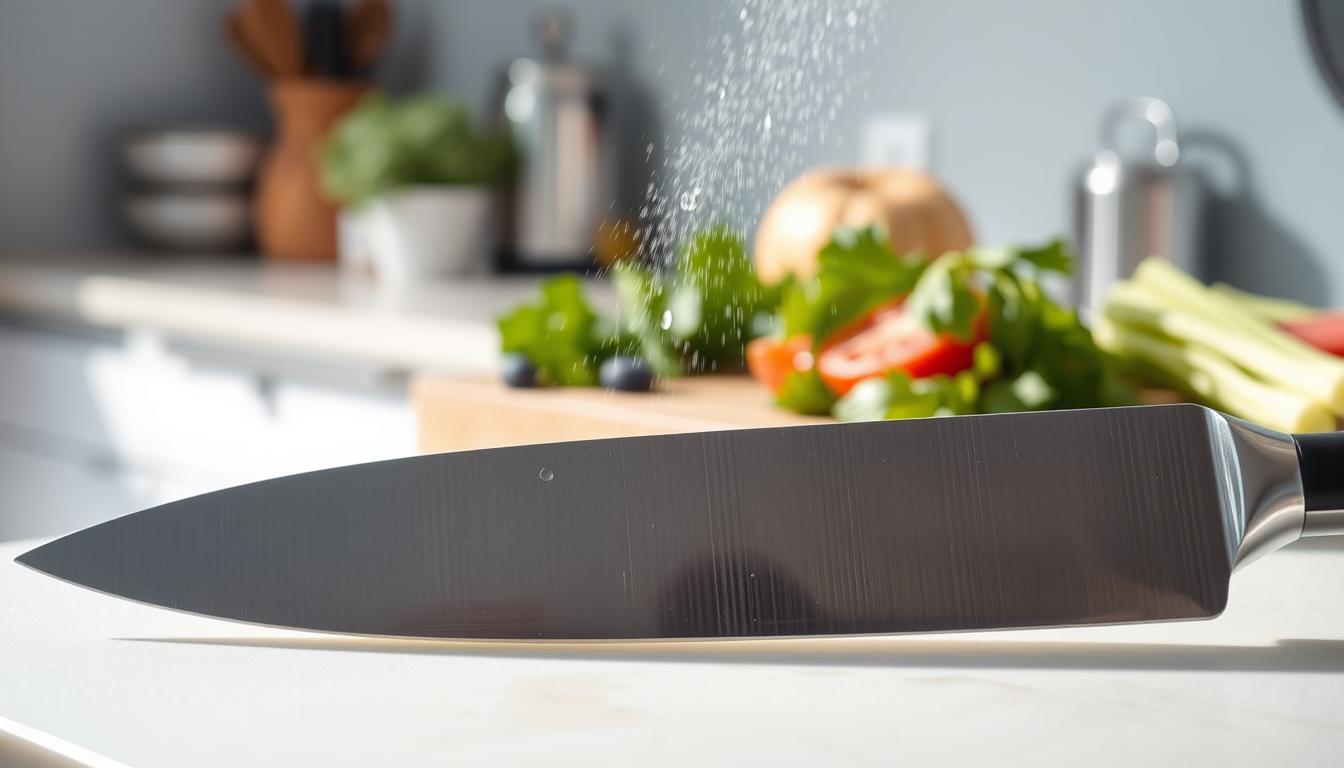
Success looks like a stable bite on tomatoes and clean push-cuts on proteins. With the right approach you keep geometry intact and get reliable performance between sessions.
This short guide is written for home cooks and enthusiasts in the United States who use common VG10 chef knives like Santoku, Gyuto, and Nakiri. Safety and minimum material removal are key goals so your knife lasts longer and holds sharpness.
Why VG10 Steel Sharpens Differently Than Typical Stainless Steel
Knowing the metallurgy behind high-end Japanese blades makes your work with the edge more predictable. Takefu Special Steel developed this alloy for premium kitchen knives, where a thin, high-performance bevel matters.

Composition and purpose: the reported mix sits near 0.95–1.05% carbon, 14.5–15.5% chromium, ~0.9–1.2% molybdenum, 0.1–0.3% vanadium, and 1.3–1.5% cobalt. That balance gives you good corrosion resistance and fine edge stability.
Carbon raises potential hardness and sharpness. Chromium helps with stain and rust resistance so you get easier daily care than with reactive carbon blades.
Vanadium and molybdenum add wear resistance and toughness. Cobalt supports hot hardness, which helps the edge hold longer but can make burr formation slower on a very hard blade.
- 60–62 HRC means high edge retention, less pressure, and a patient grit progression.
- You gain stainless benefits compared with carbon steel, yet still must clean, dry, and store the blade properly.
- Alloy design affects abrasion, burr behavior, and sensitivity to angle changes—so refine technique for best performance.
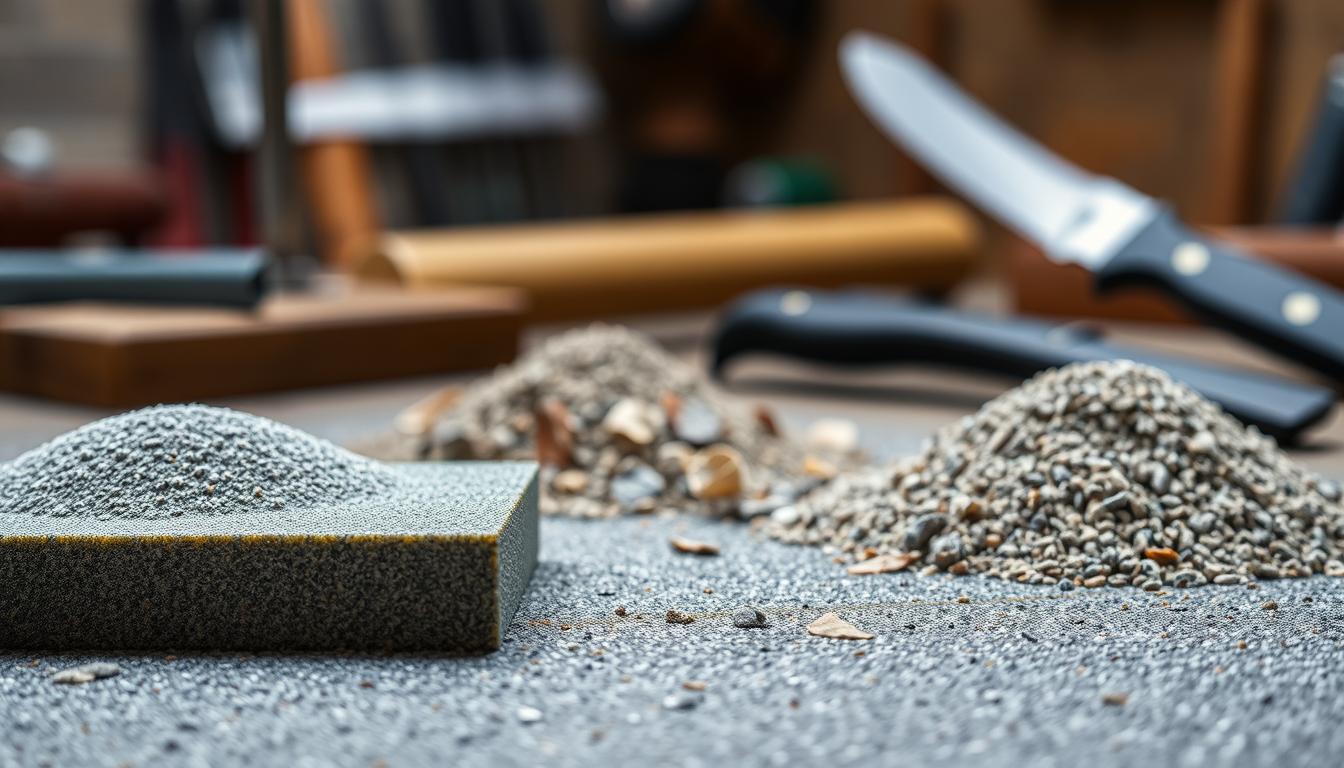
Choose the Right Sharpening Tools for a VG10 Knife
Pick tools that give you control over angle and pressure—those choices matter more than brand names. For a vg10 knife, that control reduces unnecessary material loss and helps you build a proper burr without creating uneven wear.

Whetstone vs pull-through sharpeners
Whetstones are the preferred option because you control angle, pressure, and grit progression. Fixed-angle sharpeners and electric devices can remove too much metal and cause long-term damage to the bevel.
Recommended grit range
For most sharpening sessions use a three-stage plan: a coarse stone (~400) for chips or reprofiling, a medium stone (~1000) for main work, and a fine stone (2000–8000) to refine and polish the edge. Skip coarse grits unless the knife is very dull or damaged to save time and preserve blade life.
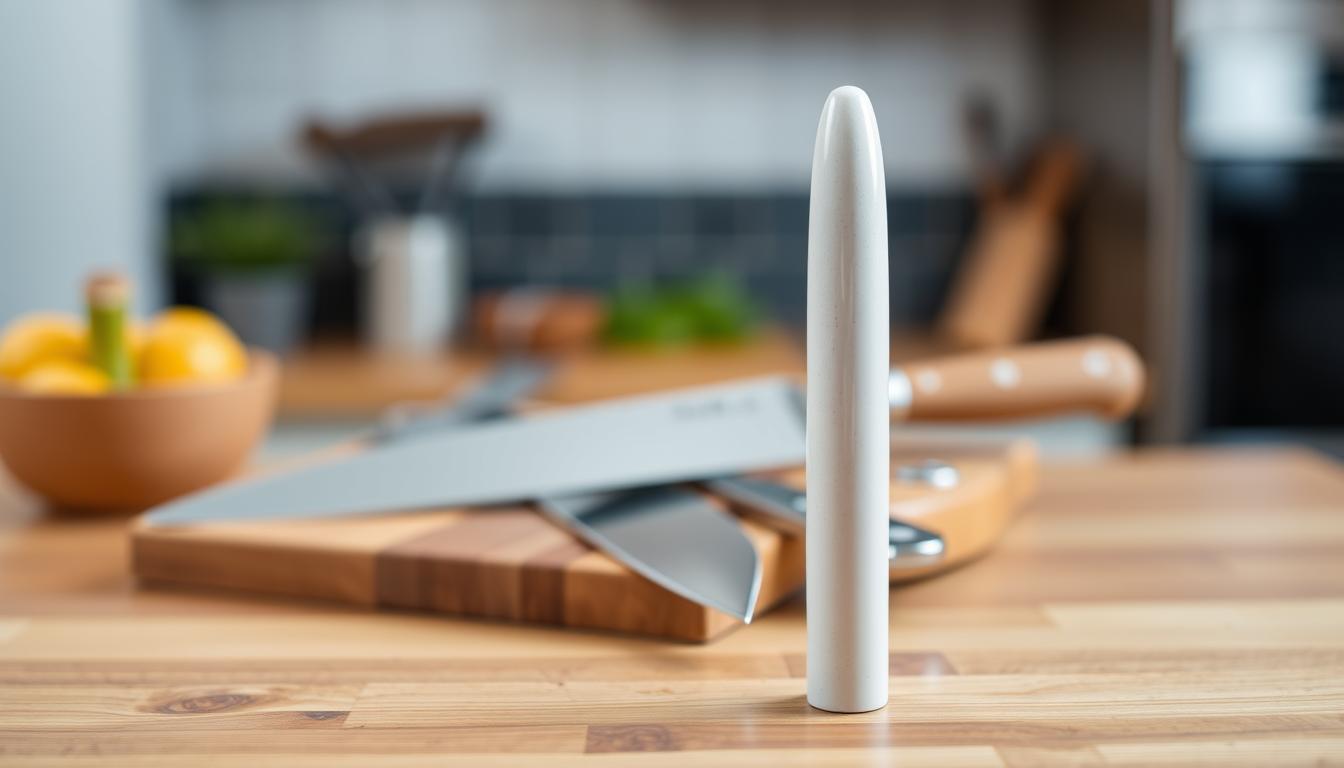
Ceramic rod vs traditional steel
For regular honing on hard alloys, a ceramic rod is better than a traditional steel rod. The harder rod contacts a harder edge without bending it, so regular honing keeps performance between full sessions.
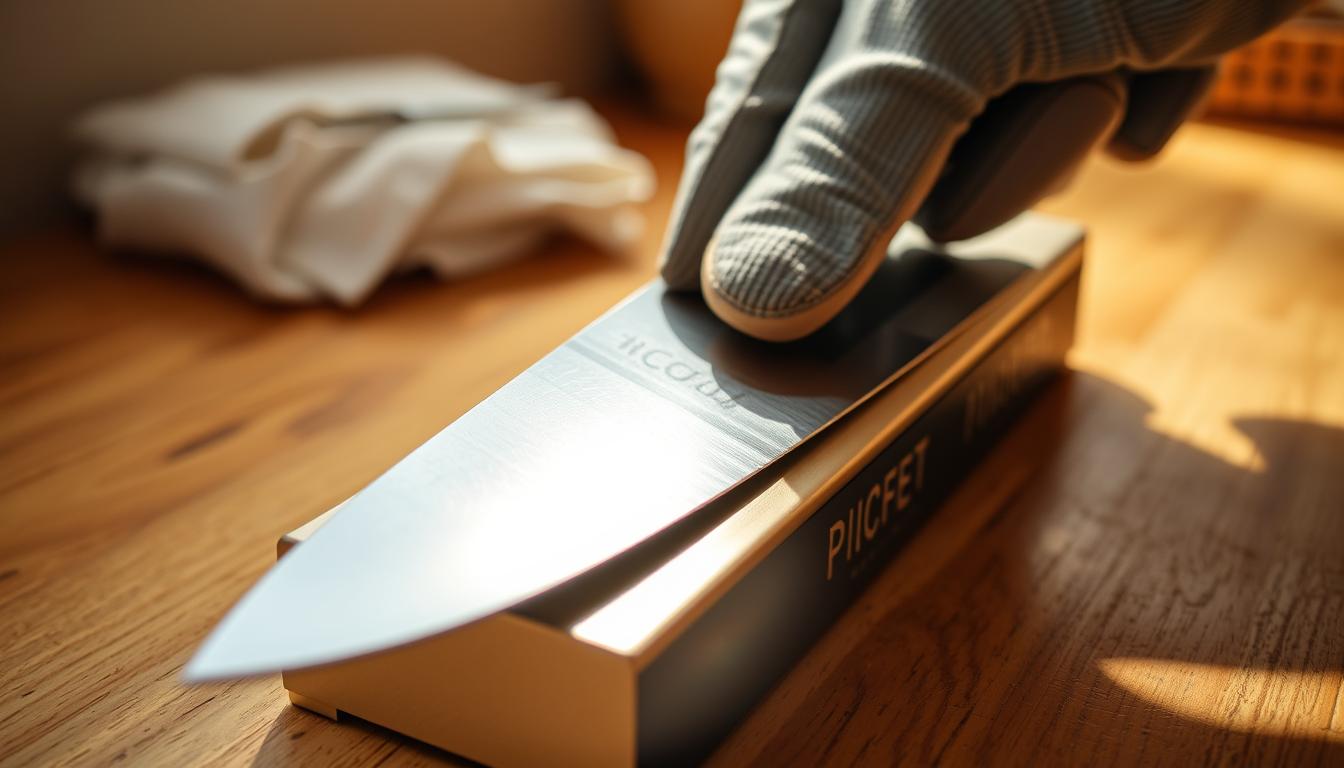
Strops and diamond stones
Strops can lift sharpness further but can round the bevel if used poorly. Diamond stones cut fast and are useful for quick reprofiling, but match abrasive aggressiveness to your skill to avoid unwanted removal or damage.
- Quick checklist: whetestone set, ceramic rod for regular honing, optional strop, and a fine diamond for heavy wear.
- Use these tools to plan your sharpening sessions and protect the edge over time.
Set Up Your Workspace for Cleaner, Safer Sharpening
A reliable station cuts down mistakes and helps you preserve the blade geometry. Prepare a compact area with steady lighting and a flat surface so each pass stays consistent. That small investment in setup saves time and prevents avoidable damage.
Stone stability and lighting
Place the stone on a non-slip base or a damp towel at counter height. Good light lets you read the bevel and watch the edge reflection as you work.
Why it matters: a moving stone or wobbling knife makes angle control inconsistent and increases the risk of uneven bevels on hard vg10 knives.
Water management for whetstones
Many water stones need a 10–15 minute soak until bubbling stops; others are splash-and-go. Keep the surface wet so swarf clears and the stone cuts evenly during sessions.
Quick pre-sharpen inspection and tips
Scan the blade for chips, rolls, or flat spots. If you see nicks, start on a coarser grit; minor wear can go straight to medium. Use a marker on the bevel as a simple angle guide to match the factory grind.
- Workflow tips: keep a towel for your hands, a rinse cup, and a safe rest for the knife between passes.
- Check that all your tools are within reach to reduce interruptions and maintain focus.
- Finish by drying the blade and stone to support proper maintenance and storage.
Find Your Ideal Sharpening Angle for VG10
A consistent angle is the single best habit to build for long-lasting edge performance.
The 15° per side baseline offers a strong balance between sharpness and durability on vg10 knives. At about 15–16° per side you keep a fine bite without making the bevel so thin it chips on harder cutting tasks.
The practical way to match the factory bevel
Lay the bevel flat on the stone and feel the contact. Mark the bevel with a pen, make a light pass, and check where the ink wears off. Adjust until the whole bevel polishes evenly.
When to change the tilt for durability or maximum sharpness
Widen the angle a few degrees if you hit bones, frozen items, or see micro-chips. Narrow only if your cutting is controlled and you maintain a steady hand.
- Consistency: hold the same angle from heel to tip; vg10 hardness shows inconsistencies quickly.
- Edge retention: a stable, correct angle helps the edge resist rolling and maintain sharpness longer.
- Easier sharpen: with the right stone and angle discipline, working the blade feels more predictable even if it takes patience.
Sharpening VG10 steel With Whetstones: A Step-by-Step Method
A steady, repeatable routine on the stone is what turns a good knife into a reliable tool.
Start coarse when needed: use ~400 grit only to reset the bevel and raise a burr. Work heel, mid, and tip with even coverage so you do not create weak spots along the edge.
Refine on medium
Move to ~1000 grit to remove deep scratches and stabilize the bevel. This grit refines the scratch pattern and makes the burr consistent before you polish.
Finish on fine stones
Use 4000–8000 grit to maximize sharpness and reduce friction in cutting. A polished edge improves push-cuts and yields cleaner slices through proteins.
Pressure, strokes, and angle
Let the stone do the work. Start with firm-but-not-heavy pressure, then lighten as you progress. Count strokes per section, keep your wrist steady, and maintain one angle from heel to tip for best performance.
- Repeat passes until a burr forms along the whole blade (single-bevel builders skip alternate sides until the burr appears).
- For double-bevel knives, mirror your passes on the opposite side after burr formation to avoid over-thinning one face.
- Expect 10–40 minutes per session depending on dullness and your skill; speed improves with practice.
Burr Control and Deburring for a Longer-Lasting Edge
A clean, consistent burr is the single physical cue that tells you the edge has been properly formed. The burr is a tiny wire of metal raised when you apex the edge. It proves the bevel meets at a single point along the whole blade.
How to confirm an even burr
Work in good light and feel for the burr off the edge with the pad of your fingertip, not the tip. Move slowly from heel to tip; a continuous, gentle catch means the burr runs the length of the blade.
Safe deburring methods you can control
Use light alternating passes on your finishing whetstone or a few edge-leading clean-up strokes with minimal pressure. Keep strokes short and consistent to avoid tearing the burr or widening the apex.
Stone vs stropping and why full deburring matters
Stropping can polish and lift sharpness, but it may pull or round a fragile burr if your angle or skill is uneven. Removing the burr fully on the stone first gives a stable apex and better edge retention.
- Leftover burrs collapse quickly and feel sharp briefly, then dull fast.
- Post-deburr checks: paper slice, tomato-skin test, and a light bite check.
How Fine Should You Go: Choosing a Finish for Cutting Performance
Match the finish of your bevel to what you cook most. A slightly toothy apex helps with skins and fibrous vegetables, while a higher polish favors smooth push-cutting on proteins.
Practical finishes for home cooks: stop around mid-fine (about 4000–6000 grit) for reliable everyday performance. That range gives good sharpness and a pleasant bite without needing constant maintenance.
Edge “bite” vs mirror polish
“Bite” means small teeth at the edge that grip skins and fibers. It feels aggressive on tomatoes and herbs.
Mirror polish reduces drag and gives cleaner slices on fish and meats. It can feel a touch less grabby but slices very smoothly.
- Example targets: 4000–6000 grit for general use; 6000–8000+ if you want a near-mirror finish for refined push-cuts.
- Retention tradeoff: a polished edge can wear similarly to a toothy one; board material and technique affect how long the edge stays usable.
- VG10 quality: this alloy responds well to higher grit, so experiment cautiously to find the balance that matches your cutting habits.
Pick the finish that gives you the cutting feel you prefer, then keep a simple routine on your whetstone and ceramic rod to maintain that performance over time.
Common Mistakes That Ruin VG10 Sharpness (and How You Avoid Them)
What feels like efficient work can quietly damage a high-hardness blade. You need to watch how you press, what grits you use, and how steady your angle remains. Fixing bad habits saves time and prevents permanent damage.
Using too much pressure on hard Japanese alloys
Heavy force does not speed up results on a hard alloy. It raises chipping risk and makes an uneven edge.
Skipping grit progression and leaving deep scratches
Jumping to fine grits while deep scratches remain gives a false sharp feel. Those scratches create weak points that break in use.
Overheating or relying on aggressive powered tools
Fast electric devices can remove excess metal and thin your knife dangerously. Overheating also alters hardness and shortens edge life.
Inconsistent angle control that creates a wide, unstable bevel
Wobbling the angle widens the apex and ruins cutting performance, even after long sessions. Consistency matters more than speed.
- Quick fixes: lighten pressure, follow a proper grit sequence, avoid aggressive powered sharpeners, and hold a steady angle.
- Myth check: harder doesn’t mean push harder; finer grit won’t fix a poor base.
Maintenance Between Sharpening Sessions to Protect Edge Retention
Small, regular care between full sessions keeps your edge reliable and reduces time spent on stones. This maintenance preserves alignment and prevents damage. You are not removing metal each week; you are protecting the apex.
Regular honing with a ceramic rod
Use a ceramic rod for quick alignment and light touch-ups. Regular honing corrects minor rolls and helps you maintain sharp edge feel between full work on stones.
It will not fix chips, heavy dulling, or a fatigued apex. For those you need stones and a full session.
Cleaning and drying habits
Hand wash with mild soap, rinse, and dry immediately. Quick drying preserves corrosion resistance and keeps the blade finish clean.
Smart storage to avoid damage
- Blocks: protect edges and prevent knocks.
- Magnetic strips: mount properly so the edge doesn’t scrape.
- Blade guards: use in drawers to stop dulling from contact.
When to plan the next session
Let cutting cues guide you. If paper tears, tomatoes crush, or proteins drag, schedule a sharpening session. Relying on performance, not a calendar, keeps your vg10 knife ready and extends edge retention.
Conclusion
Conclusion
The right habits, not brute force, determine how long your edge stays useful in the kitchen. Set a steady ~15° per side, follow a sensible grit progression on a good stone, raise a burr deliberately, and remove it fully for a stable cutting face.
Because vg10 is a hard, high-quality alloy, your technique and control matter more than pressure. Use whetstones and light touch-ups with rods or stropping rather than aggressive powered devices to protect long-term retention and blade quality.
Pick the finish that matches your cooking: a toothy bite for vegetables or a polished mirror for smooth push-cuts. Clean and dry the knife after use, store it safely, and let cutting cues—not a calendar—tell you when to work the edge again.