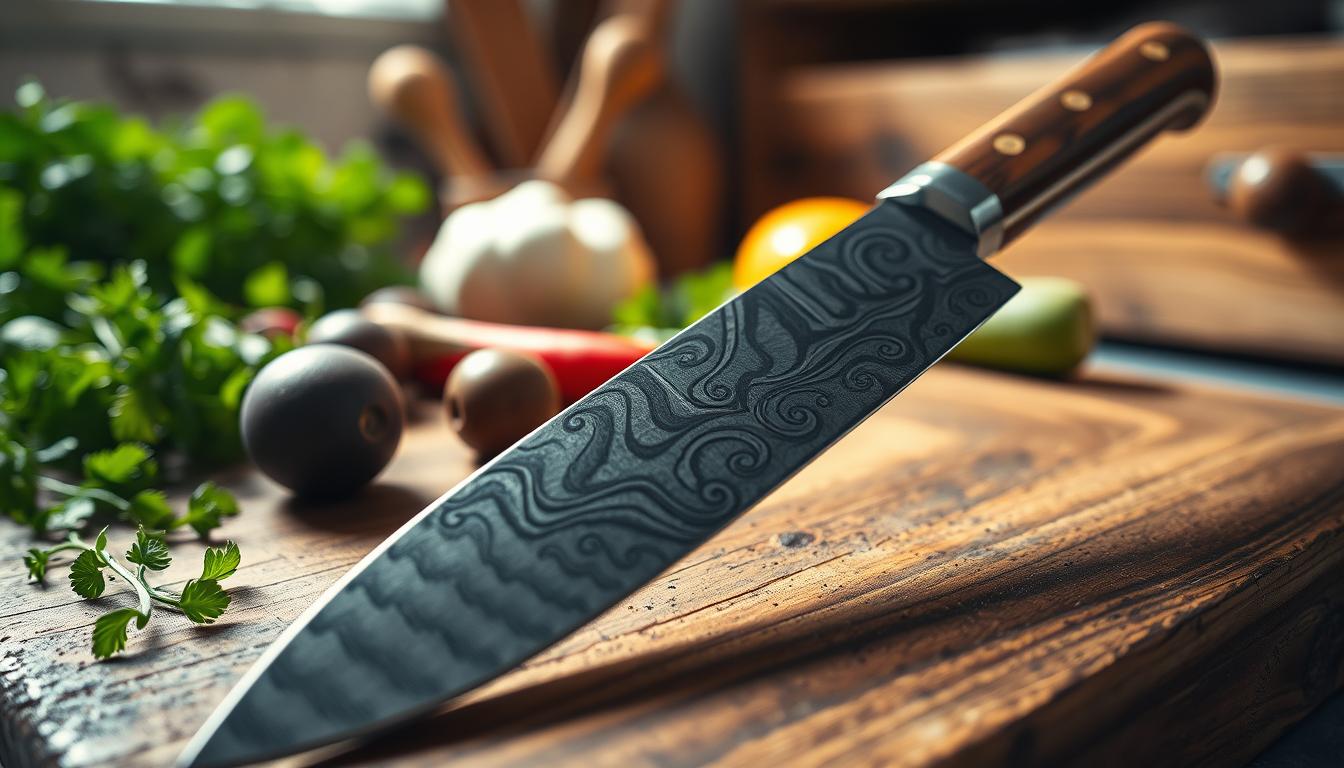
Delicate Edges: How to Sharpen Small Pairing and Petty Knives
Sharpening a Petty knife means creating a clean, stable edge on a narrow, precise blade without over-grinding or rounding the tip.
You likely own small knives that feel easy to work on, yet they punish inconsistent angles. Short lengths and thin geometry demand steady hands and repeatable technique.
This guide uses a whetstone-first approach. You will learn to set up a safe station, select grits, and work side one then side two evenly. The goal is not just shiny bevels but a controlled sharp edge for real kitchen tasks like slicing tomato skin, trimming herbs, and in-hand prep.
Expect a method that favors preservation over speed. You will avoid shortcuts that damage fine profiles, especially on Japanese-style petty blades. Maintenance choices — board, cleaning, storage — finish the process because most edge damage happens after you think you are done.
Why a Petty Knife Needs a Different Sharpening Approach
When working with short, slim blades, angle consistency becomes your main skill. Small blades force you to hold position and pressure steady so the bevel stays uniform. Consistency here preserves the thin profile and fine tip, which matter for delicate work.

Small blade, big control
Because the blade is short, tiny wrist shifts change the angle more than they do on a chef tool. That makes forming and keeping an even edge harder. You must use deliberate motions and light, repeatable pressure.
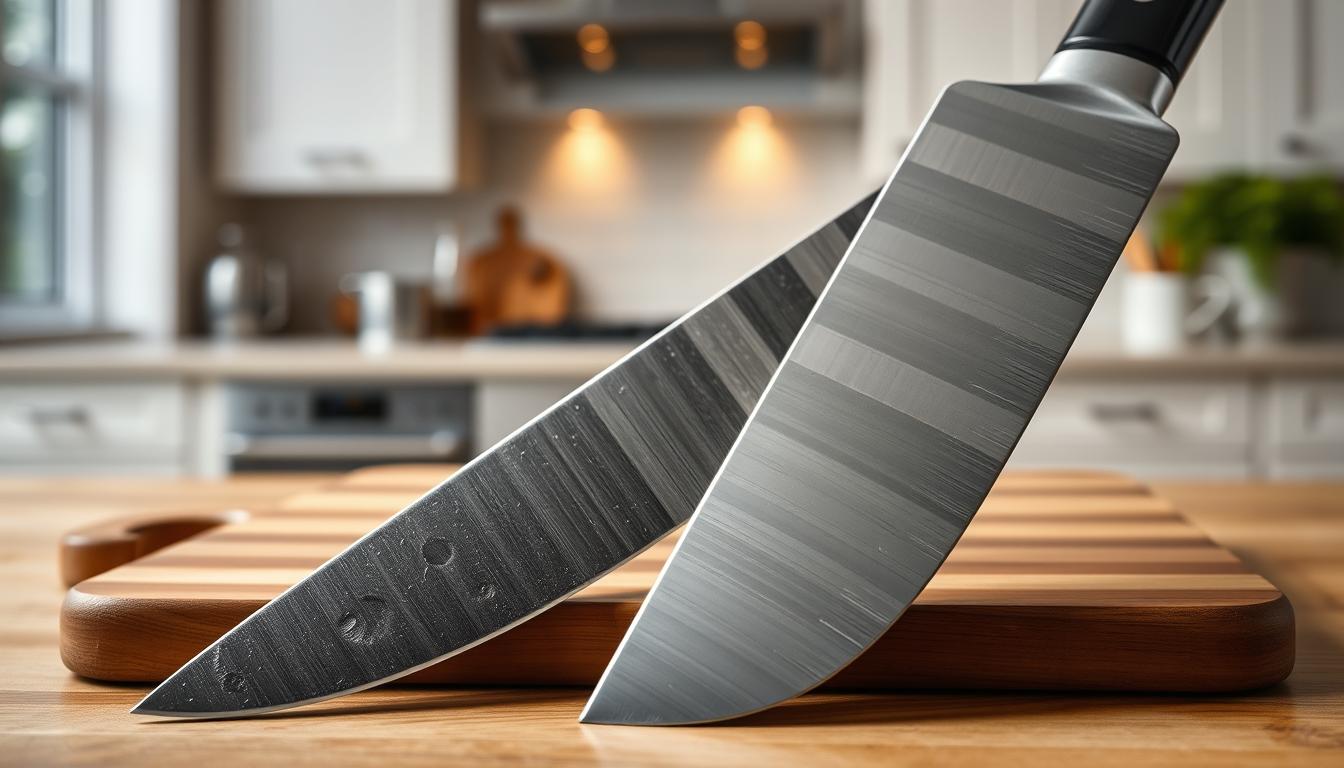
Petty, paring, and utility at a glance
Petty knives (120–150mm) sit between short paring tools and longer utility models. A paring knife is often 75–100mm and fits tight in-hand jobs. A utility knife bridges small prep and longer slices.
Why they dull faster in real tasks
Peeling, coring, mincing, and trimming put the point and straight edge under stress. In-hand work and awkward contact angles cause micro-damage even when the blade looks fine. Your goal is a durable, controlled edge that bites without extra force.
- Match technique to geometry, not to larger blades.
- Treat the tip carefully — many petty blades have a sharper point than Western paring styles.
- Protect the edge during routine prep to slow wear.
Know Your Knife Before You Sharpen
Start by confirming blade length and construction. Measure from heel to tip so you know how the tool will sit on the stone.

Typical length and how size changes stability
Petty blades typically range from 90–150mm, most often 120–150mm. Shorter tools feel less stable on the stone and demand tighter, more deliberate strokes.
Tip: if your length is near 90mm, use smaller, controlled passes to avoid rocking the tip.
Japanese versus Western expectations
japanese petty knives often use harder steel and take acute edge angles. They reward light pressure and careful deburring for a fine tip.
By contrast, a western utility knife usually has thicker geometry and common stainless steel that tolerates slightly higher angles and heavier use.
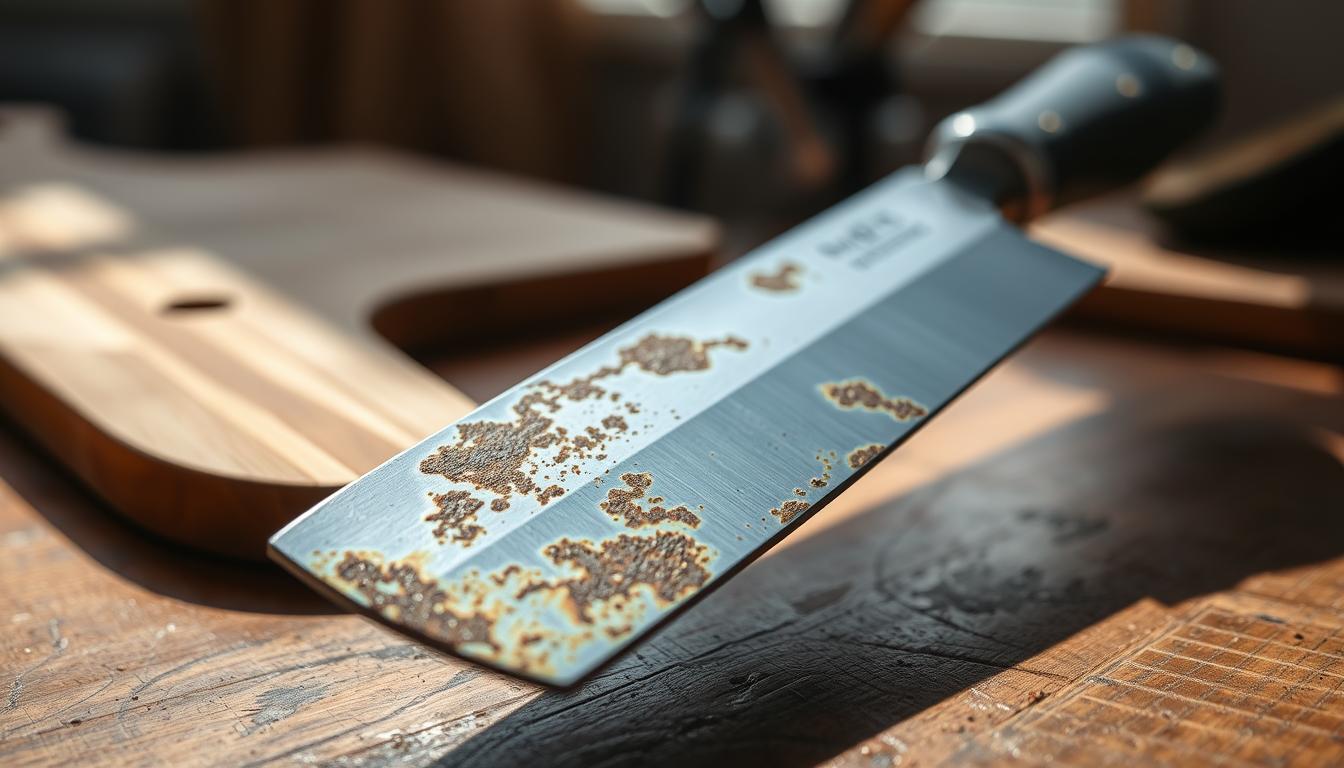
Steel basics and why it matters
Know the steel type before you remove metal. Stainless steel resists corrosion, carbon steel sharpens easily but may patina, powder steel gives long wear, and high-carbon stainless steel balances ease and corrosion resistance.
- Check for chips or rolled edges to decide grit.
- Match stone choice to steel hardness to prevent micro-chipping.
- Success = clean apex, minimal burr, and a tip that stays pointed.
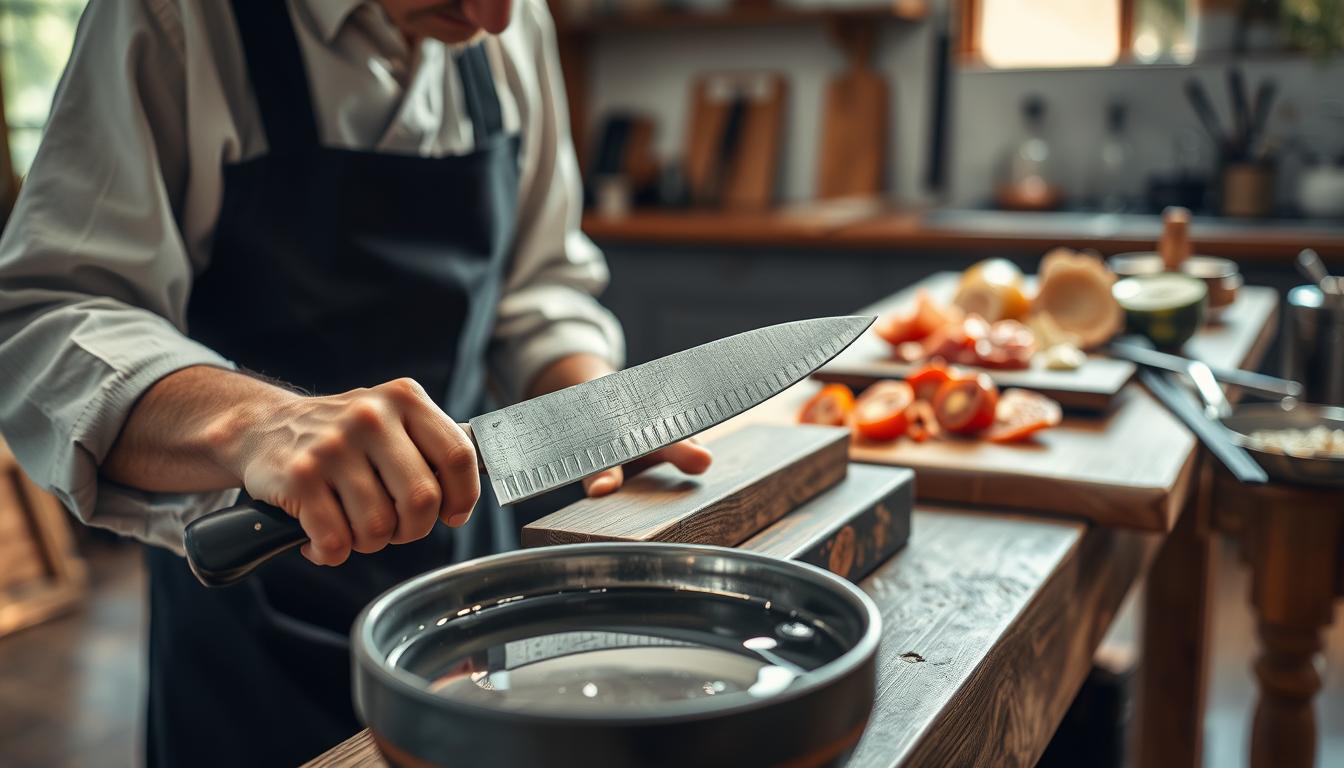
Sharpening a Petty knife: The Safe, Reliable Whetstone Method
Tiny blades show mistakes quickly, so choose a steady, measured method. For precision tools, the whetstone way gives you full control over grit, pressure, and angle.
Why avoid pull-through and electric devices
Pull-through and electric devices remove metal fast. On thin, hard blades they can chip the tip, alter the profile, and leave uneven bevels you can’t easily fix.
Those tools also heat edges, which may affect temper and reduce edge life. For fine work, that risk outweighs speed.
Don’t raise the bevel too much
On narrow blades, heavy grinding pushes the bevel up the face. That changes geometry, spoils the blade’s look, and harms usability for delicate tasks.
What safe sharpening looks like
- Light to moderate pressure with steady, repeatable strokes.
- Consistent angle and frequent checks across the full edge.
- Patient work focused on repeatable sharpness, not rapid metal removal.
- Tools to rely on later: a stable whetstone setup, water for lubrication and rinsing, and a clear burr formation and removal routine.
Choose the Right Sharpening Stones and Grits
Picking the right stones shapes how fast and clean your edge will come back. Use grit to match what you see at the edge, not guesswork.
Best all-purpose combo
1000/3000 whetstone is the go-to for most kitchen knives. The 1000 grit resets the bevel and removes dull metal efficiently.
The 3000 side refines the surface, improving smooth push cuts for vegetables and cleaner slices of fruits and proteins.
When to use a coarse stone
If you see visible chips or a damaged apex, start with a 220–400 grit stone. That coarse work repairs deep nicks before you move to finer grits.
How grit affects bite and polish
Coarse grits give more bite but leave a rough finish. Finer grits improve polish and reduce drag. Match finish to your tasks: more bite for tough cutting, more polish for delicate slices.
- Stop after 3000 for most small blades; higher polish is optional.
- Rinse stones and the blade between grits with water, not oil.
- Protect your work by avoiding cross-contamination — loose coarse grains can scratch finer surfaces.
- Invest in a flat, quality stone; a dished stone makes small blades hard to sharpen evenly.
Set Up Your Sharpening Station for Consistent Results
A stable workspace makes holding a steady angle simple and predictable.
Stabilize the stone by using a stone holder or a damp towel under the stone. Protect your countertop with a silicone mat or spare board so water and grit don’t damage surfaces. Keep a rinse bowl or running water within reach for clearing slurry.
Lighting and body position for better edge control
Work with clear, shadow-free lighting so you can watch the scratch pattern along the edge. Good light helps you hold control on short blades.
Stand square to the stone, keep shoulders relaxed, and move from your hips and arms rather than flicking the wrist. That posture improves repeatability and reduces fatigue.
Protect your cutting board habits
After you finish, test and then use an end-grain wood or quality plastic cutting board. Avoid glass and stone boards — they dull edges fast and make your work feel wasted.
- Use a soft board for daily prep and rotate boards to extend edge life.
- Handle and store blades carefully; don’t scrape the board or twist the edge during use.
- Remember: a comfortable handle and secure hand placement matter for safety when testing and in routine work.
Pro tip: Your station should support both your petty and chef knife without changing workflow — same setup, same care, better maintenance of both tools.
Find and Hold a Consistent Sharpening Angle
The right wrist position and reference points make control reliable every pass.
Choose your bevel by tool: many japanese petty knives work best near 15° per side, while most western utility knife and paring knife styles sit closer to 20° per side. Harder steels can take more acute settings but need careful technique.
Lock in the tilt: use spine height above stone as a visual gauge. Keep your wrists steady and lower the handle slightly toward the tip to avoid rounding. Rest fingers of your guiding hand near the edge to steady motion.
Finger and pressure cues: apply light forward pressure with guiding fingers on the section you are working. Your other hand steadies the handle and keeps strokes straight. Use firmer pressure on medium grit to form the burr, then ease off for refinement.
- Keep angles tool-specific; don’t force one setting across a chef knife set.
- Avoid lifting the handle near the tip; that causes rounded points on short blades.
Consistent tilt and steady hand placement give symmetrical bevels and make burr removal simple in the next steps.
Sharpen the First Side: Build a Clean, Even Edge
Work in short, deliberate passes from heel to tip so the blade keeps a straight profile. Start each stroke at the heel, draw evenly to the tip, and keep the same contact point on the stone. This prevents the point from rolling and preserves the slim geometry used for precise prep tasks.
Start at the heel and work to the tip without rounding the point
Begin at the heel and move across in sections if needed. On short tools, break the motion into controlled segments so the tip stays aligned and you don’t overwork any one spot.
Use steady strokes for a straight edge profile on a petty blade
Keep strokes short and consistent. Use light, steady pressure that produces an even scratch pattern on the medium stone without flexing the blade.
How to tell you’ve formed a burr along the full edge
Run your fingertip gently perpendicular to the metal (not along the edge) to feel a thin burr. A continuous burr from heel to tip means the side is apexed and ready for the opposite side.
- Step-by-step: heel-first strokes, section the edge if needed, keep the tip aligned.
- Pressure should feel steady—enough to mark the stone, not enough to gouge.
- When the burr is even, you’ll notice improved slicing and less wedging in small cutting tasks.
Sharpen the Second Side Without Overcorrecting
Switching to the second face is where symmetry is earned, not guessed. Flip the tool and set the same tilt you used on the first pass. Reproduce wrist position and spine height so the bevel returns to match the opposite side.
Match angle and stroke count to keep the bevel even
Start by matching stroke count as a baseline. Do the same number of passes, then watch the burr transfer and the scratch pattern for signs to stop or add a few more strokes.
Tip: replicate pressure and motion. Symmetrical bevels reduce steering during cuts and make final deburring simple.
Fix uneven spots near the tip and heel
Target trouble zones with short, controlled strokes. Work the tip and heel separately if they lag, but keep the main edge line straight so the apex stays aligned.
- Flip and mirror your original angle—this keeps the bevel balanced.
- Match stroke count, then refine by feel: burr movement, shine, and scratch flow.
- Avoid chasing one shiny patch; aggressive grinding alters profile fast on narrow blades.
Confirm the burr has flipped, the apex runs full length, and no dull sections remain near the heel. For paring and utility tasks that use the tip heavily, tip integrity is critical.
When both sides show an even apex, move to finer grit and lighter pressure to refine the edge for slicing and in-hand work.
Refine and Polish for a Razor-Sharp Edge
Finishing on finer grits turns a rough edge into a reliable, predictable tool for daily work. Move from the medium stone to a 3000-grit finish on your whetstone to smooth the bevel. This step improves slicing and perceived sharpness on vegetables and soft proteins.
Move from medium to fine grit
Use the medium grit to rebuild the bevel, then run controlled passes on the fine side to remove micro-serrations. A 3000-grit finish refines bite while keeping control for precise cutting.
Light pressure finishing passes
Gradually reduce pressure as you refine. Lighter passes cut fatigue and stop you from over-bending the burr. That prevents a weak wire edge that can break off during use.
Deburring techniques & optional stropping
Remove the burr with alternating light strokes and edge-leading cleanup. For hard steel, be thorough—lingering burrs feel sharp then fail quickly. Stropping helps when you need final alignment or slight polish. Skip it if your stone deburring is clean and stable.
- Practical tip: chefs favor consistent feel over mirror polish for daily quality.
- Match finish to use: slightly toothy for vegetables, higher polish for smooth protein cuts.
Test Your Sharp Edge the Right Way
Real food tests show whether your work on the stone translates into everyday cutting performance.
Practical kitchen checks
Use simple tasks: slice a tomato skin cleanly, chiffonade herbs without bruising, and mince garlic with controlled tip contact. These tests mimic the prep you do most and reveal edge behavior under real loads.
Precision with fruits and vegetables
Segment citrus to check the tip and to see if the edge passes membranes without tearing. Try thin slices of soft fruits and vegetables along the full edge from heel to tip.
What “sharp enough” means in hand work
Sharp enough bites immediately with minimal pressure so you can peel and core with confidence. If the blade slips on tomato skin or tears herbs, the apex or burr needs attention.
- Test along the whole edge—petty-length tools are used at both tip and heel.
- Stabilize the food and keep your off-hand clear for safety.
- A failed test indicates either incomplete apexing or a fatigued edge; return to light refinement.
Care and Maintenance to Keep Petty Knives Sharp Longer
Good edge care starts with choices you make at the cutting surface. Treat those choices as part of maintenance, not optional tasks. Small habits extend edge life and keep your tools reliable in the kitchen.
Cutting board choices
Glass and stone boards wear edges fast. Use end-grain wood or quality plastic instead. That board decision is true edge maintenance, not mere preference.
Cleaning and drying rules
Hand wash, rinse, and dry immediately. This is critical for carbon steel because patina can form, while rust forms if metal stays wet or acidic.
Stainless steel and high-carbon stainless steel resist corrosion better, but still benefit from prompt drying and sensible storage.
Storage and drawer safety
Store knives on a magnetic strip or in a saya/sheath. Avoid loose drawer storage. Proper placement prevents accidental edge dings and keeps edges aligned for longer.
Frequency and between-use maintenance
Home cooks may refresh edges every couple months depending on use. Busy kitchens and chefs will need touch-ups far more often.
- Avoid twisting in hard food and use the spine to move ingredients.
- Gentle cutting technique and a soft board reduce wear between sessions.
- These points answer common frequently asked questions about why edges dull and which steels need more care.
Conclusion
Your tiny prep tools give big returns when you keep angles steady and metal removal minimal.
Your petty and petty knives reward careful technique because their small size and narrow geometry make angle control and clean deburring the difference between passable and truly sharp edge.
The petty sits between a paring knife and a utility knife in length and reach, and often mirrors the japanese utility knife style as a companion to your chef knife or gyuto.
Use the workflow: identify steel and length, match grits, work side-to-side evenly, refine lightly, then test on real prep. The top mistake is removing too much metal and raising the bevel on narrow edges — that changes performance and appearance.
Remember: the name comes from the French word “petit.” Favor the right board, quick cleaning and drying, and safe storage. Do light touch-ups often to preserve geometry and keep knives working well.